Panel IV: New Life
|
UNPAINTED FINAL
Title: New Life Size: Life sized Medium: Sculpture Date: 12/05/2017 |
Inspiration
New Life is the opposite of Escape. While Escape is the girl escaping to her solitude, New Life is her escaping from this world as her wish comes true. As a result, New Life is a jumbled mix of all previous projects.
|
“Isolation/Alienation.” Artsy, www.artsy.net/gene/isolation-slash-alienation.
|
From the idea of solitude from Forlorn Solitude to the idea of challenging reality from Is It Real, New Life is mirroring previous projects, just like Escape was.
|
“10 Artists Who Shatter Our Perceptions of Reality.” My Modern Met, Alice Yoo, 26 May 2017, mymodernmet.com/smartwater-10-artists-who-shatter-perceptions-of-reality/.
|
|
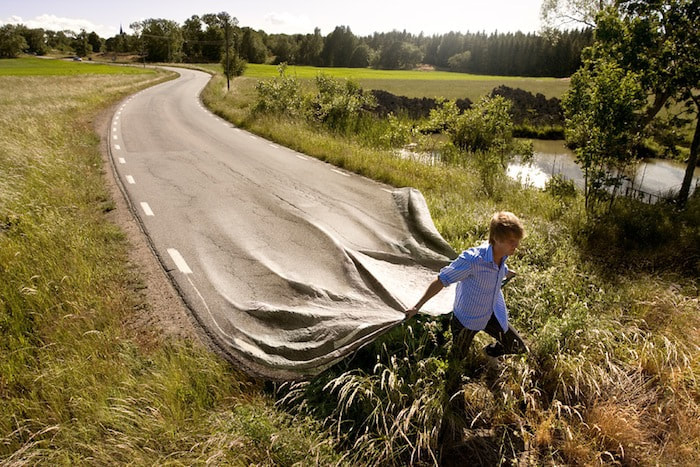
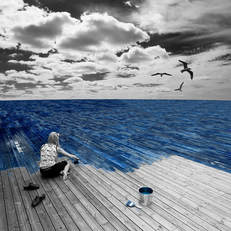
These are two specific pieces I plan to incorporate into my project. The idea behind New Life is transitioning from reality to fiction. The two are completely reversed, similar to how I did Forlorn Solitude. These two are my most favorable here mostly due to the intended background of my piece. I am planning to use a transition from reality to fiction, so the idea of dragging that road or painting that ocean, challenging reality, that may be my best route to take throughout my piece.
Forlorn Solitude takes reality and turns it into a place inside the girl's mind, where she wishes to be. New Life is meant to make it true, so it's meant to shatter the reality aspect entirely, and transition into fiction. In those pieces, the reality is also behind them, a background of sorts, so would be the same in my piece. That kind of transition pulls the audience into the changing reality.
In my style, I might do something similar to the image on the right, where she's painting the ocean. It shows a transition on the floor, which is how I want to transition mine as well. So I might have that concept, but the girl isn't painting the floor, instead it swirls around her and ends there, the floor of reality ending as well. The idea of challenging that reality, turning it into fiction, that seems to be the metaphor going on in that image as well, which is what I intend to do in my piece as well.
Research
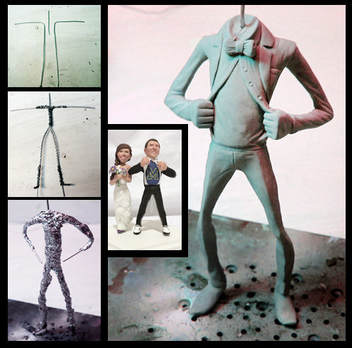
I tried again researching how TO make my sculpture stand on its own.
|
Tysonvw, and Instructables. “Make an Armature for Sculpting!” Instructables.com, Instructables, 13 Oct. 2017, www.instructables.com/id/Make-an-Armature-for-Sculpting/.
|
I was not disappointed this time. I found some really good ideas on this search. The first basically makes a skeleton to sculpt on. This method was meant for small clay figures, but supersizing this method may help with my sculpting.
|
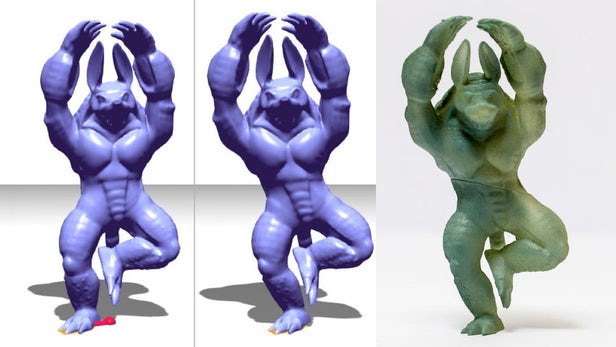
Falconer, Jason. “Make It Stand quickly optimizes your model's balance for 3D printing.” New Atlas - New Technology & Science News, New Atlas, 26 July 2013, newatlas.com/make-it-stand-optimized-balance-3d-printing/28472/?utm_source=Gizmag%2BSubscribers&utm_campaign=b49c4ef537-UA-2235360-4&utm_medium=email&utm_term=0_65b67362bd-b49c4ef537-89689629.
|
|
At least now I have been able to find instructions on what TO do instead of what NOT to do when trying to stand a sculpture.
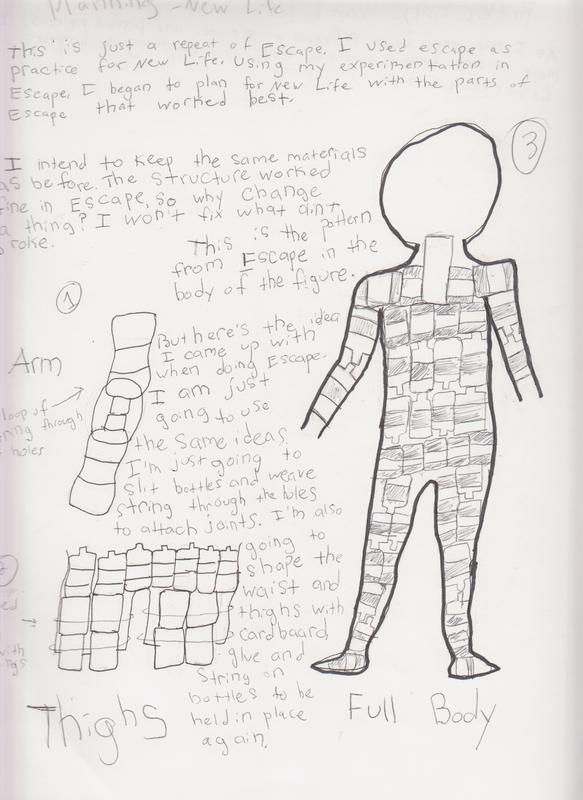
Planning (physical sketchbook)
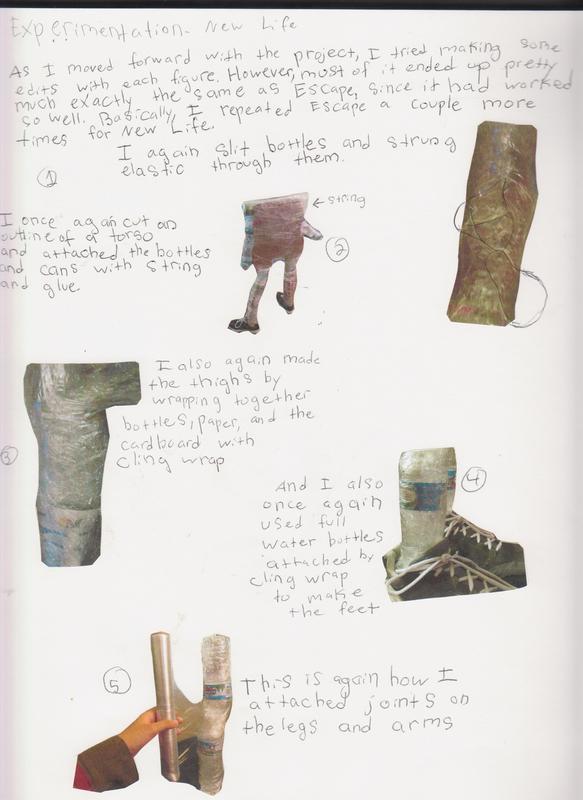
Experimentation (physical sketchbook)
I had fun with this one....
Process
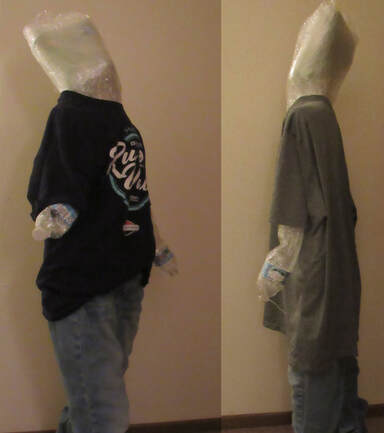
The process is the same as the others, with mild modifications.
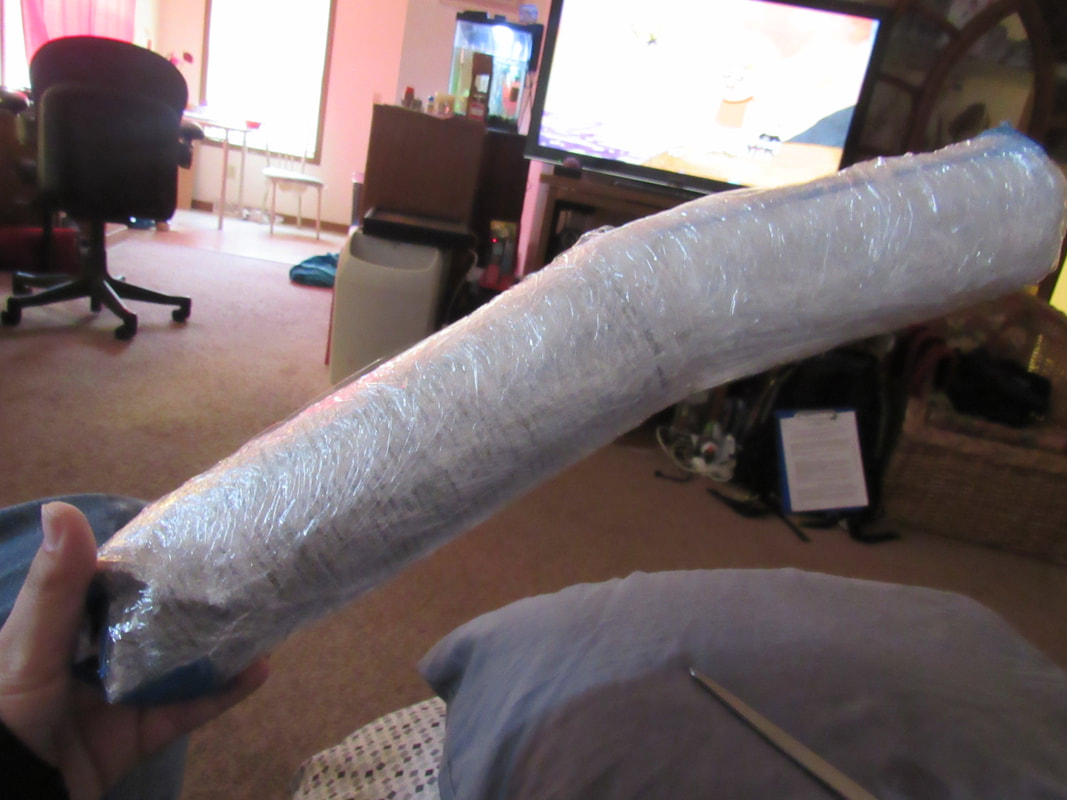
I wrapped the plastic under the arms rather than around to attach them. It takes more layers, but it's not awkwardly limiting the figure. I also sought to wrap the joints differently, using the cardboard on the rolls from the empty containers of plastic wrap, paper towel rolls, and toilet paper rolls. By using those, I can easily round off the joints and stabilize them to be more sturdy.
I figured the new strategies would be of use, and it seems I was correct. The limbs were more accurate, the joints were more stable, and the weight was lighter.
I was able to improve my techniques for this method of sculpting by reflecting on my first attempt, Forlorn Solitude. Although the joints aren't quite stable yet, they are more stable than the previous project. The next best course of action would be to perhaps stuff the cardboard tubes with newspaper to make them hard.
Since it's the same process with the same materials, I also did not feel the need to retake the same photos of the same steps here:
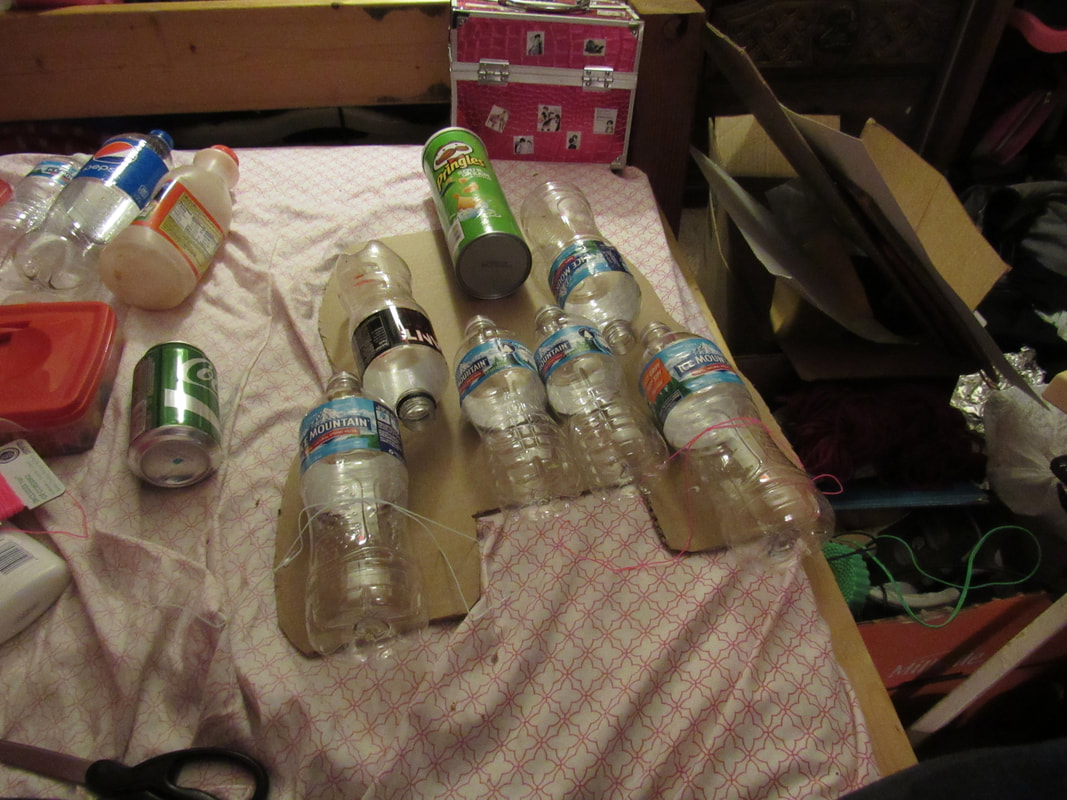

From the start, I wanted to try something more stable, since the figures were going to stand up. First I thought to use cardboard to shape the legs and wrap everything around that outline, but I thought maybe it's not as stable as using cardboard when all the limbs meet. I thought it would provide the most support.
I again took a rectangular piece of cardboard, and cut the general shape of the human torso. This provided a basic shape to work off of and some sturdiness. The next challenge was how to best attach the limbs to the center support. I started by using the torso as a base. But then it had to be open for attachment. I decided to make shoulders at the start, and also the highs, so that attaching the legs to the waist is no risk for collapsing. In Forlorn Solitude and Is It Real, I attached the limbs using the butt, which allowed little support. That would prevent the figure in Escape from being able to stand up. And after some experiments in Escape, I tried attaching limbs further out, for better support than Escape had.
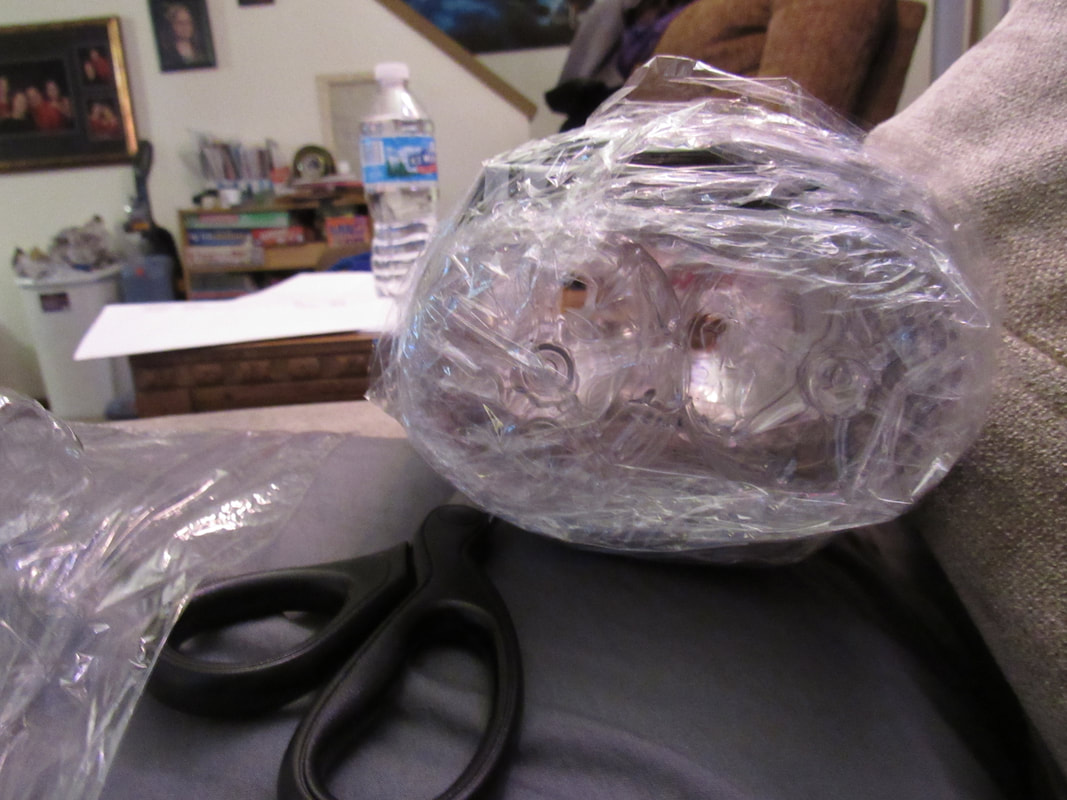
I lined up these water bottles to make a general shape of the 3-dimensional torso, and then glued the bottoms of the bottles to the cardboard, tying them in place with strings. To do the arms, I slit some holes in each side of the bottles and tied them together with the strings going through the bottles. Then I just wrapped the arms with cling wrap.
I gave a same method with a different process a try, by cutting slots in water bottles, stringing elastic through the holes, and tying them together on the other bottle. Then I positioned them to the right angle and wrapped the entire thing in plastic to seal it in place. And then I wrapped the arm to the figure a bit, used string to tie it together like the arms, and then wrapped all of it in plastic again.
That made the entire torso. And I then added a couple cans at the bottoms of the torso to make a couple stubs that make up "thighs" of sorts. They were like bases, so that attaching the rest of the legs will be no problem.
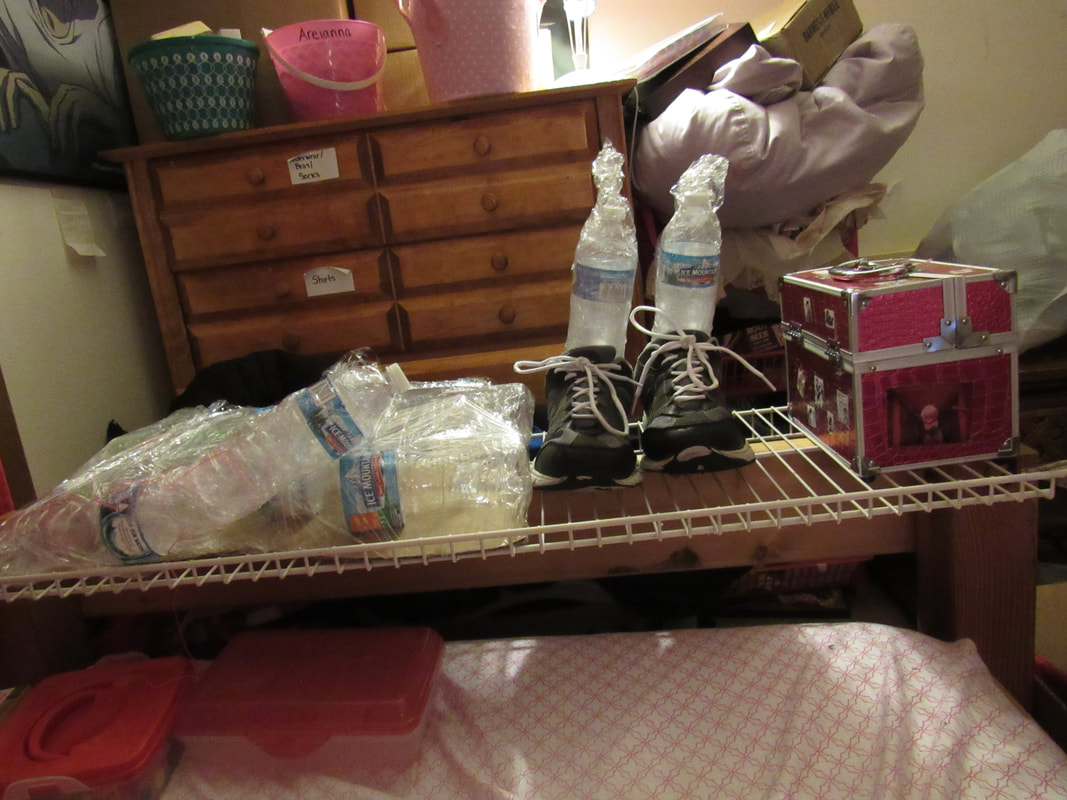
The next item on the list was the weight on the legs. I thought maybe I could take advantage of the bottles to do this. I filled the bottles almost all the way full, and then used plastic wrap to attach them together perpendicularly. This made the shape of the foot, the ankle, and the lower half of the calf. It also puts all the weight at the bottom of the figure, which is what I have been hoping to do. I also tied the shoes tightly around the bottles to hold them in one position, not sliding around. This makes the feet inside the shoes, of course, but it also forces a balance on a flat surface rather than the round bottle. It also hide the fact that I neglected to make actual feet. I wanted to use the same method from Escape here, too.
I ran into a problem with New Life, though. I had used my old shoes with holes in the bottom for Escape, so how do I fill water bottles and still hide the oddly shaped feet? I thought maybe to just not do that, and let the bottles show at first, but kinda scrapped the idea.
I again took a rectangular piece of cardboard, and cut the general shape of the human torso. This provided a basic shape to work off of and some sturdiness. The next challenge was how to best attach the limbs to the center support. I started by using the torso as a base. But then it had to be open for attachment. I decided to make shoulders at the start, and also the highs, so that attaching the legs to the waist is no risk for collapsing. In Forlorn Solitude and Is It Real, I attached the limbs using the butt, which allowed little support. That would prevent the figure in Escape from being able to stand up. And after some experiments in Escape, I tried attaching limbs further out, for better support than Escape had.
I lined up these water bottles to make a general shape of the 3-dimensional torso, and then glued the bottoms of the bottles to the cardboard, tying them in place with strings. To do the arms, I slit some holes in each side of the bottles and tied them together with the strings going through the bottles. Then I just wrapped the arms with cling wrap.
I gave a same method with a different process a try, by cutting slots in water bottles, stringing elastic through the holes, and tying them together on the other bottle. Then I positioned them to the right angle and wrapped the entire thing in plastic to seal it in place. And then I wrapped the arm to the figure a bit, used string to tie it together like the arms, and then wrapped all of it in plastic again.
That made the entire torso. And I then added a couple cans at the bottoms of the torso to make a couple stubs that make up "thighs" of sorts. They were like bases, so that attaching the rest of the legs will be no problem.
The next item on the list was the weight on the legs. I thought maybe I could take advantage of the bottles to do this. I filled the bottles almost all the way full, and then used plastic wrap to attach them together perpendicularly. This made the shape of the foot, the ankle, and the lower half of the calf. It also puts all the weight at the bottom of the figure, which is what I have been hoping to do. I also tied the shoes tightly around the bottles to hold them in one position, not sliding around. This makes the feet inside the shoes, of course, but it also forces a balance on a flat surface rather than the round bottle. It also hide the fact that I neglected to make actual feet. I wanted to use the same method from Escape here, too.
I ran into a problem with New Life, though. I had used my old shoes with holes in the bottom for Escape, so how do I fill water bottles and still hide the oddly shaped feet? I thought maybe to just not do that, and let the bottles show at first, but kinda scrapped the idea.
