Block Print
|
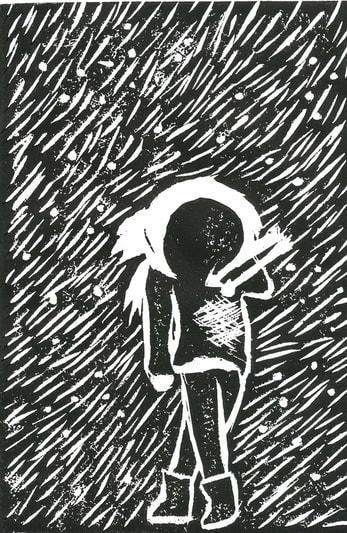
"Internal Storm"
Size: Medium: Block Print Date: October 3, 2016 |
PLANNING
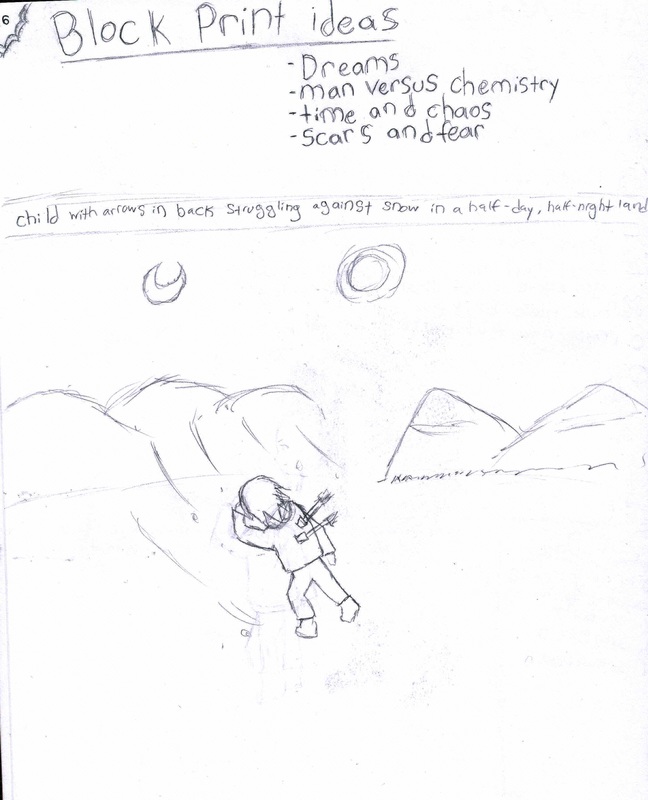
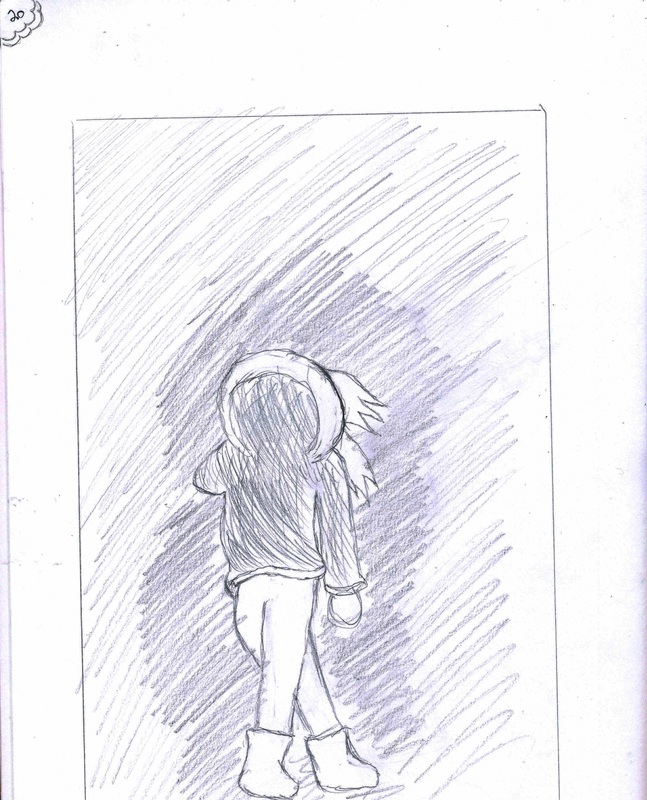
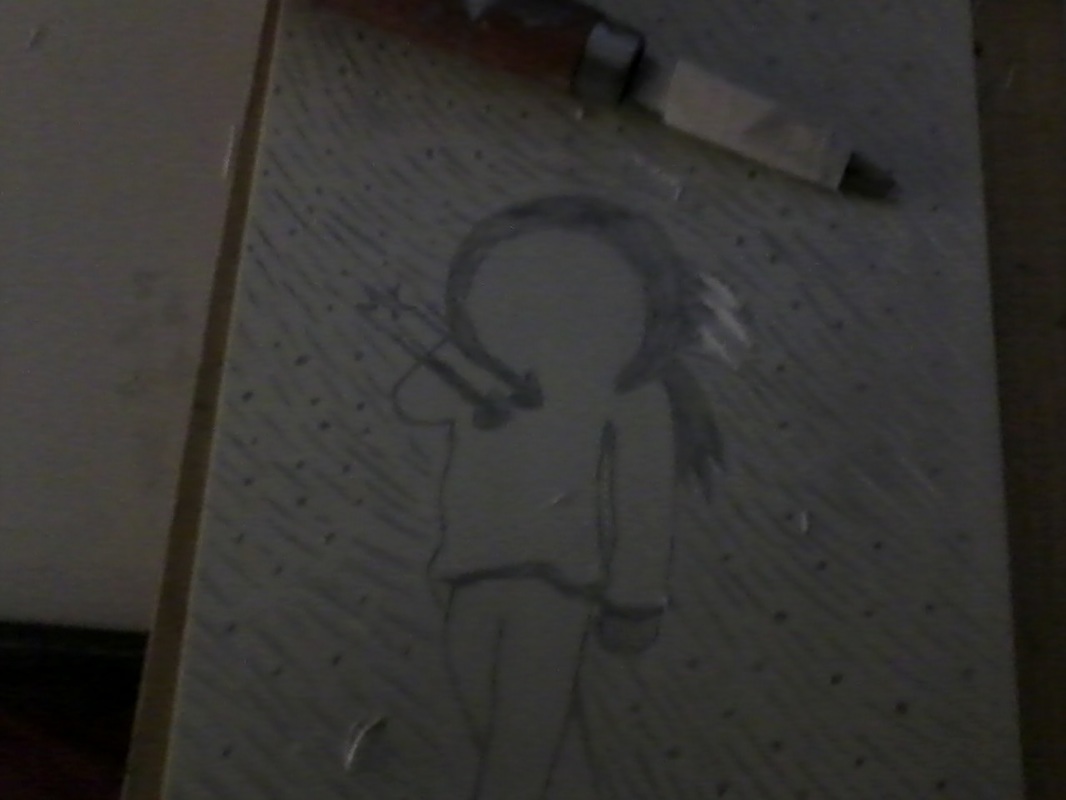
These are the sketches I decided to choose from, and I experimented a bit with the shading and styles. I had to take these back to the drawing board multiple times. I was trying to represent chaos, but stuck to specifically an internal storm. I wanted to stick to an accurate storm, and used some guides. And as for how to make it more like a block print, I looked at nature in block prints, including winds and storms. I actually used a painting as a guide for the figure in my block print. I liked the lines used to indicate wind in storms, and tried to mimic them for the cold snow storm.
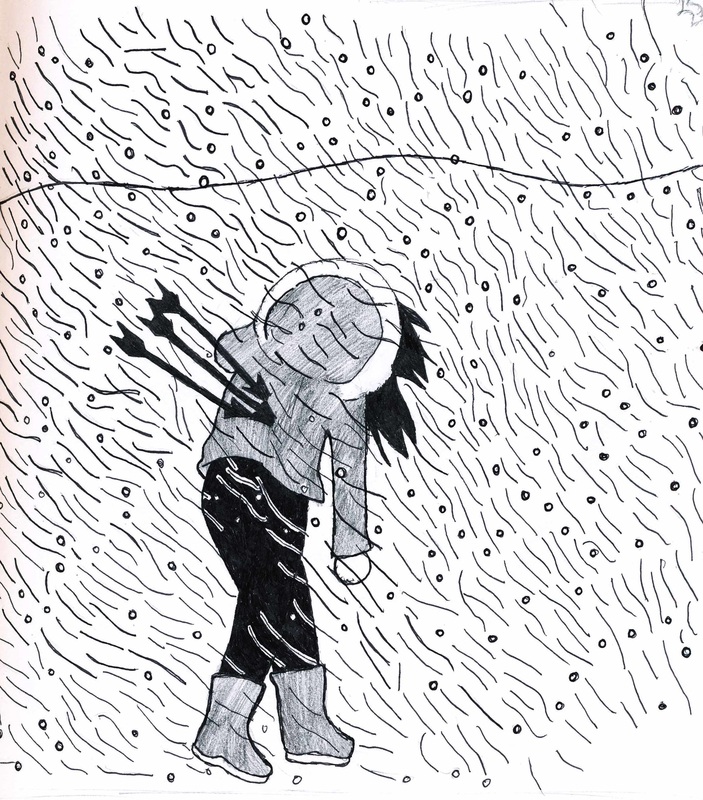
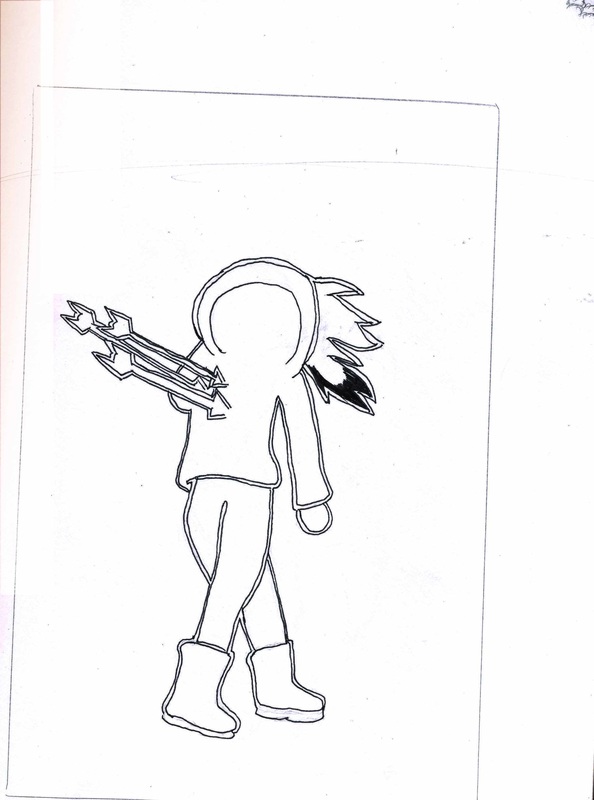
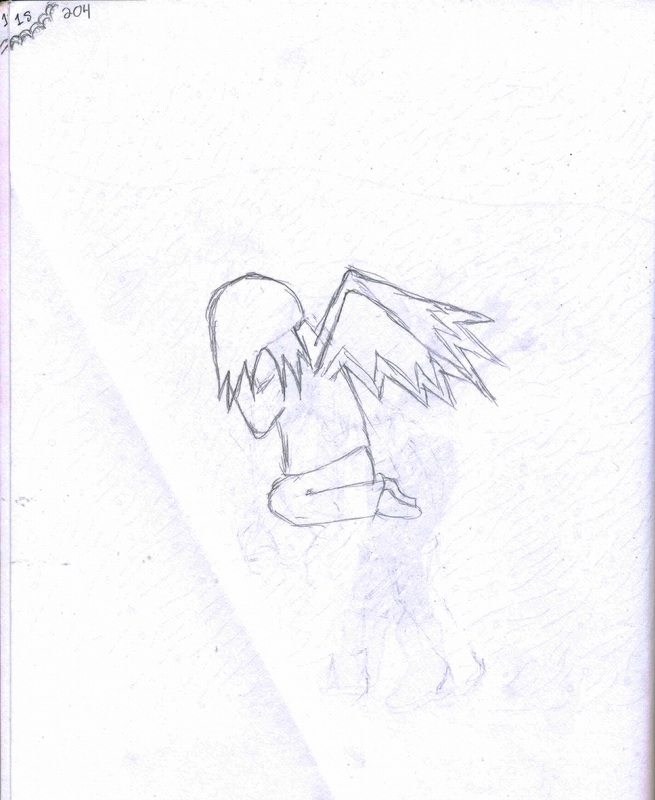
I had another idea for a fallen angel in chaos, but it didn't get the same message across. I wanted to make a snowstorm, and went to the art teacher to see if it was right, meaning accurate. And he suggested I make the background black with the white storm lines. But the next issue was how I was going to portray the dark figure, I tried experimenting with the outside lines of the figure. They just didn't look right, so I asked the art teacher again, and he said to color in the background black on my sketches and work with that, and I did. I think it came out the best when I did that, because his suggestion to do the black background would have portrayed snow a bit better than black lines.
After the rough sketch, I had looked into different ideas to sketch the final idea.
RESEARCH
|
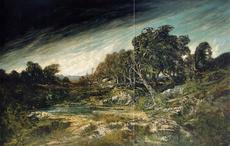
"The Approaching Storm." Digital image. Wiki Art. Accessed October 3, 2016. Courbet, Gustave. "The Approaching Storm - Gustave Courbet." Www.wikiart.org. 1970. Accessed October 03, 2016. https://www.wikiart.org/en/gustave-courbet/the-approaching-storm. |
|
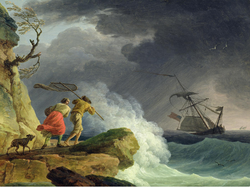
"Coastal Scene in a Storm." Digital image. Fine Art America. October 8, 2014. Accessed October 3, 2016. http://fineartamerica.com/featured/coastal-scene-in-a-storm-claude-joseph-vernet.html.
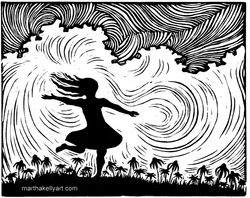
Kelly, Martha. 2016. Joy. Image. Accessed October 3. http://www.marthakellyart.com/prints.html.
The reason I chose these artworks specifically was to help me express chaos through storms and harsh weather. Then using "Joy" to translate the storm into something that is fitting for block printing. I wanted to express the chaos through storms, and I did not choose anything as a specific inspiration, but as a guide. I looked up any artists that have used storms, and found a couple that I really liked. I then looked into a Block Print artist whose work used weather at any point. Those artworks were my guides for my piece. I had used Coastal Scene as a guide for my figure. The male figure's positioning as he fights the oncoming storm was an excellent guide for the skeleton on my figure. The Approaching Storm was a model for the harsh snow. Joy was meant to translate the harsh storm into a design I could use for Block Print. All of them together have aided in both my meaning for chaos and the physical project itself.
PROCESS
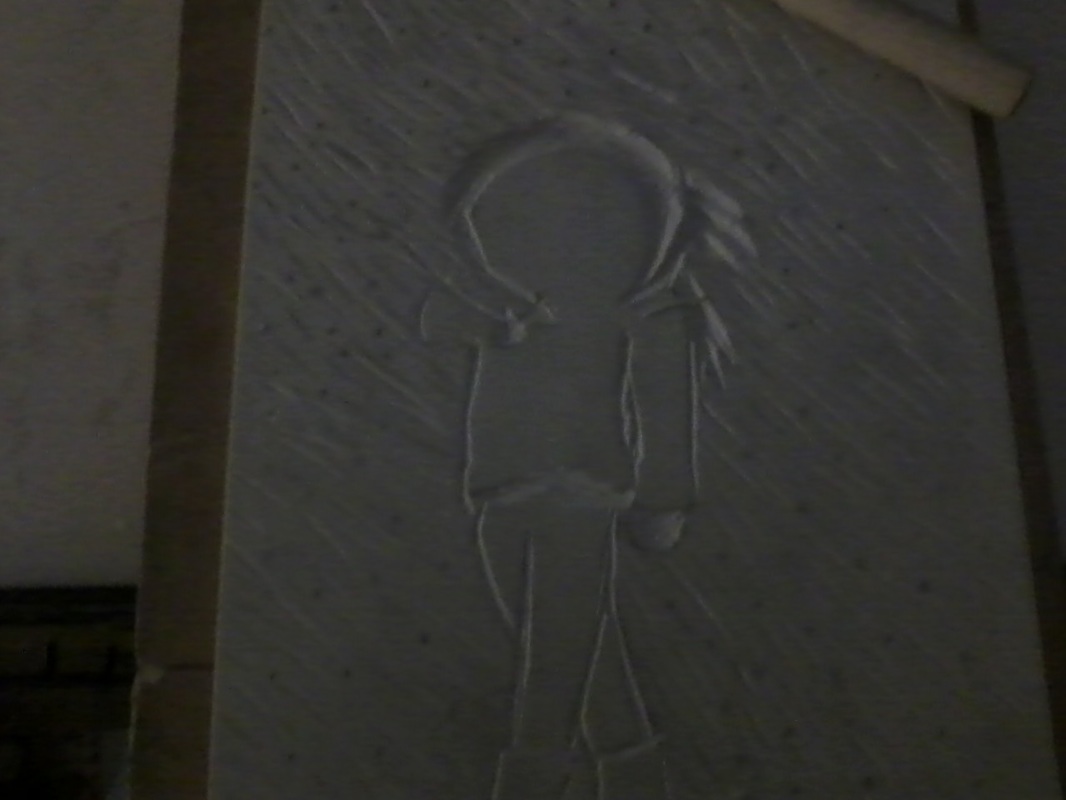
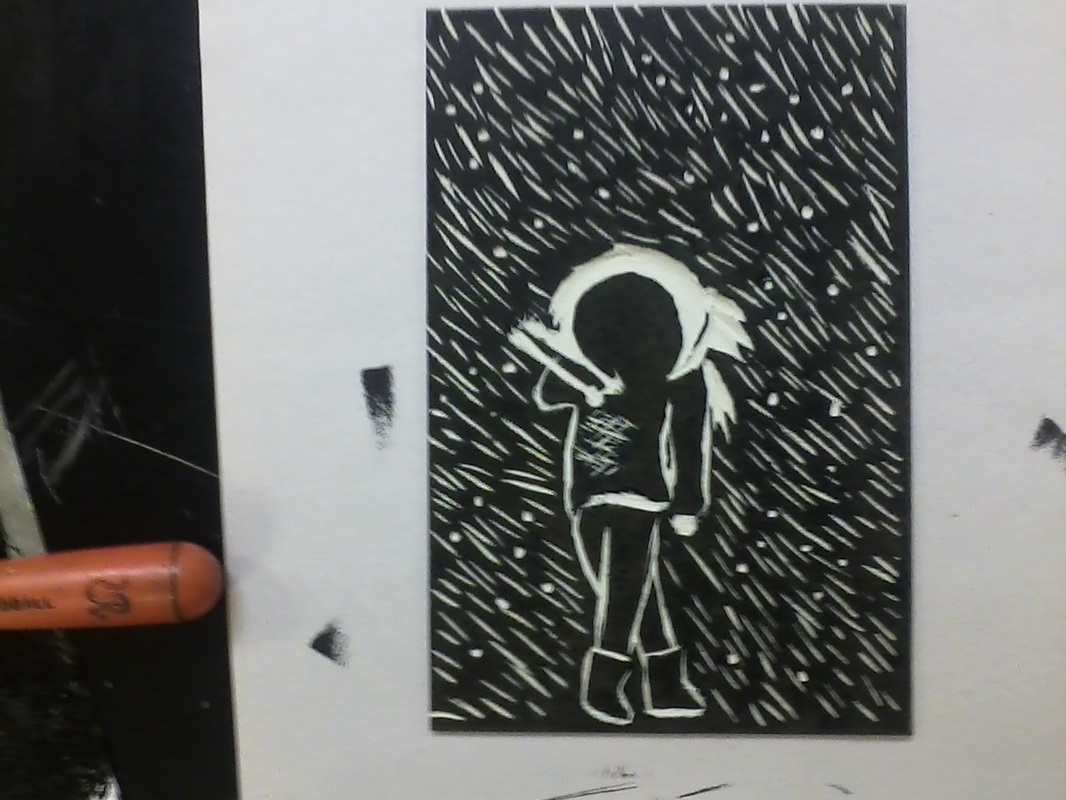


When I re-drew my design on the linoleum, I shaded in all the areas I was going to carve away. Then I retrieved a larger linoleum cutting tool, and kept shoveling out chunks of the linoleum, then used smaller linoleum cutting tools to smooth out those areas, and to carve out the storm lines and details. I used the same tool's tip to cut the dots of snow.
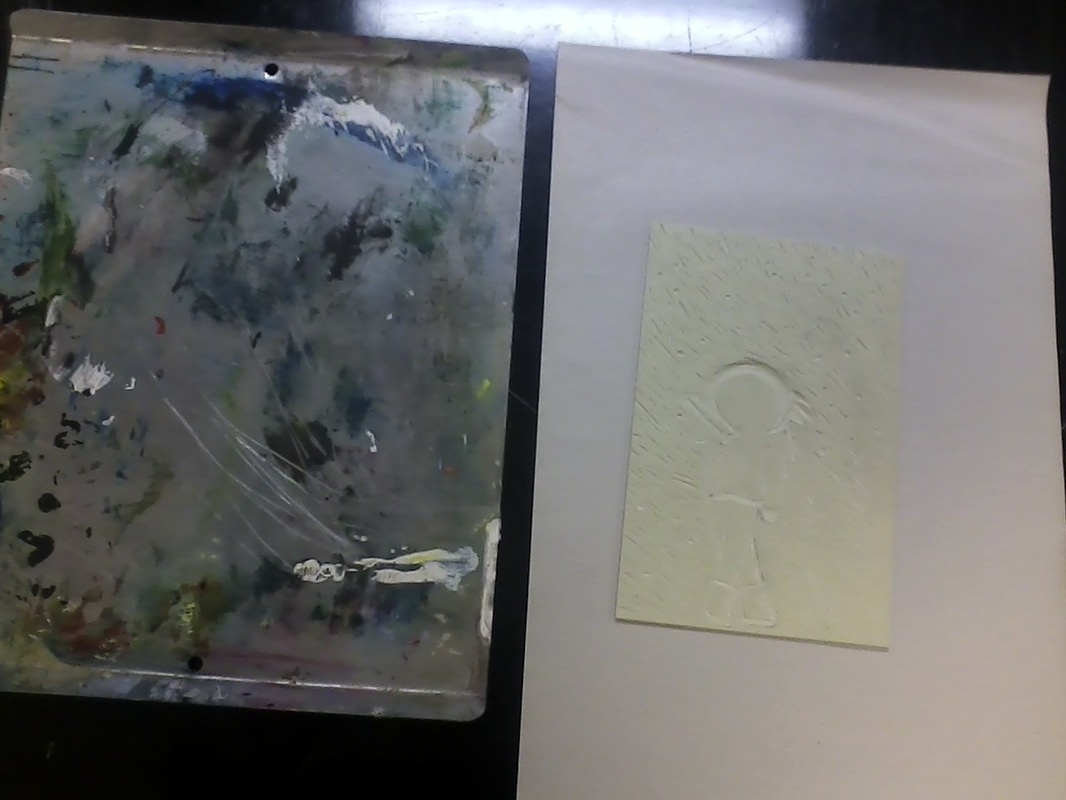
Once I finished carving the project and was satisfied and confident it would come out well, I set up to actually print it.
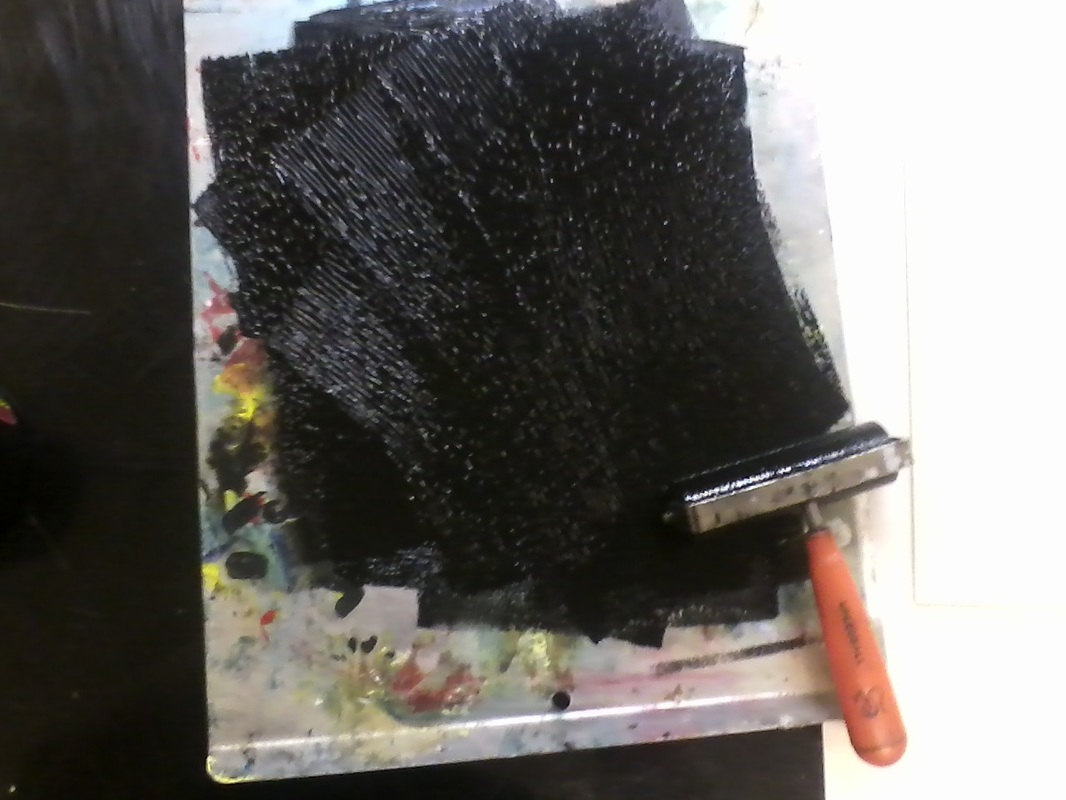
I got out all of my materials, the metal tray, the ink, the roller, all the paper, and the printing baren.
I scooped a small amount of ink into he tray and rolled it until it had a stick to it, then rolled the ink onto the linoleum.
Then I layered the white paper on the linoleum, and placed another print paper on top, and used the baren to imprint the design of the block print on the paper.
I saw the dots left behind, and decided it was perfect for a snowstorm for those dots to be there. Then, like a proper young lady, I cleaned up the mess, washed everything with ink on it, put everything back where it was, and put everything else in my locker.
Once I finished carving the project and was satisfied and confident it would come out well, I set up to actually print it.
I got out all of my materials, the metal tray, the ink, the roller, all the paper, and the printing baren.
I scooped a small amount of ink into he tray and rolled it until it had a stick to it, then rolled the ink onto the linoleum.
Then I layered the white paper on the linoleum, and placed another print paper on top, and used the baren to imprint the design of the block print on the paper.
I saw the dots left behind, and decided it was perfect for a snowstorm for those dots to be there. Then, like a proper young lady, I cleaned up the mess, washed everything with ink on it, put everything back where it was, and put everything else in my locker.
