Ephemera

|
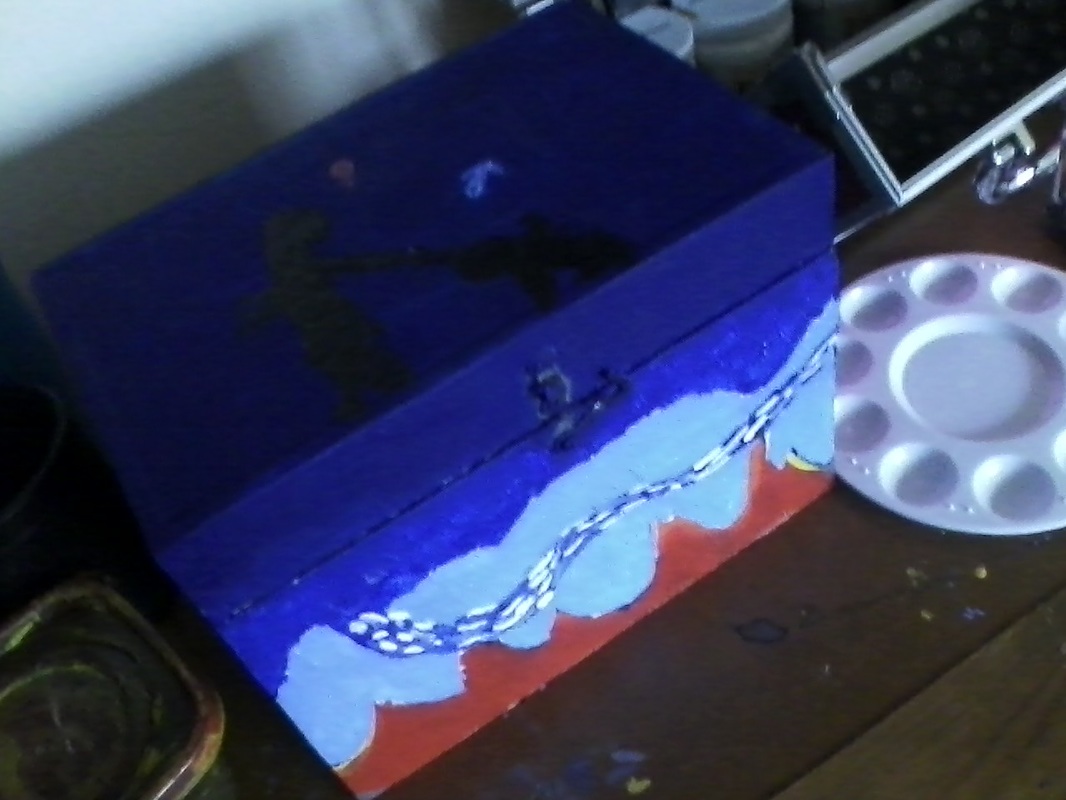
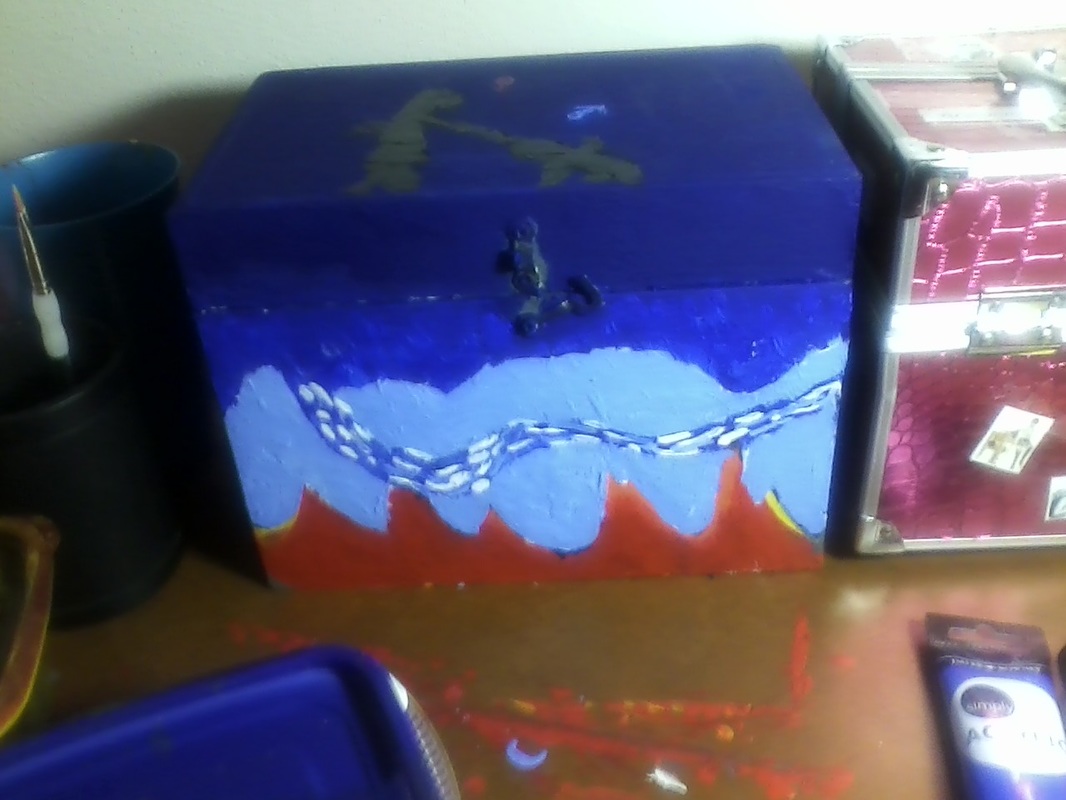
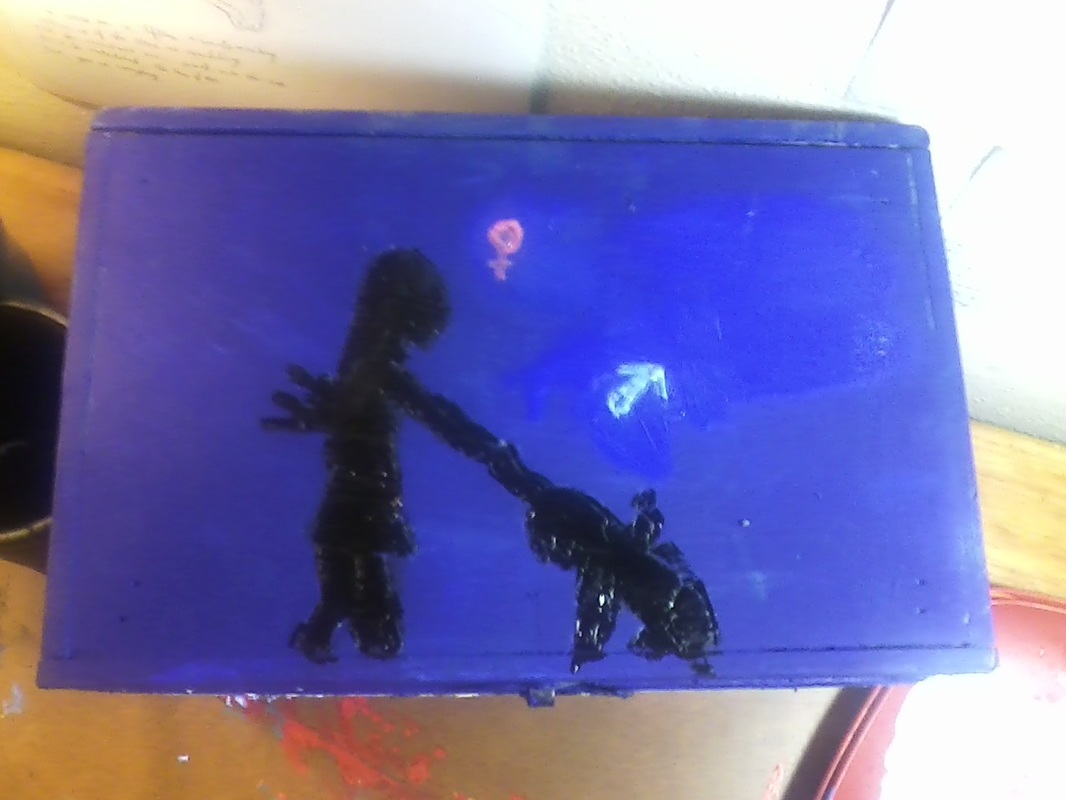
Title: Passion and Sadness
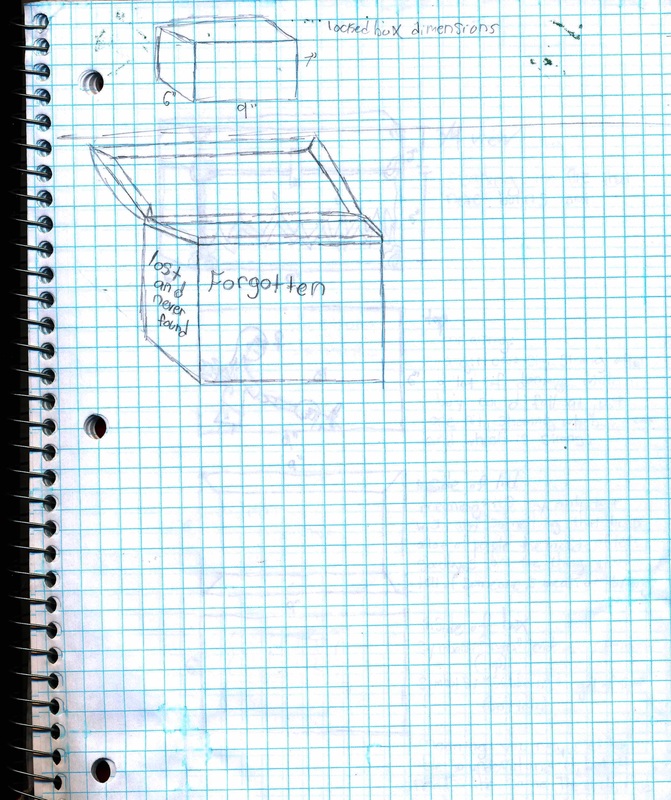
Medium: Sculpture: Relief, Painting Size: 6"x9"x7" Date: November 11, 2016 |
INTENTION OF THE STRUCTURE
The part about this I wanted to convey is not something people seem to think about. The way I see it, everything is ephemeral. Most people think about natural ephemera, but there's another kind, the one I have seen the most, which is artificial ephemera. Ephemera expresses how things do not last, but nothing lasts. Humans destroy the world around them often. Those destroyed objects, ideas, cultures, traditions, etc, they were all destroyed by human hands, they can last only a moment. Humans use the objects they make, or lose their head and destroy it directly, so it only lasts a moment. Others are naturally ephemeral, such as designs made from leaves.
I was making something in the middle. My project is not meant to last long, but it's meant to be used, and since it is made without the intent to last long, it will not last long. I wanted to make something in the middle, something that both disappears from environment, and by human hands.
That is the original intent of making this specifically.
PLANNING
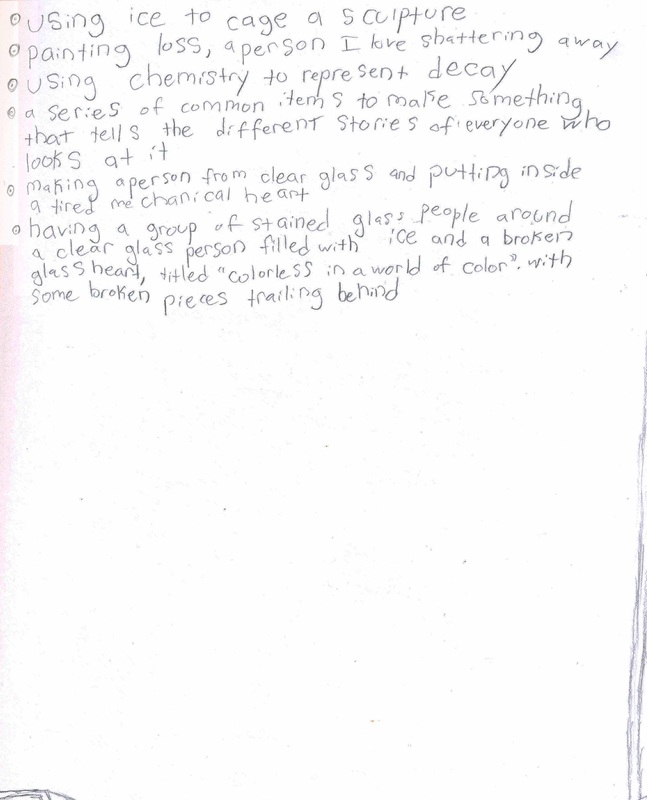

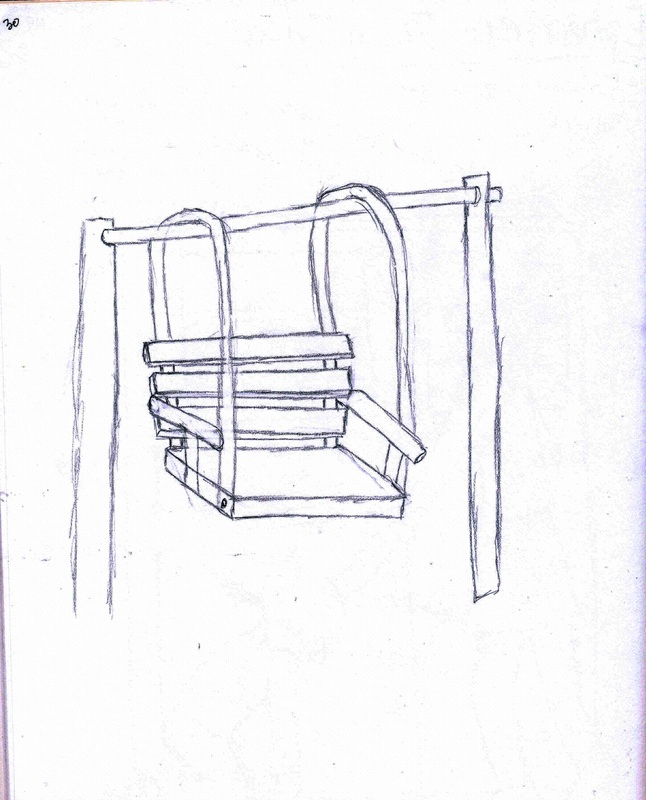
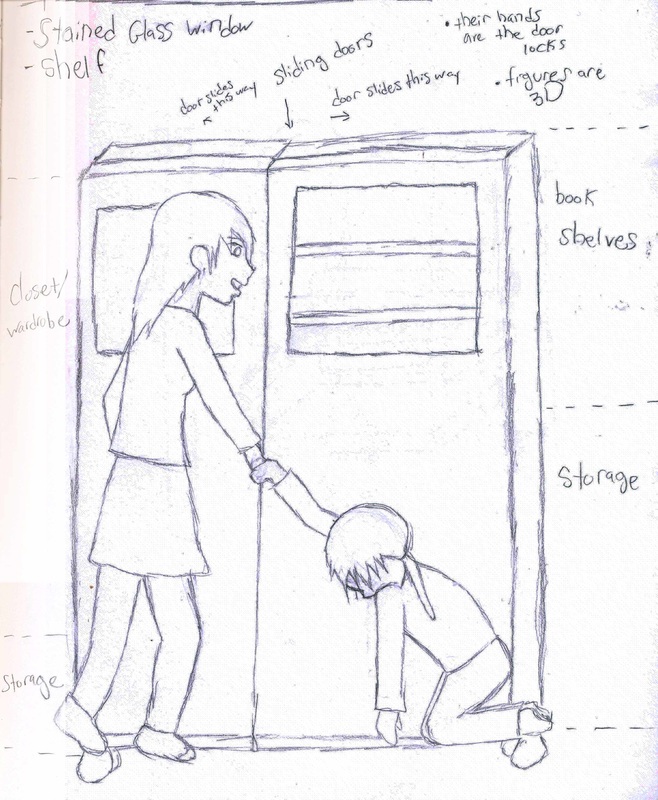
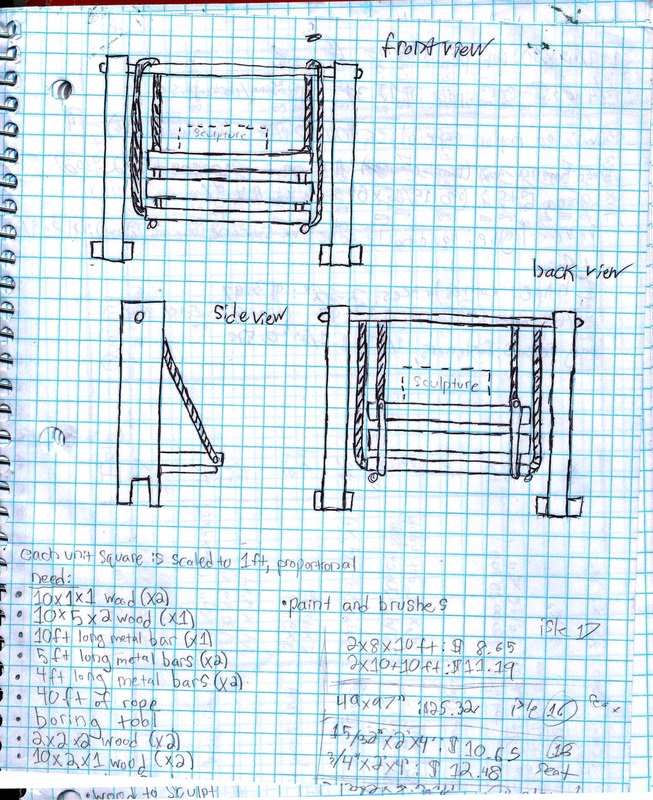
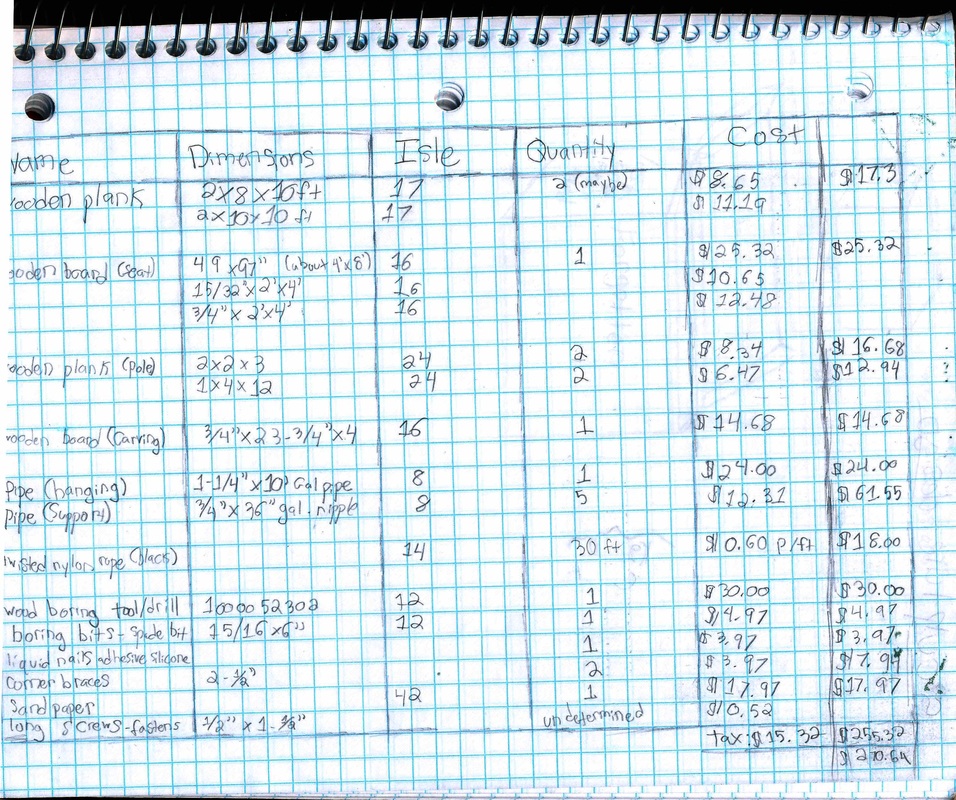
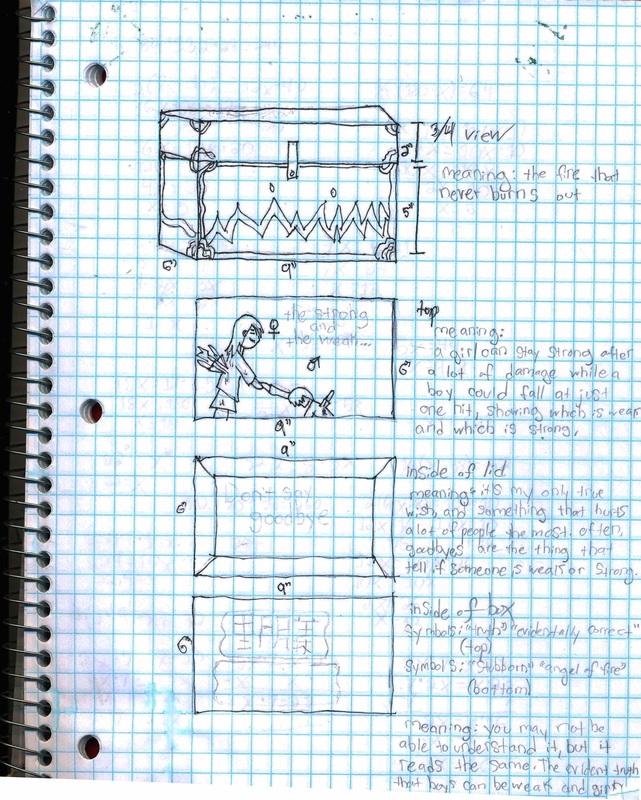
These are my planning sketches and ideas. The First few times, I wanted to make a sculpture, and use glass. But it wouldn't be as ephemeral, nor would I have time. So I sketched another idea out. I wanted to make a curio cabinet with the design, but decided that for someone who have never built or fixed anything at all in her entire life, something that complicated with a small window of time would not be the best idea. As I was on my way to a medication evaluation, I saw in a yard that someone tied a lawn chair to a tree to make a swing. That gave me another idea to make a swinging bench with my carving on the back, and planned in graphing paper the final design after making a rough sketch. It costed too much, so I changed the ideas again.
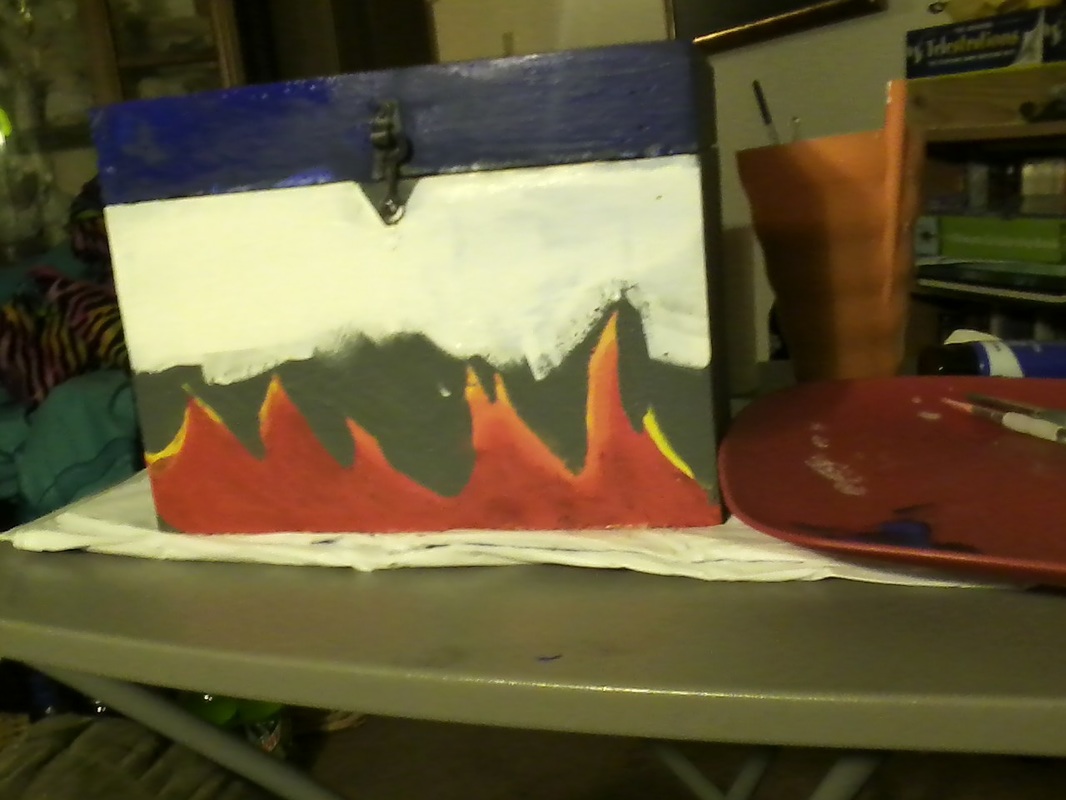
We asked an expert in painting to help us find the right colors for a fire, and without the wood, the materials costed about $30, which I covered with my allowance. I started working on the project, and when the box was built, I took it back home, and painted it, using online photos as a guide for making the fire. It took a lot of work just to find everything. My dad helped me find the right wood and tools, and helped me start working. I brought the plans when we went shopping, and with me to build the project.
The top of the box, of course, had to have more detail, texture, and better design than in the plans, but it was just something of a rough sketch.
At first, I was going to make some writing on the artwork, on the lid I wanted to write "the strong and the weak", on the inside of the lid I wanted to write "don't say goodbye", and on the bottom of the inside of the box, I was going to write something in Japanese, and it would write "truth evidently correct", and I was also going to write in Japanese "Stubborn Angel of Fire", but my art teacher said if you have to spell it out, all symbolism is lost. I simply cut out the writing, since it was only going to be decoration, anyway.
INSPIRATION
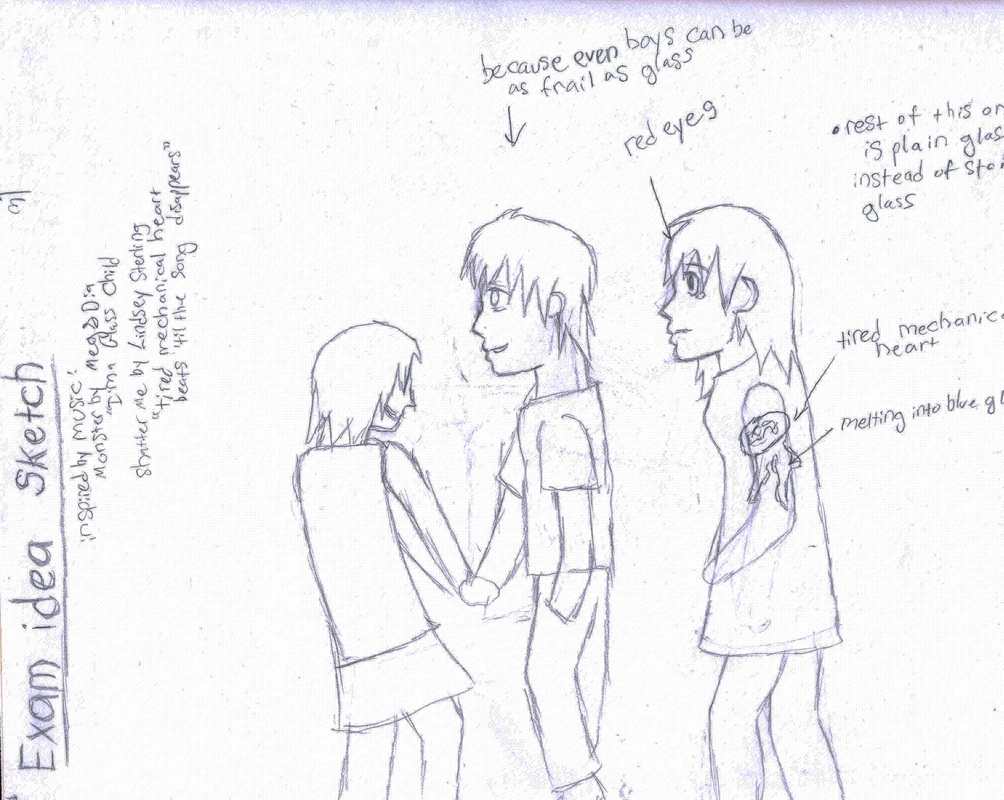
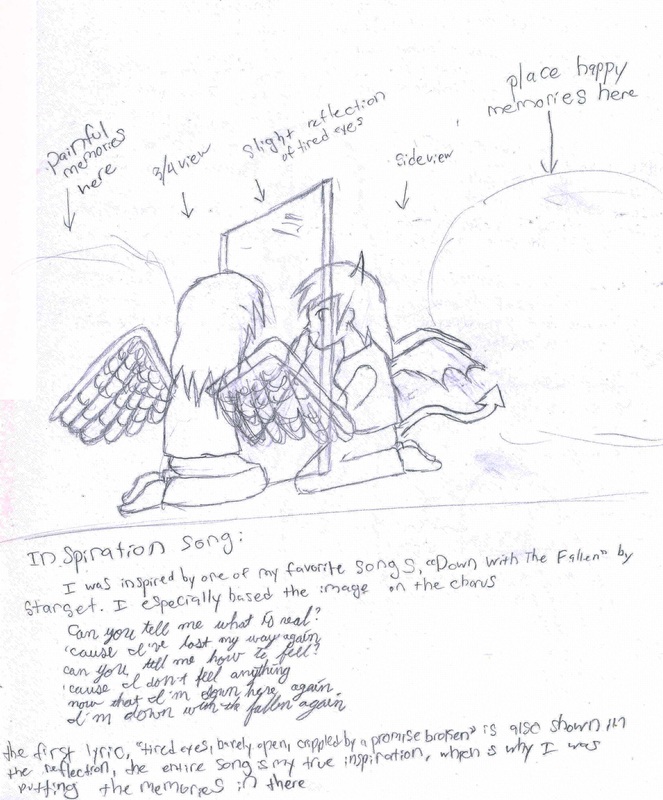
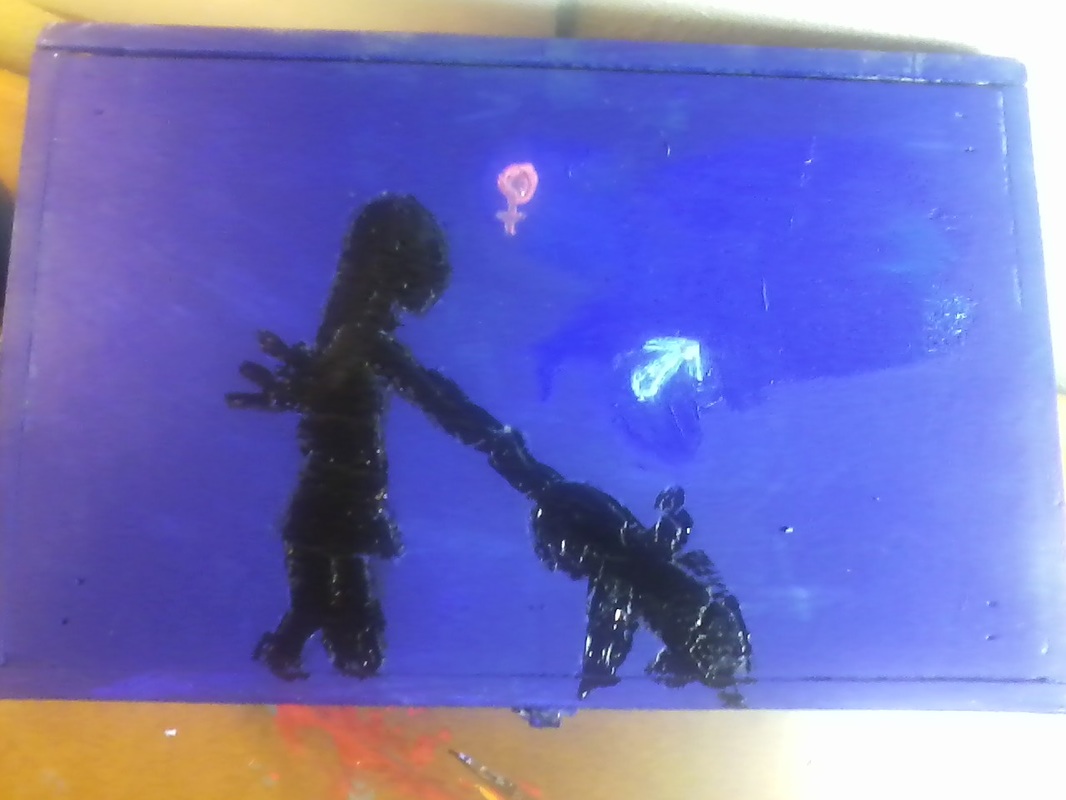
I was actually inspired first by some of my favorite songs, including "Shatter Me" by Lindsey Sterling, "Monster" by Meg&Dia, and "Down With The Fallen" by Starset. The lyric "tired mechanical heart beats 'til the song disappears" from Shatter Me was what made me want to make a tired mechanical heart struggling to beat. The lyric "I'm a glass child" from Monster is what made me want to work with glass. And overall, Down With The Fallen was a huge inspiration. I love the lyrics, and the song, the song means a lot to me, and I wanted to do some artwork based on it. These three songs are some of my favorites, and they all have a deeper meaning, Monster having the most meaning. I wanted to visualize those songs, and kept working ideas based on them, then looking into artists who have worked with similar ideas and materials. I rather like sculpting, so I wanted to stick to that. At one point, I also wanted to use "Bring Me To Life" by Evanescence. I did use it a tiny bit, but not as strongly as the other 3 songs. I was trying to implement the songs into my art projects, but they might have taken too much time, so I created different ideas. I ended up designing a small wooden box with the idea I waned to represent.
I was actually inspired first by some of my favorite songs, including "Shatter Me" by Lindsey Sterling, "Monster" by Meg&Dia, and "Down With The Fallen" by Starset. The lyric "tired mechanical heart beats 'til the song disappears" from Shatter Me was what made me want to make a tired mechanical heart struggling to beat. The lyric "I'm a glass child" from Monster is what made me want to work with glass. And overall, Down With The Fallen was a huge inspiration. I love the lyrics, and the song, the song means a lot to me, and I wanted to do some artwork based on it. These three songs are some of my favorites, and they all have a deeper meaning, Monster having the most meaning. I wanted to visualize those songs, and kept working ideas based on them, then looking into artists who have worked with similar ideas and materials. I rather like sculpting, so I wanted to stick to that. At one point, I also wanted to use "Bring Me To Life" by Evanescence. I did use it a tiny bit, but not as strongly as the other 3 songs. I was trying to implement the songs into my art projects, but they might have taken too much time, so I created different ideas. I ended up designing a small wooden box with the idea I waned to represent.
|
RESEARCH
For all of my ideas, I looked into some artists and guides on how to build some of the ideas. Pazziuagan, Eric F. "Medium of the Visual Arts." Slide Share. January 1, 2013. Accessed October 5, 2016. http://www.slideshare.net/NurzPogz/medium-of-the-visual-arts. Dolan, Michael. "How to Build and Hang a Porch Swing." Home Improvement and Remodeling. 2016. Accessed October 05, 2016. https://www.thisoldhouse.com/how-to/how-to-build-and-hang-porch-swing. These were used for research. I didn't know the medium for the project, so I did some research for that. I have never built anything before, so then I did some research on how to build a porch swing. Note: the how-to-build website is currently down, evidently, shortly after citing it. |
|
IDEA FROM INTEREST, USED IN THE PROJECT
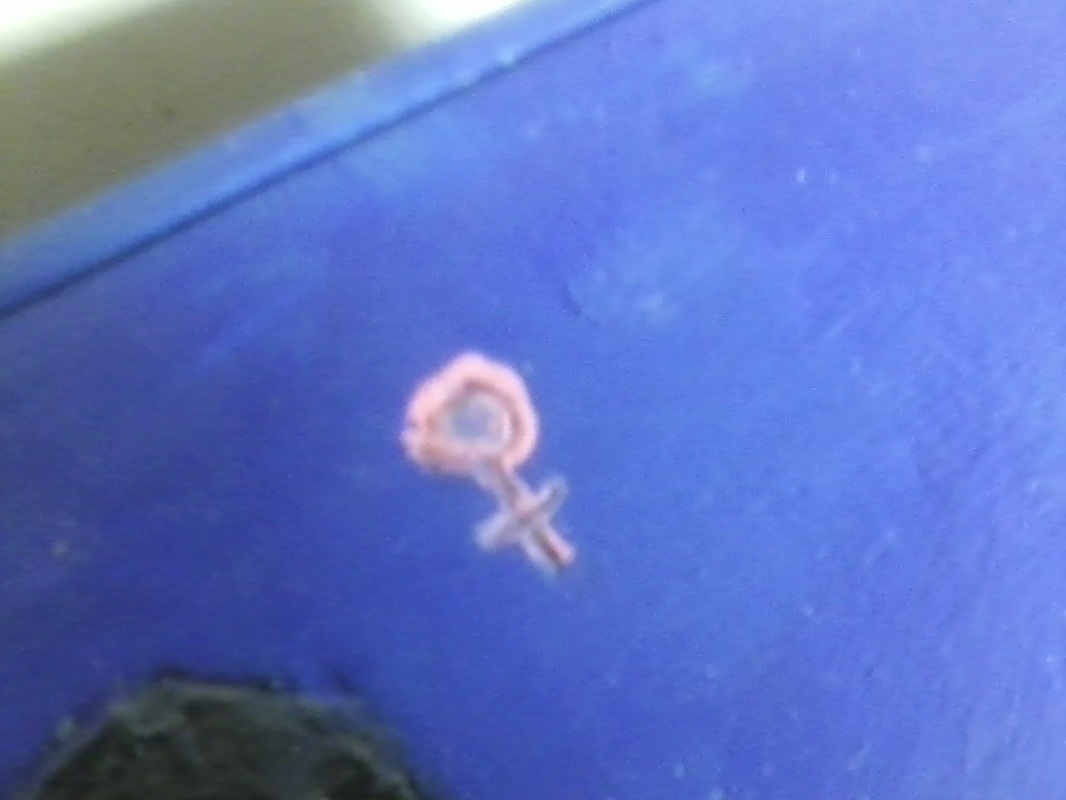
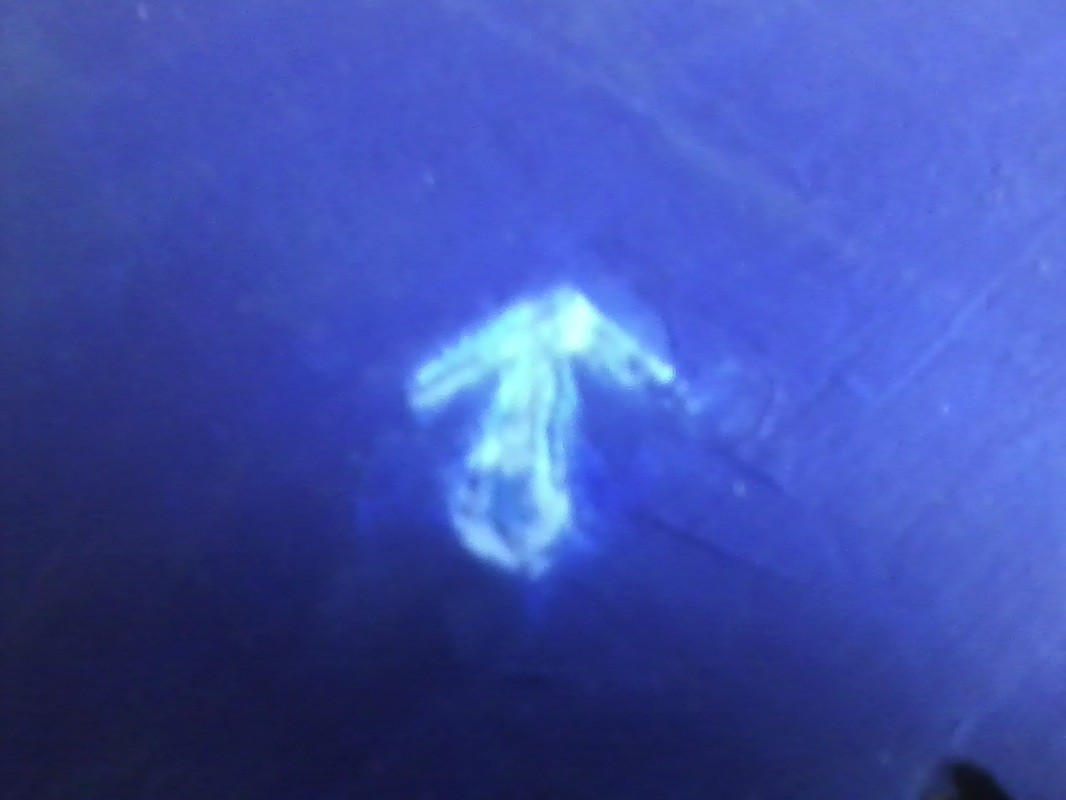
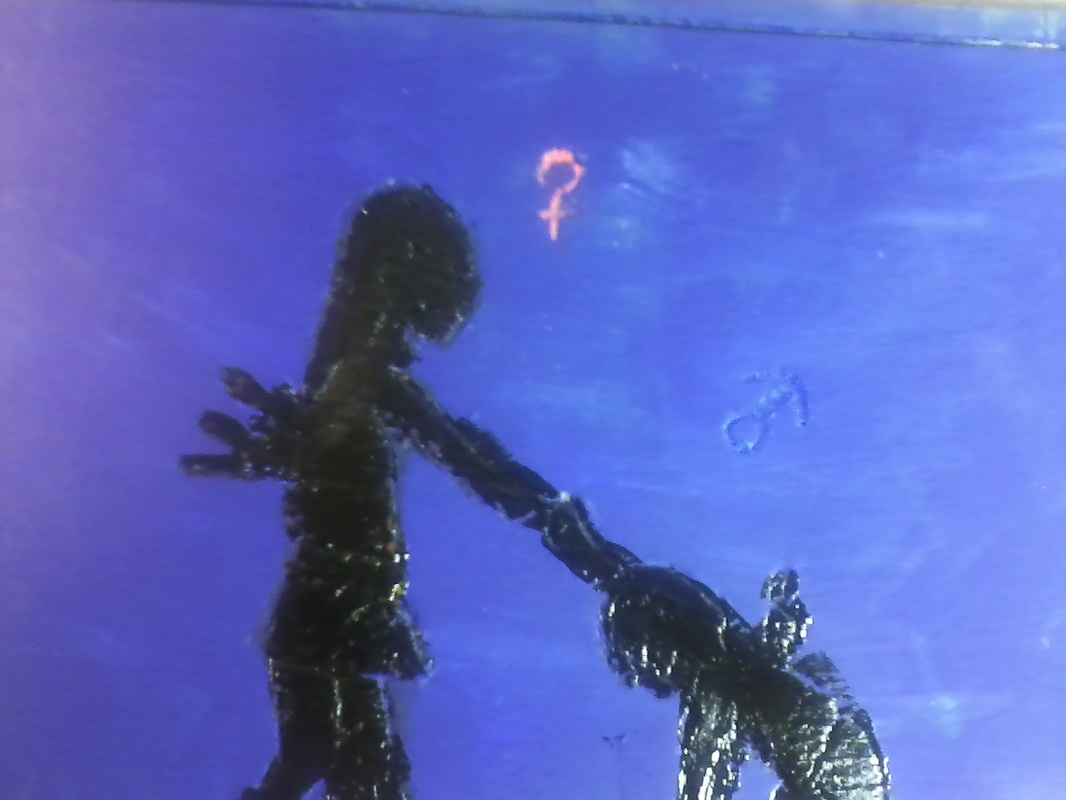
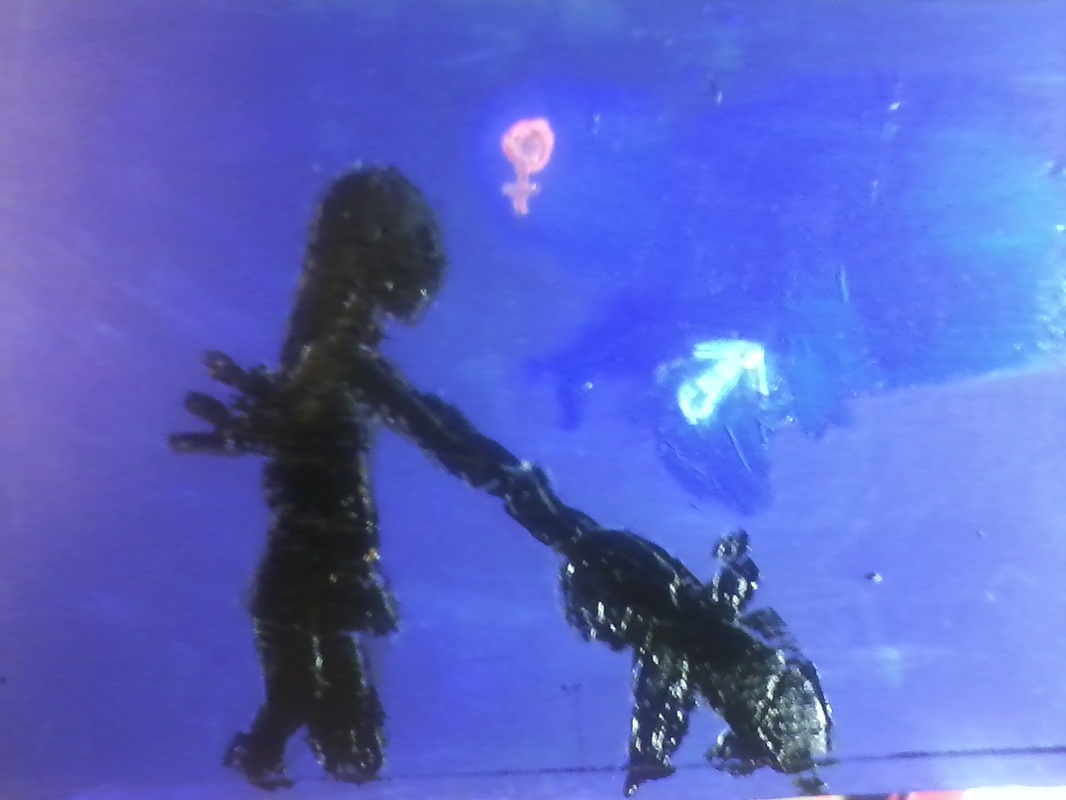
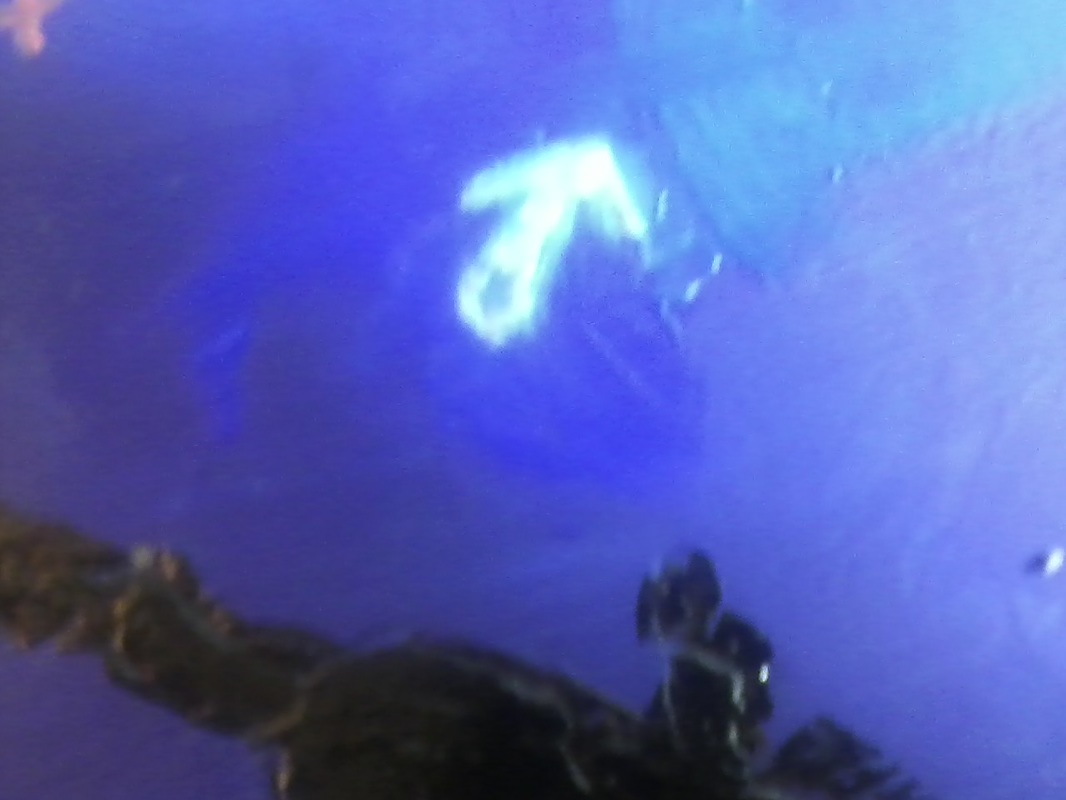
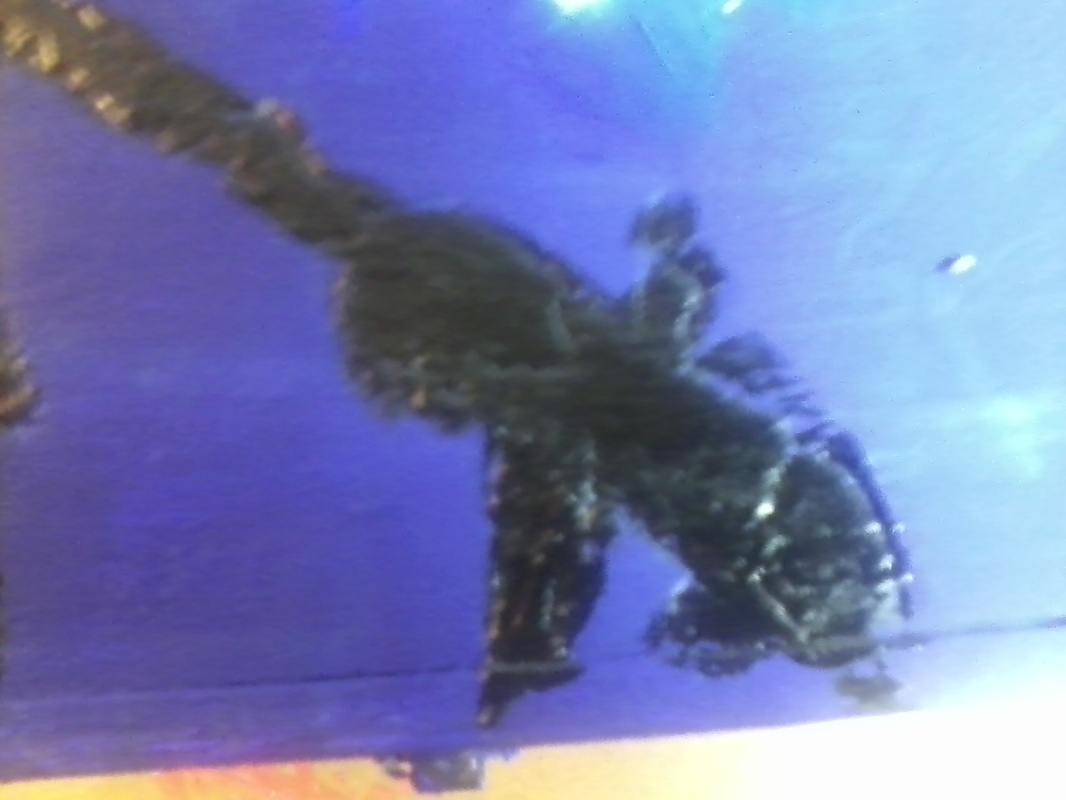
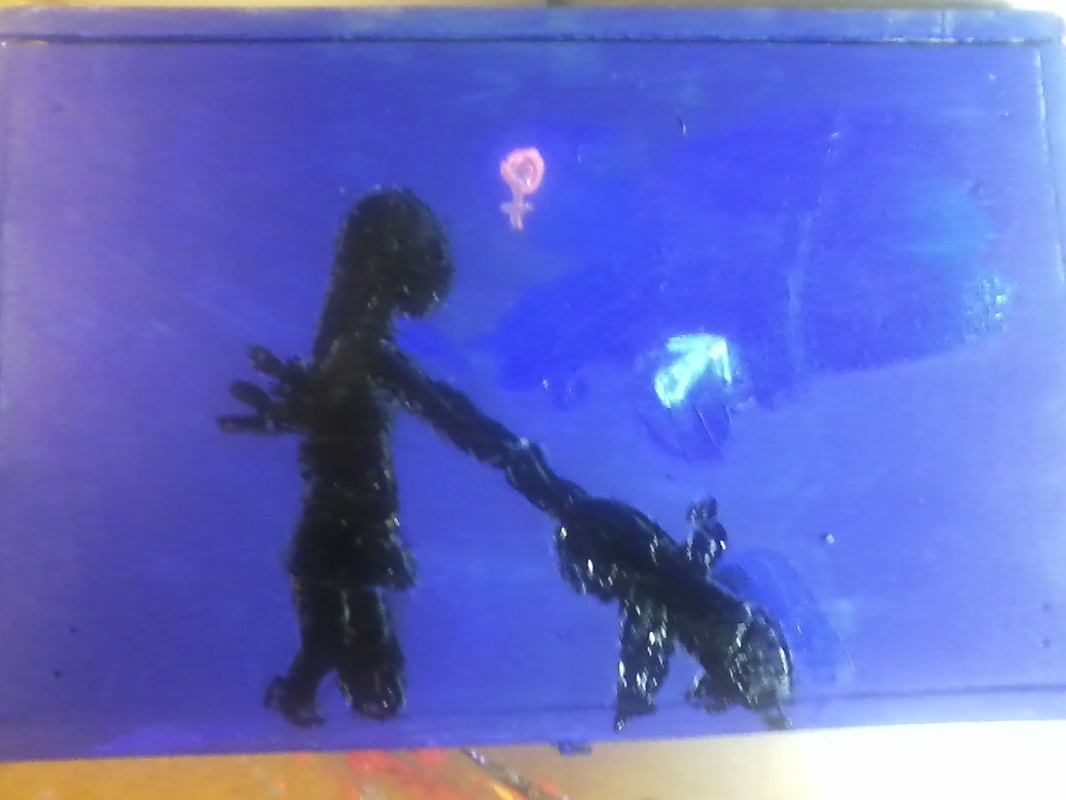
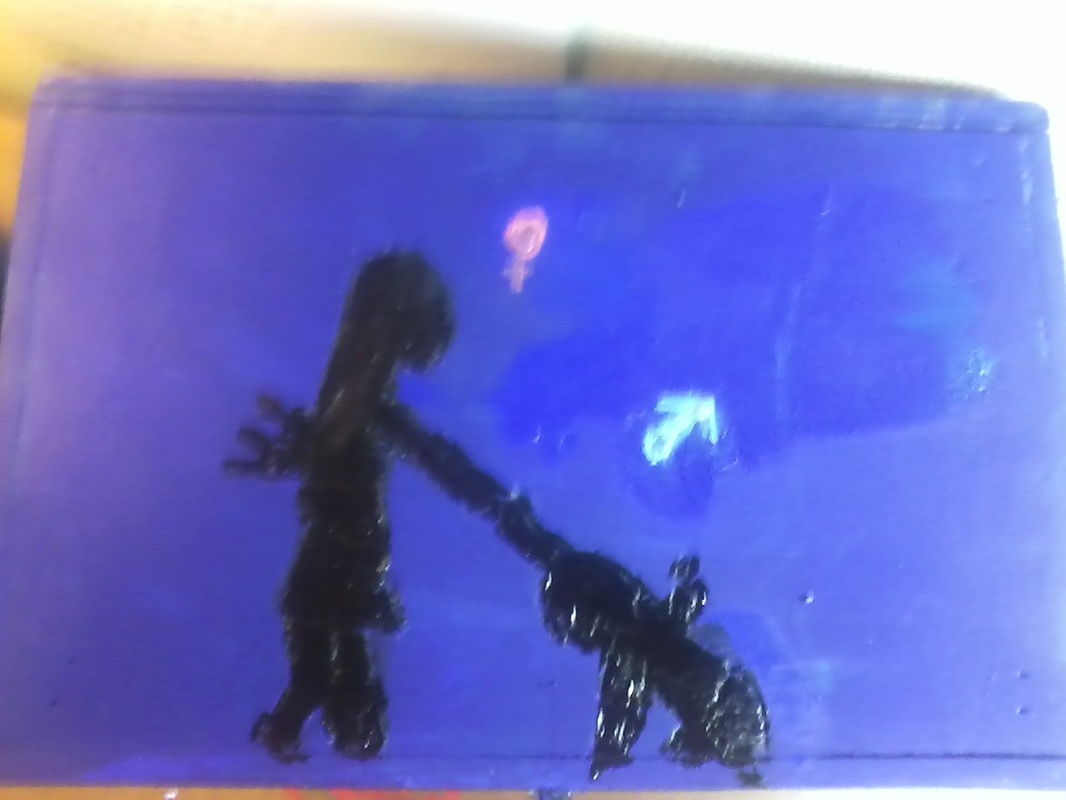
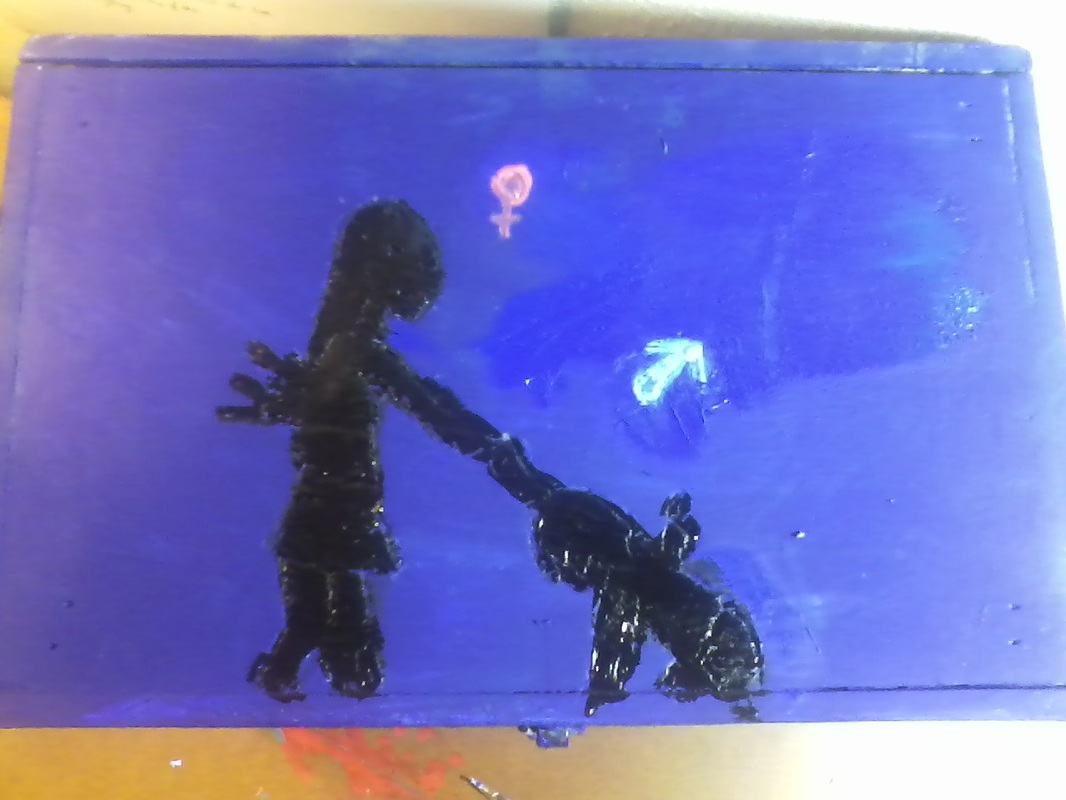
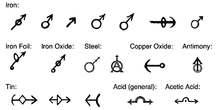
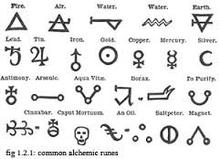
I planned on making symbols. One reason I planned the male's arrow at that angle was for something nobody else would know, because not everyone knows what alchemy is. But there are a lot of runes in a transmutation circle, but the runes for iron is what I am using. The boy must act tough so they will not be judged, or even......scolded for not being tough, by society, by almost everyone. So I am making the symbol for a male at that angle because it then faces the same direction as the rune for iron, which they have to act like they are made of, even though they could be weak as glass.
Alchemy has always been an interest of mine, and so I wanted to use the male's symbol the same way.
Alchemy has always been an interest of mine, and so I wanted to use the male's symbol the same way.
|
Alvarez, Santiago, and ChemViews. "Arrows In Alchemy Symbols." Digital image. Chemistry Views. November 6, 2012. Accessed October 8, 2016. http://www.chemistryviews.org/details/ezine/2746271/History_and_Usage_of-Arrows_in_Chemistry.html
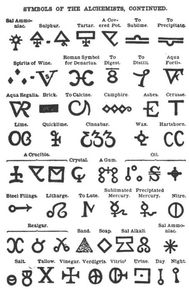
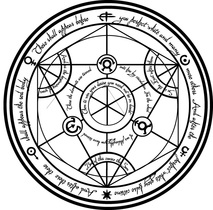
"Transmutation Circle." Digital image. Deviant Art. September 6, 2009. Accessed October 8, 2016. http://pedro-kun.deviantart.com/art/Transmutation-Circle-14606317. SoEccentric, Cyndi. "Symbols of the Alchemists, Continued." Digital image. Blog Spot. November 3, 2013. Accessed October 8, 2016. http://iamcyndi.blogspot.com/2013_11_01_archive.html. "Symbols Of the Alchemists and Their Significance." Digital image. Before It's News. July 30, 2014. Accessed October 8, 2016. http://beforeitsnews.com/strange/2014/07/fulcanelli-alchemy-and-the-socorro-insigniasymbol-2457438.html. |
EXPERIMENTATION IN BUILDING
In the process were also many mistakes and having to work around them.
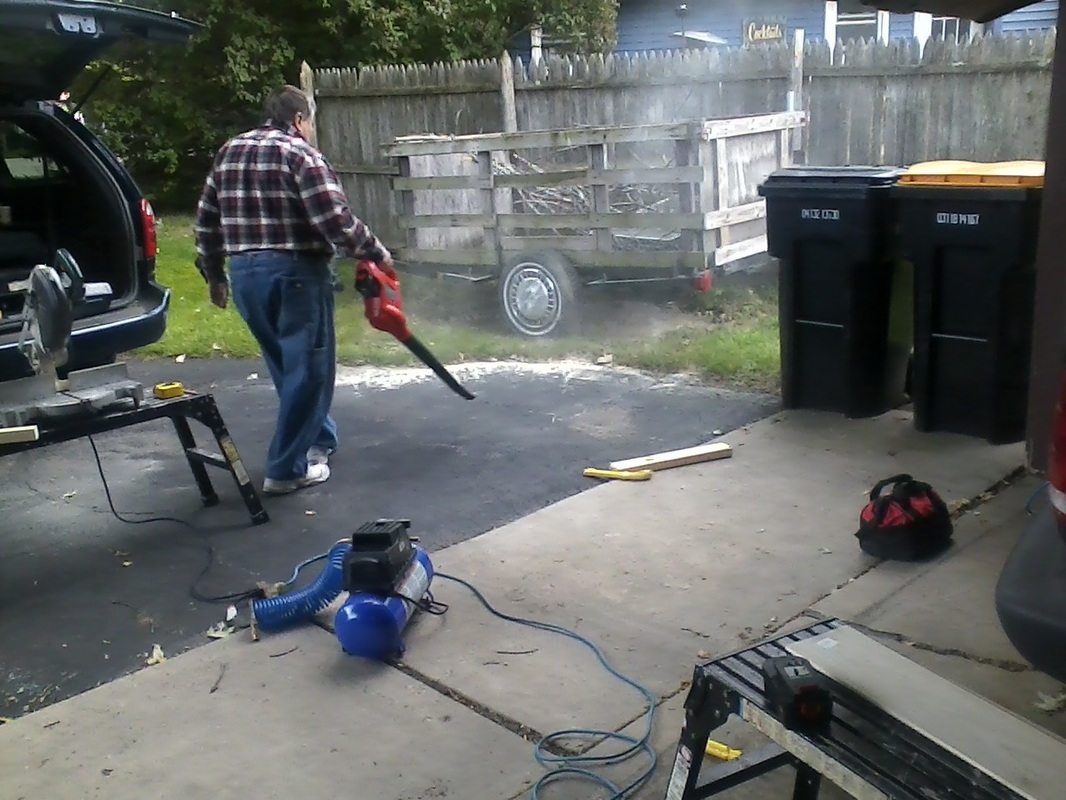
In the beginning of the process, when my dad and grandfather were testing to see if the angle on the saw was right, they ran scrap wood through the saw.
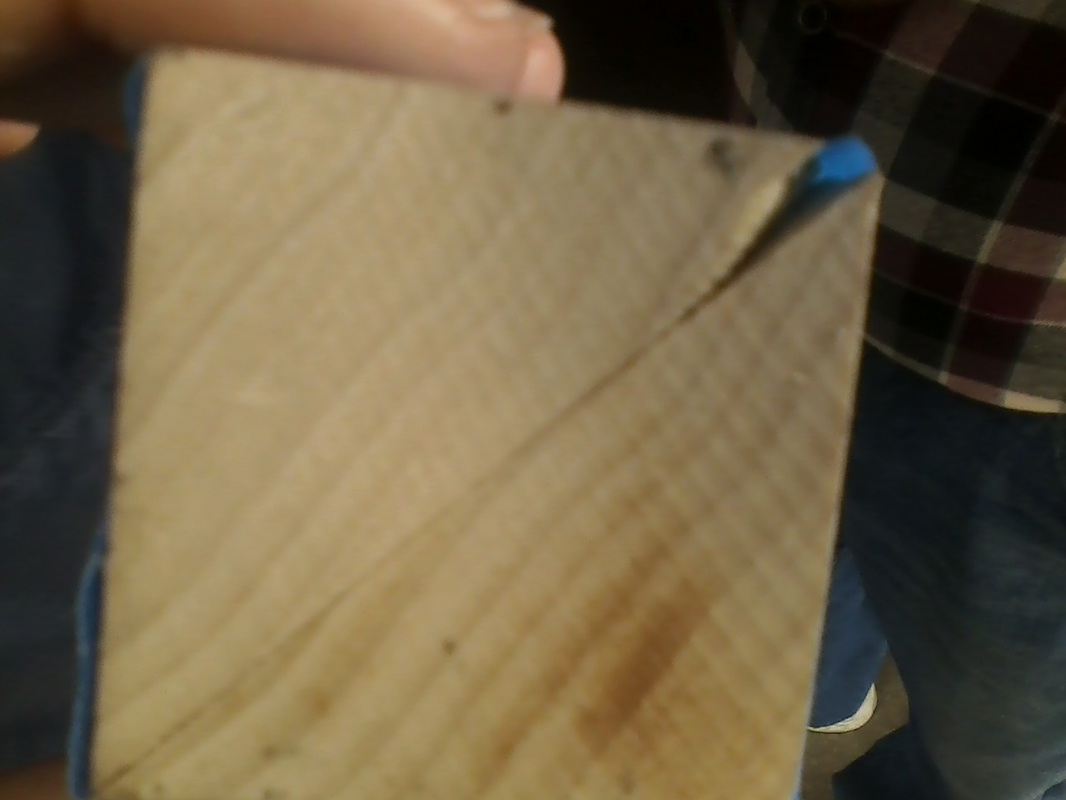
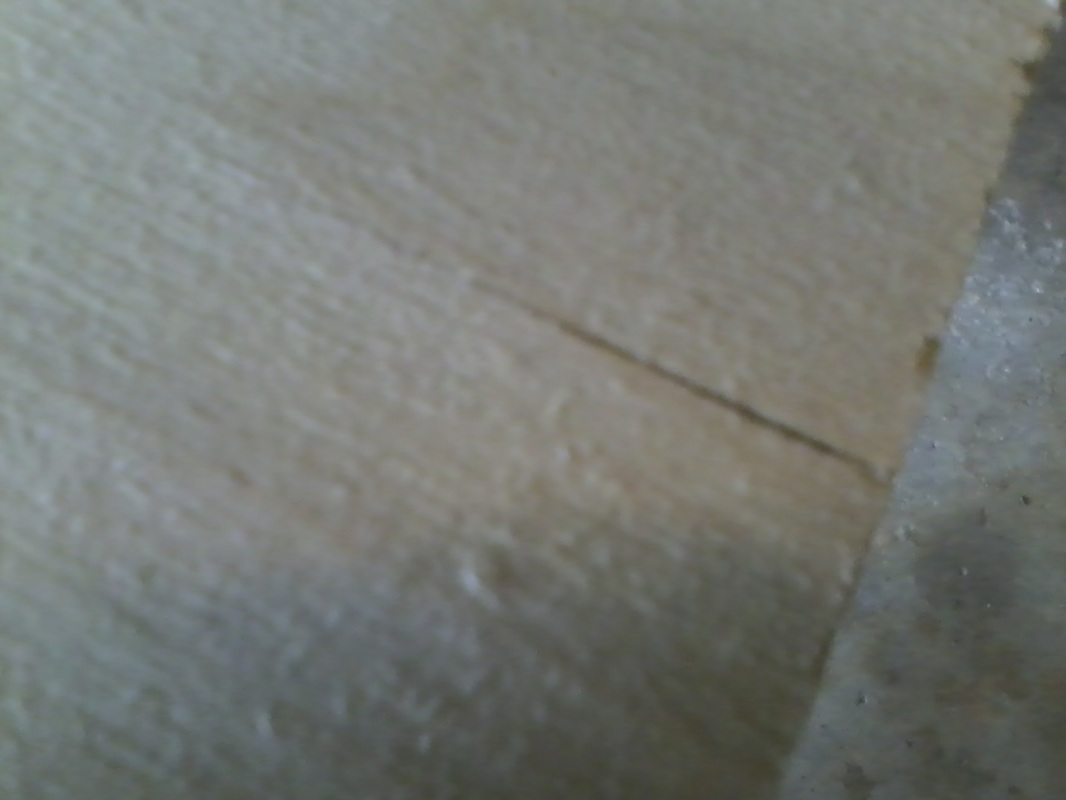
At one point, the wood cut a little off. There ended up a small crack in the corner of the cut wood.
At another point, we found out the end of one of the boards had a crack at the end of it, which was mildly irritating.
The most aggravating point was when my dad accidentally used my rough numbers for the plans instead of his exact ones, so he had to scrap two of the would-be completed pieces. Luckily, there was wood to spare from what we had, and we were able to make ones with the correct measurements. There was a lot of mistakes and mild setbacks in the project, but it was completed by the end of the day.
The set-up, the cutting, the building, the etching and the sanding took about 4 or 5 hours total, and then I could finally start painting.....that was a challenge on its own.
Especially since in the etching, my hand tremors made me twitch a lot when holding the dremel, which made some big mistakes I had to work around when painting.
In the process were also many mistakes and having to work around them.
In the beginning of the process, when my dad and grandfather were testing to see if the angle on the saw was right, they ran scrap wood through the saw.
At one point, the wood cut a little off. There ended up a small crack in the corner of the cut wood.
At another point, we found out the end of one of the boards had a crack at the end of it, which was mildly irritating.
The most aggravating point was when my dad accidentally used my rough numbers for the plans instead of his exact ones, so he had to scrap two of the would-be completed pieces. Luckily, there was wood to spare from what we had, and we were able to make ones with the correct measurements. There was a lot of mistakes and mild setbacks in the project, but it was completed by the end of the day.
The set-up, the cutting, the building, the etching and the sanding took about 4 or 5 hours total, and then I could finally start painting.....that was a challenge on its own.
Especially since in the etching, my hand tremors made me twitch a lot when holding the dremel, which made some big mistakes I had to work around when painting.


PROCESS
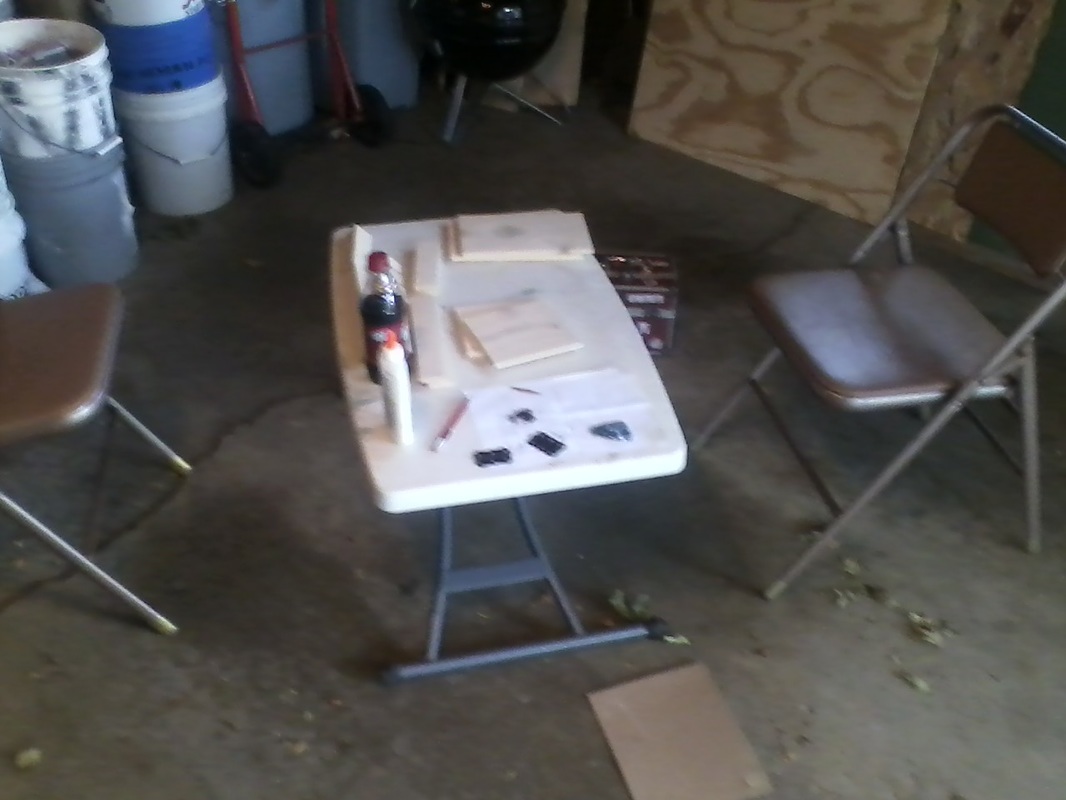
I gather all of my materials and began building immediately. Sunday October 9, I visited my grandparents. My father, who has experience, helped me use things like the table saw. Since my grandparents tend to want to......socialize, I asked my mom to request that I be left alone during my project, with the exception of dad's help. We began as soon as we arrived.
I kept the inside of the box plain because there's nothing inside, that alone was something I wanted to symbolize. For both someone weak and someone strong, they could have nothing inside of them, and still be either weak or strong, and in extreme terms, they could either be the hunter or the prey.
I kept the inside of the box plain because there's nothing inside, that alone was something I wanted to symbolize. For both someone weak and someone strong, they could have nothing inside of them, and still be either weak or strong, and in extreme terms, they could either be the hunter or the prey.
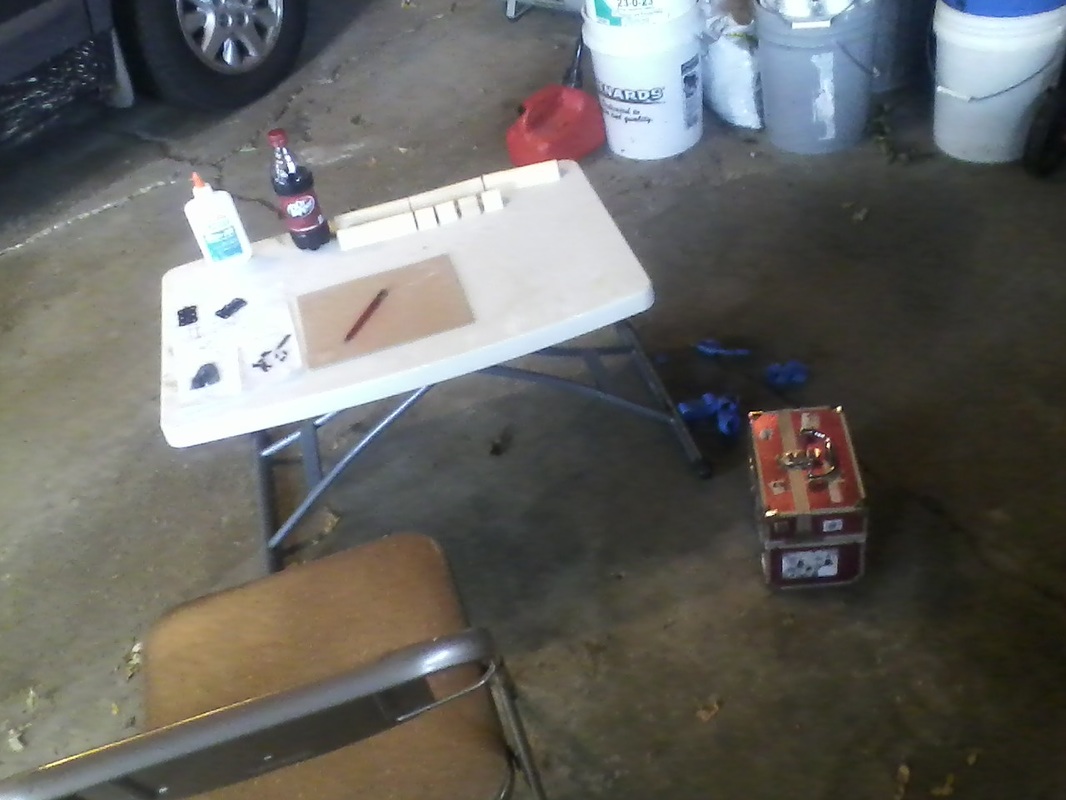
KEY POINTS IN THE PROCESS (WITH ONLY A FEW IN-PROCESS PHOTOS)

|
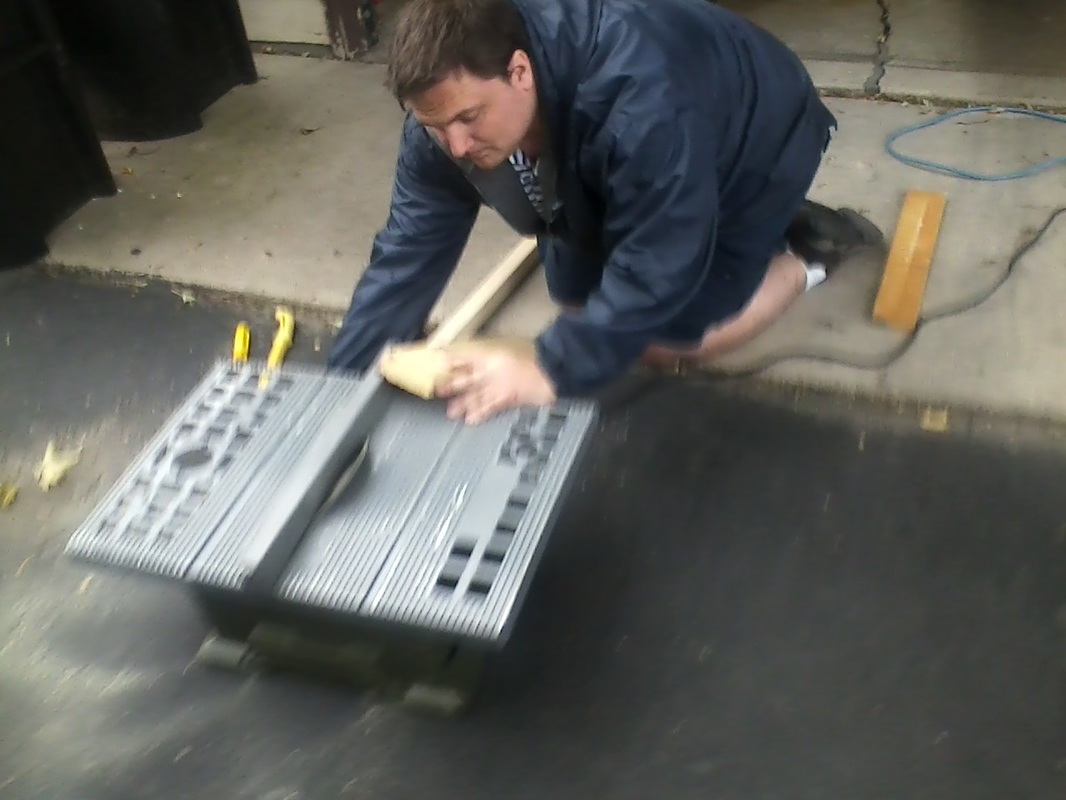
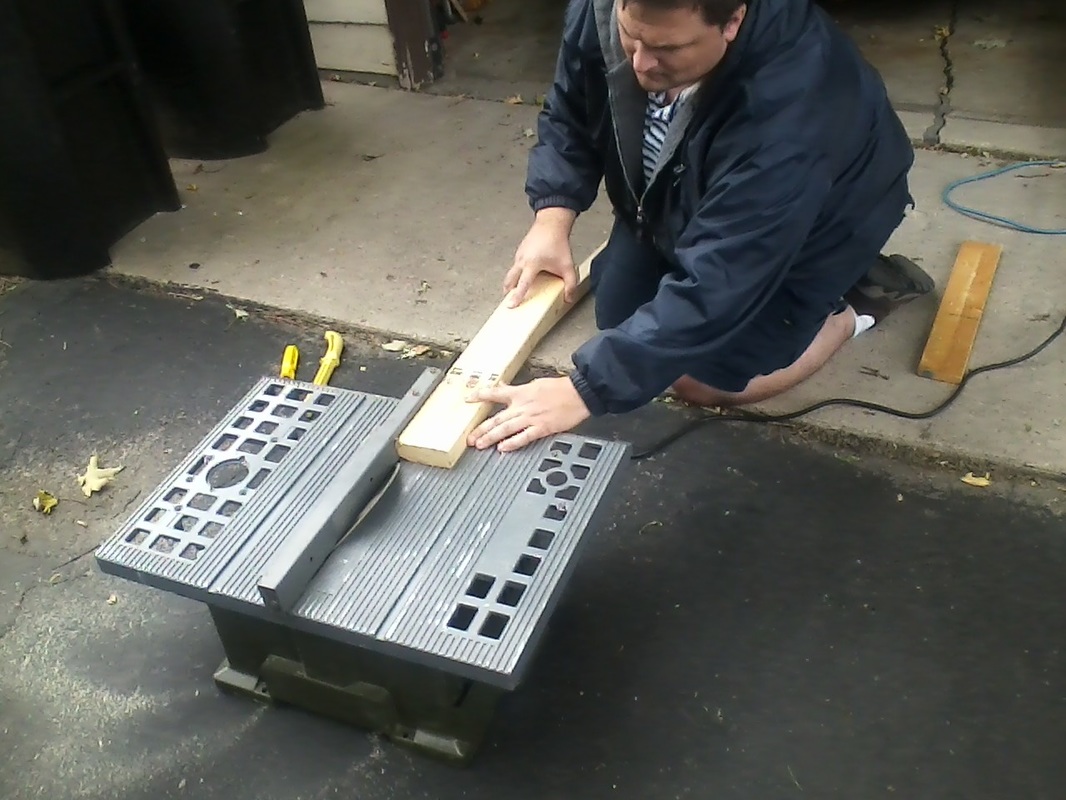
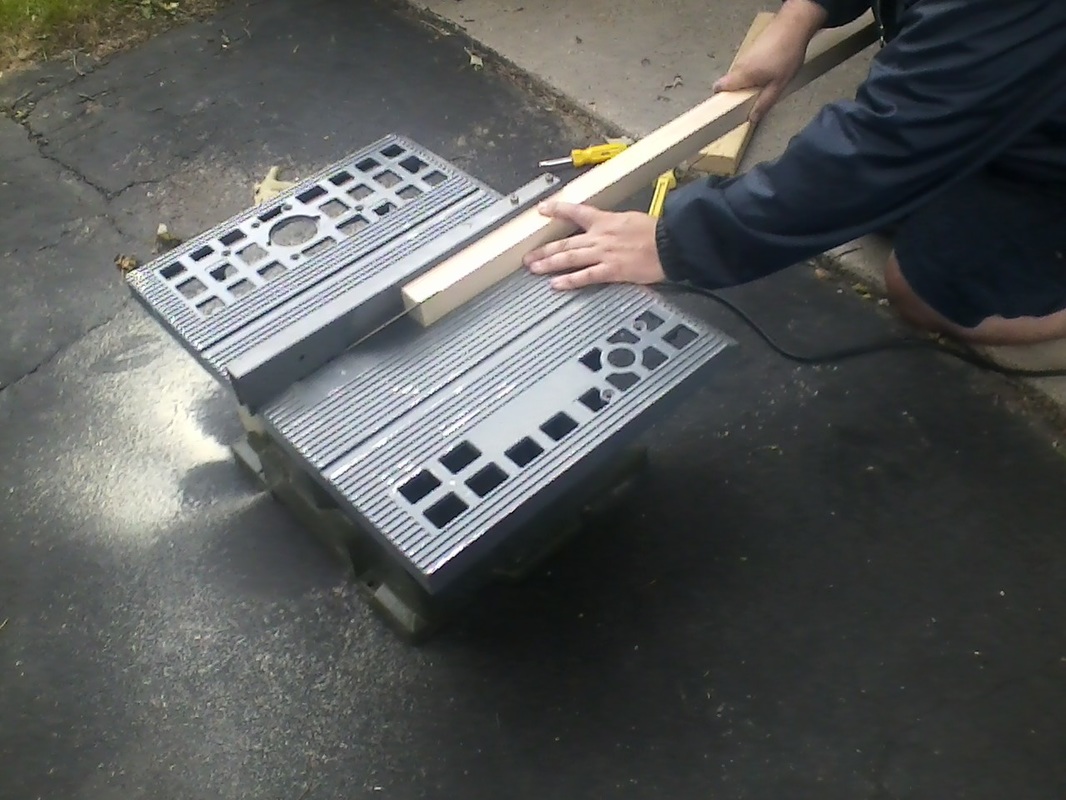
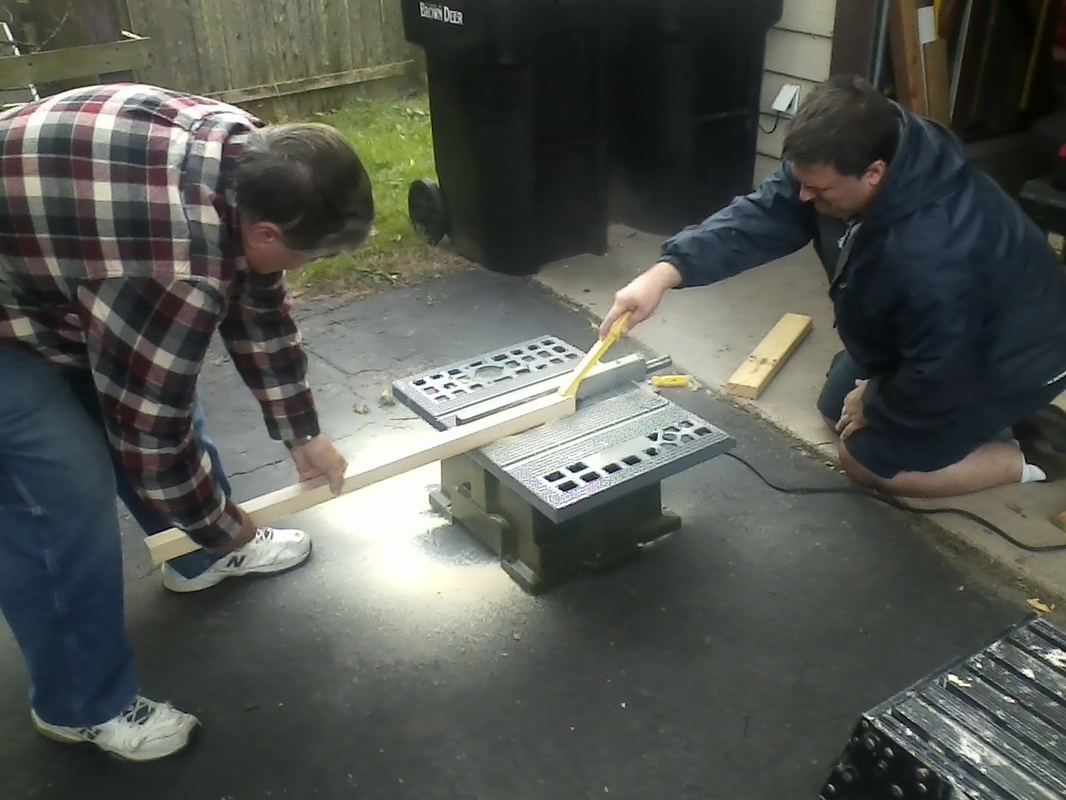
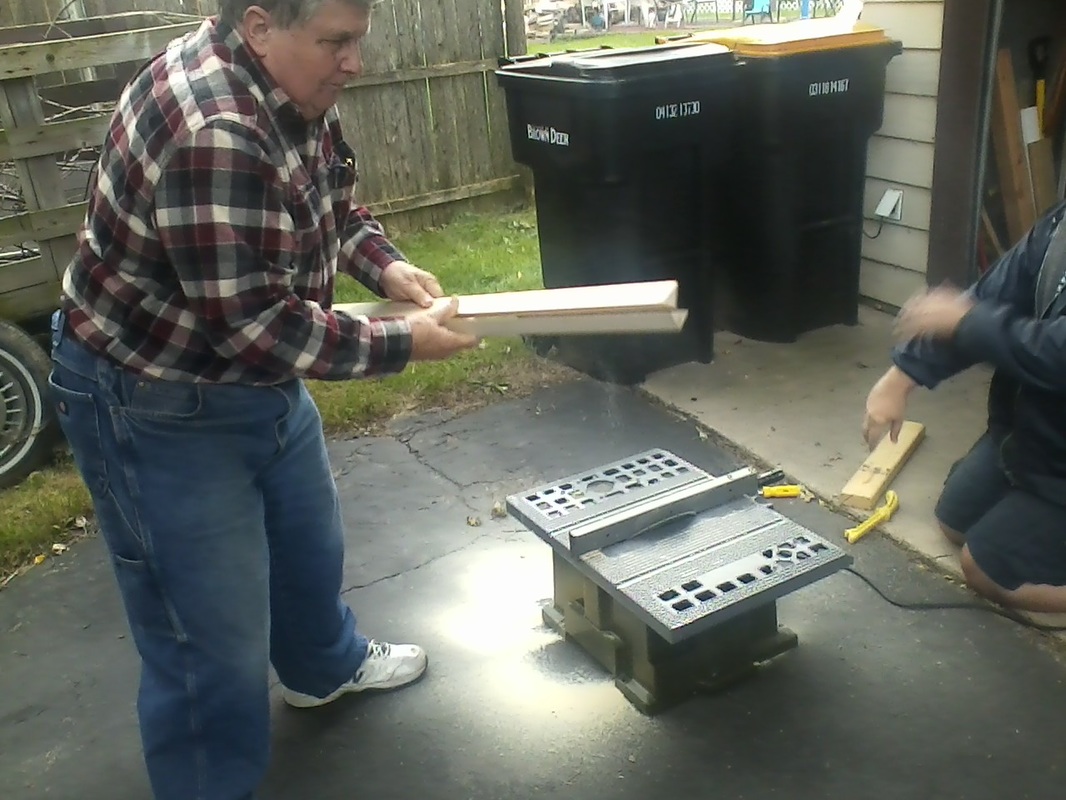
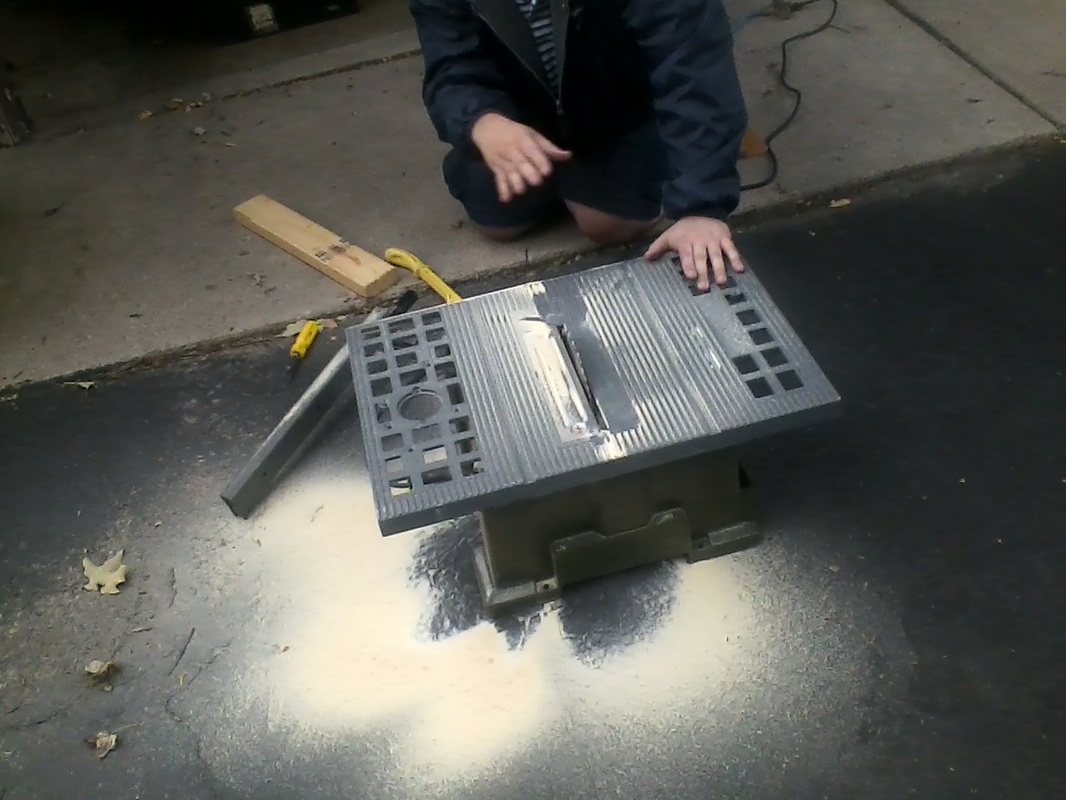
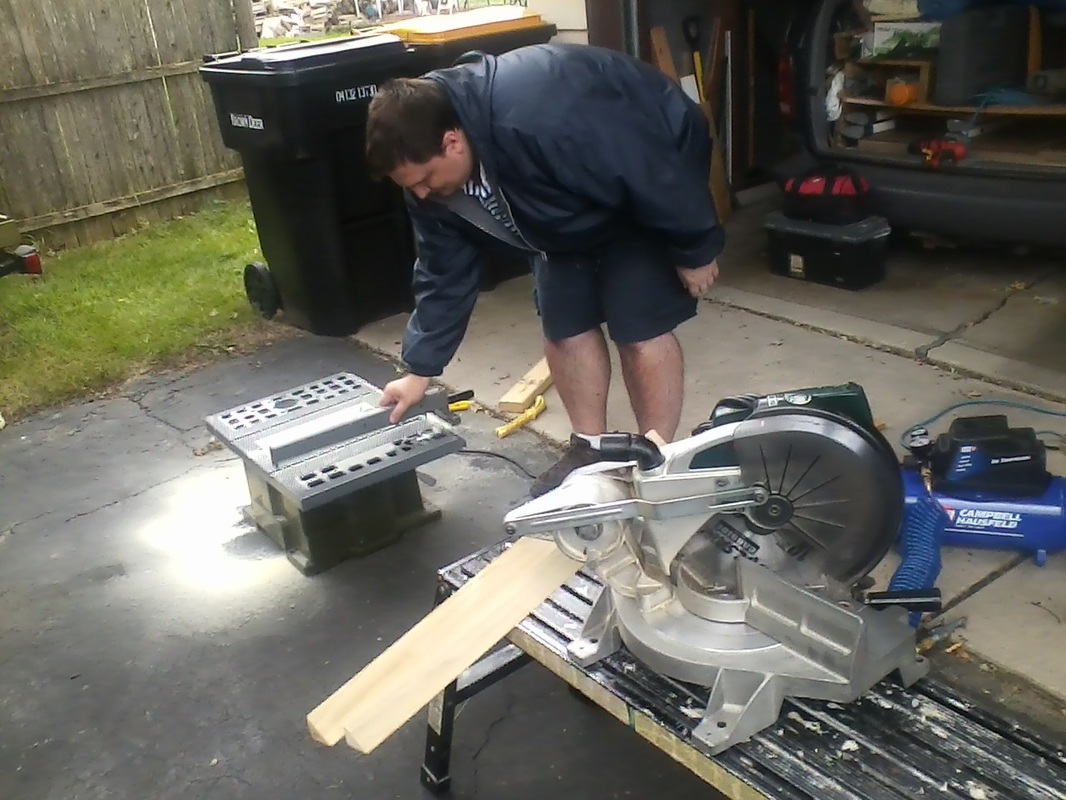
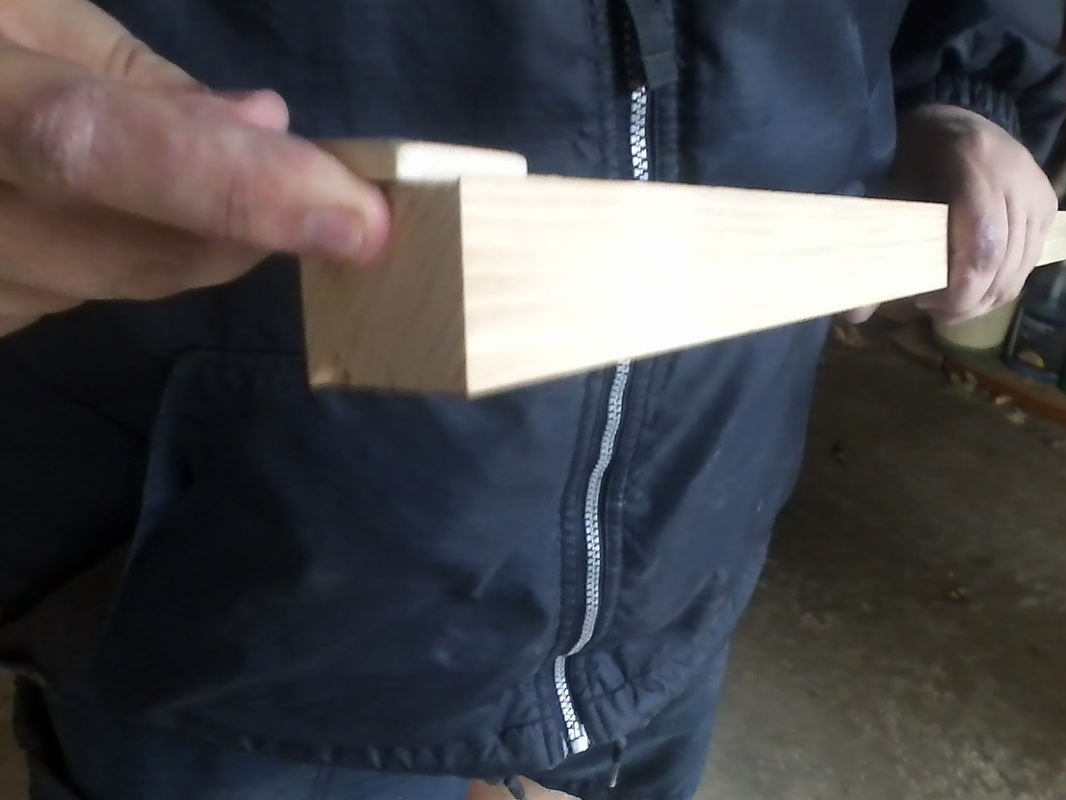
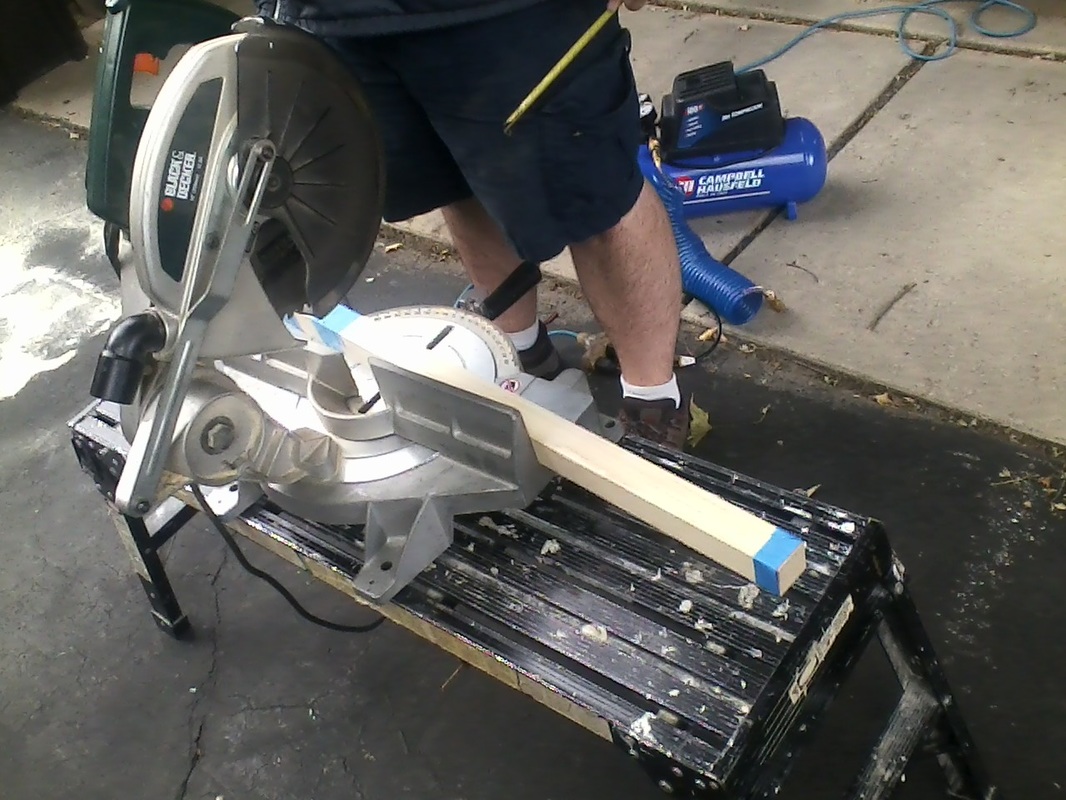
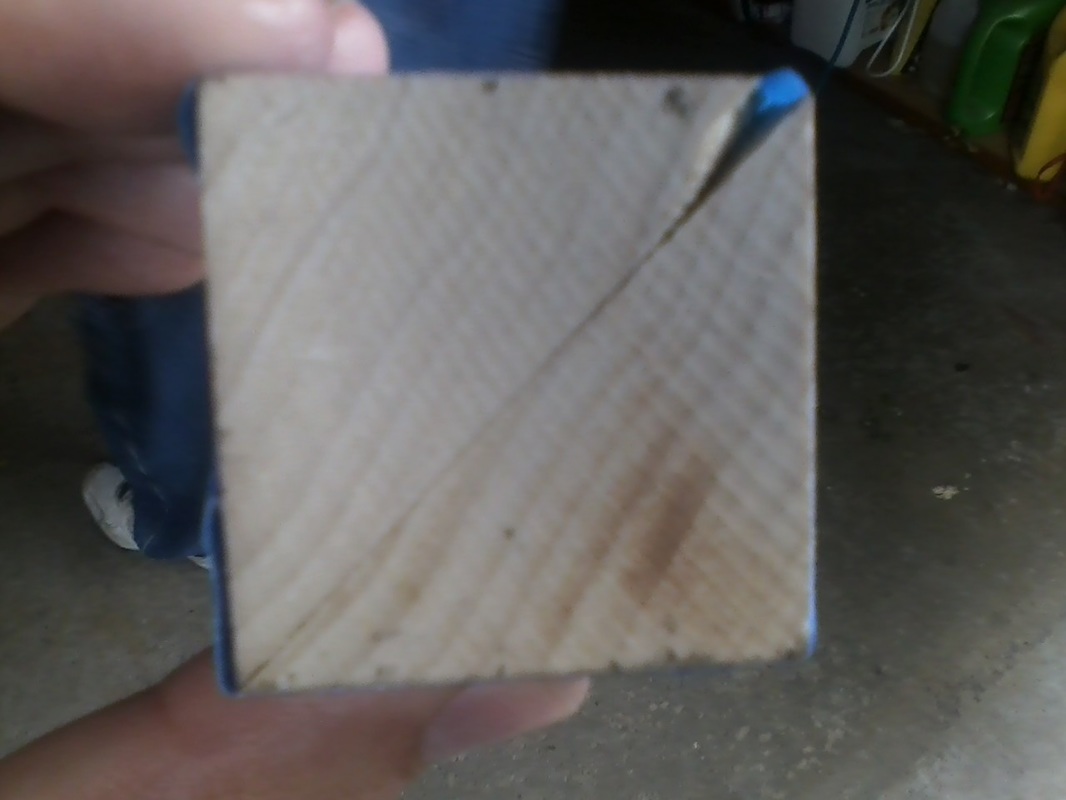
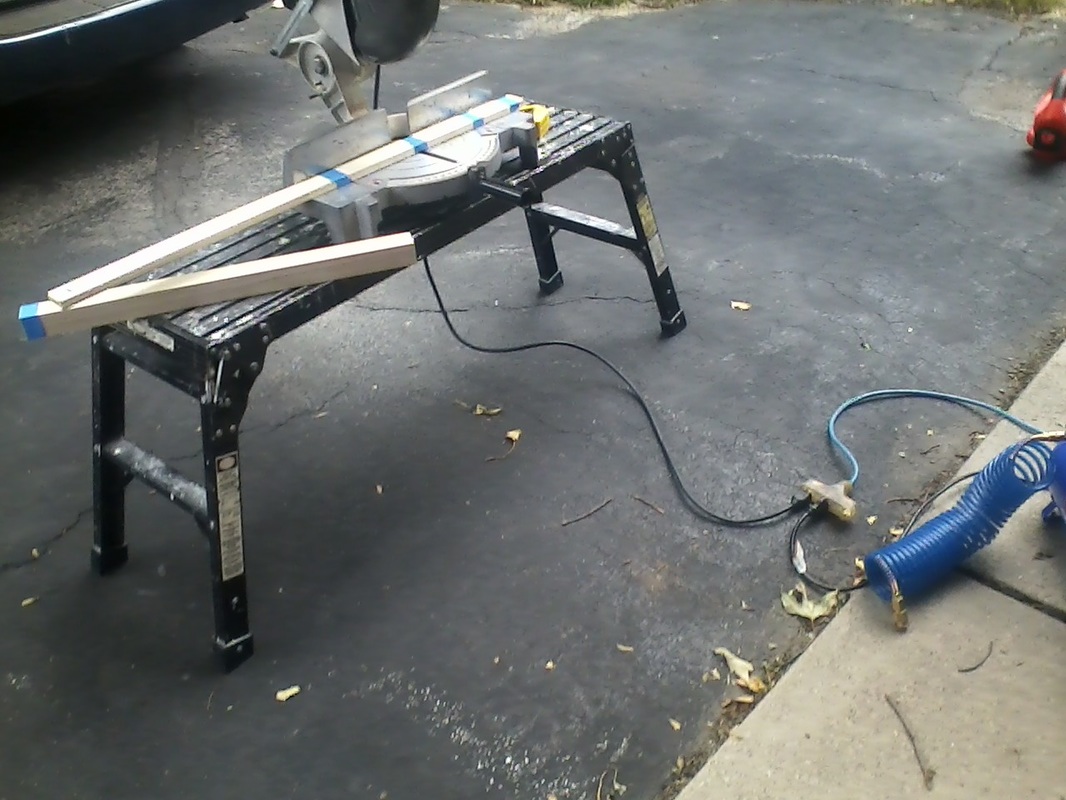
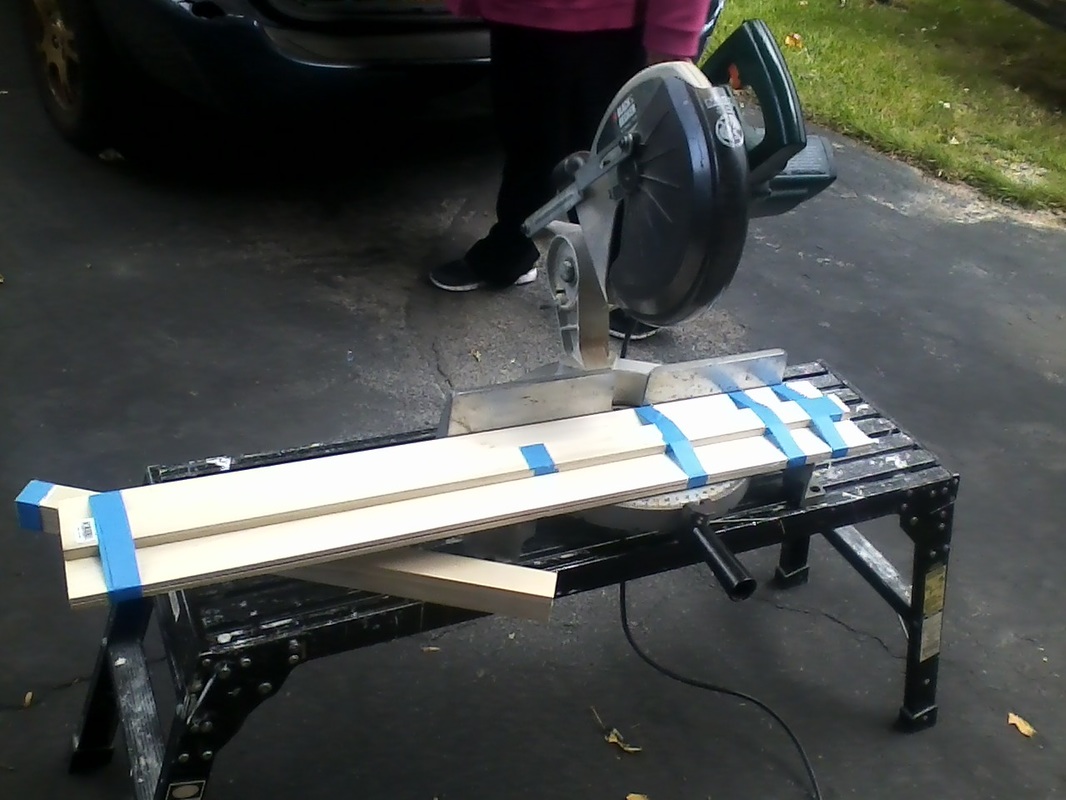
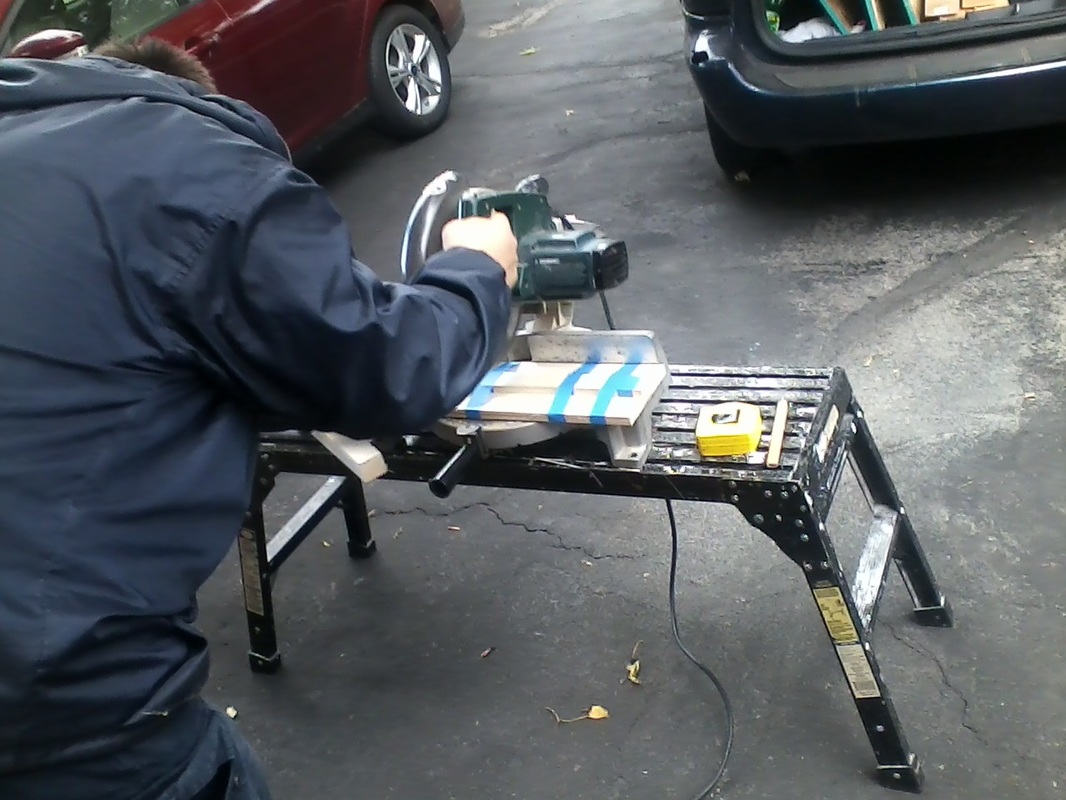
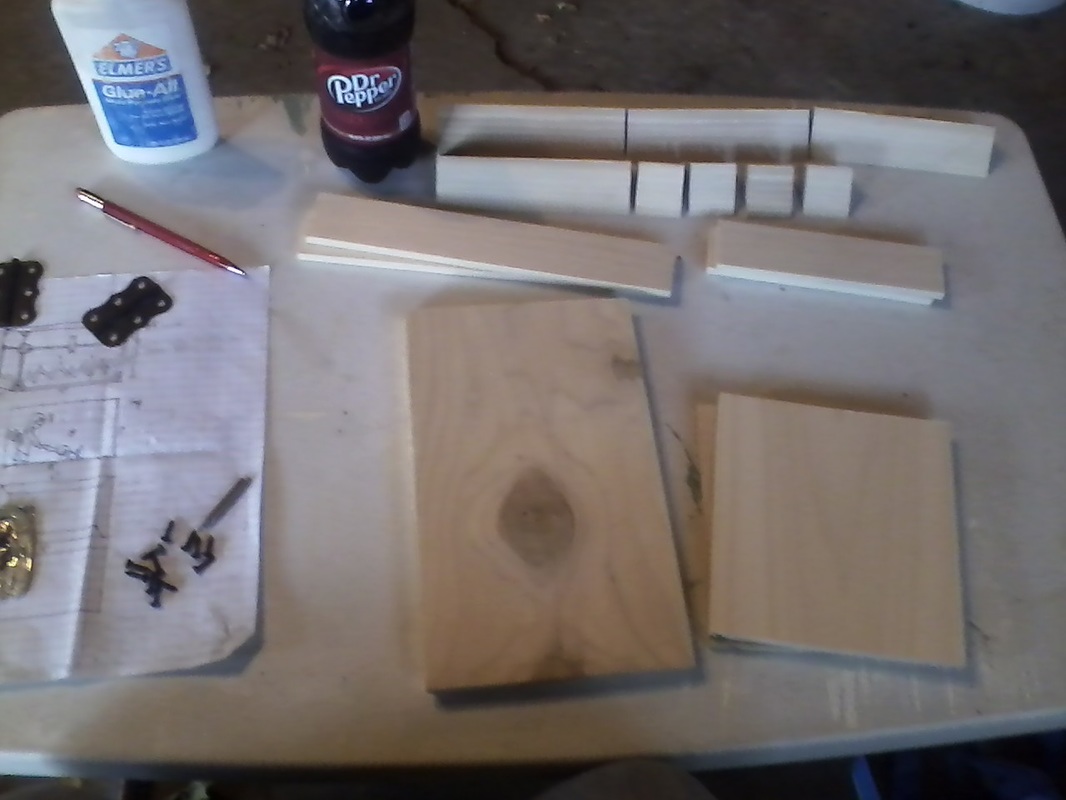
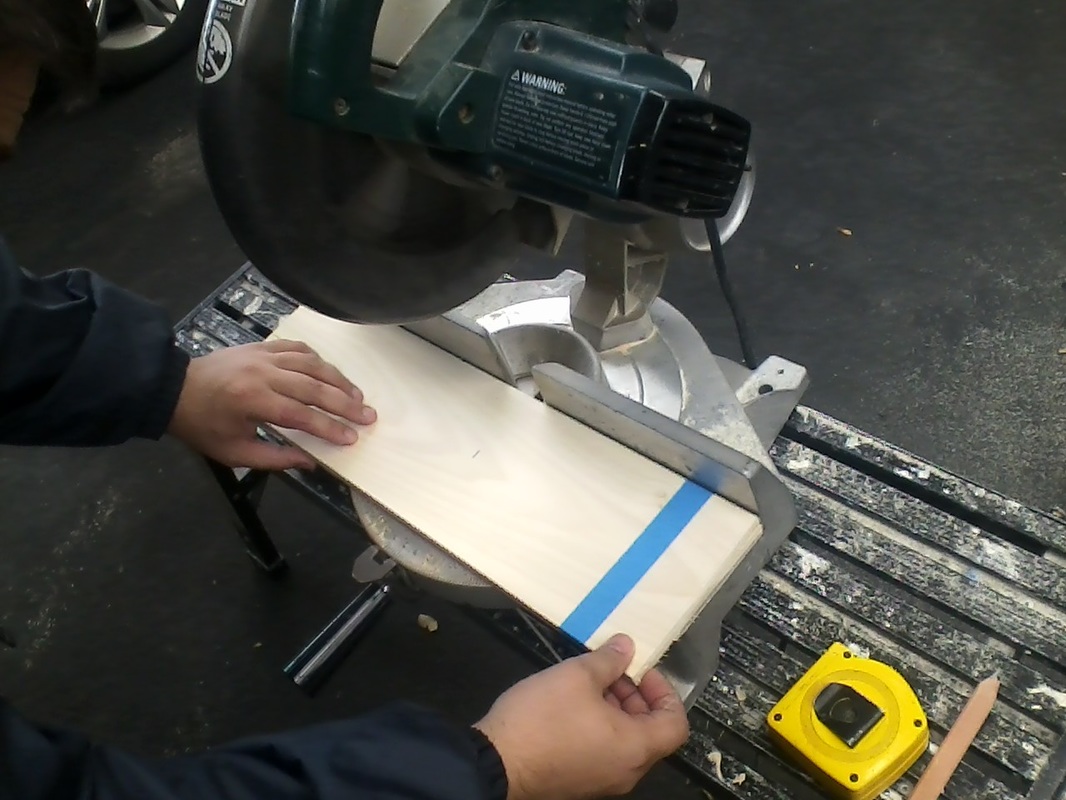
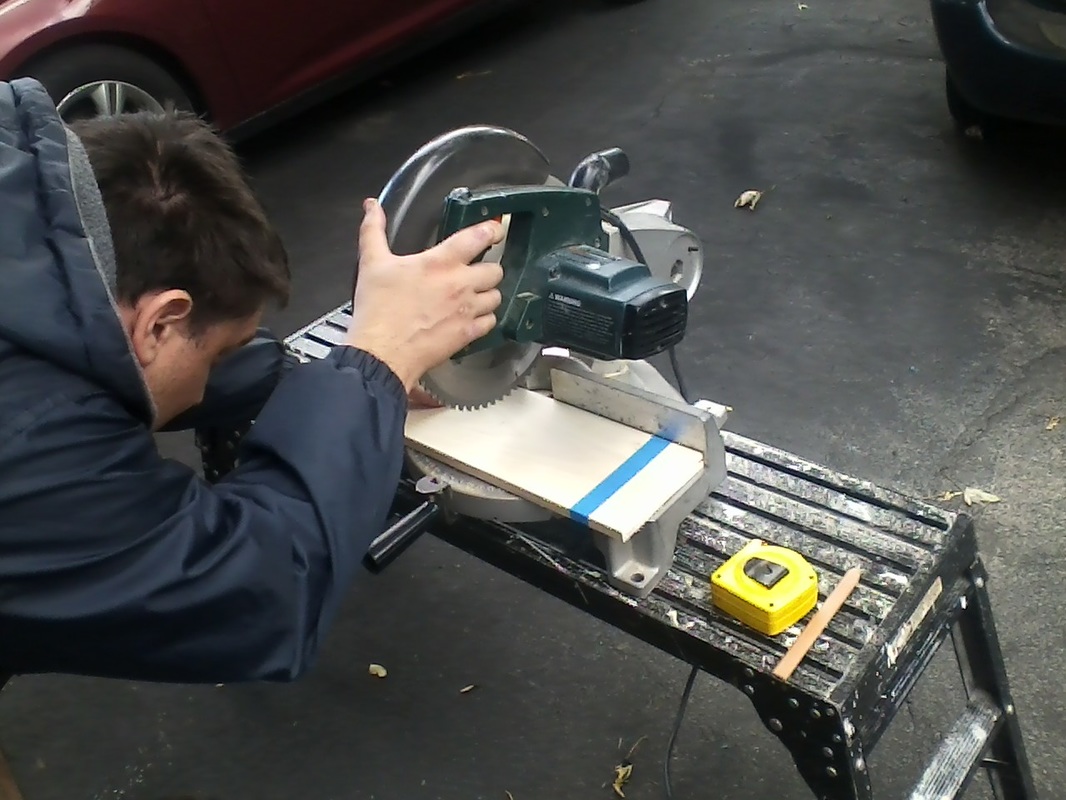
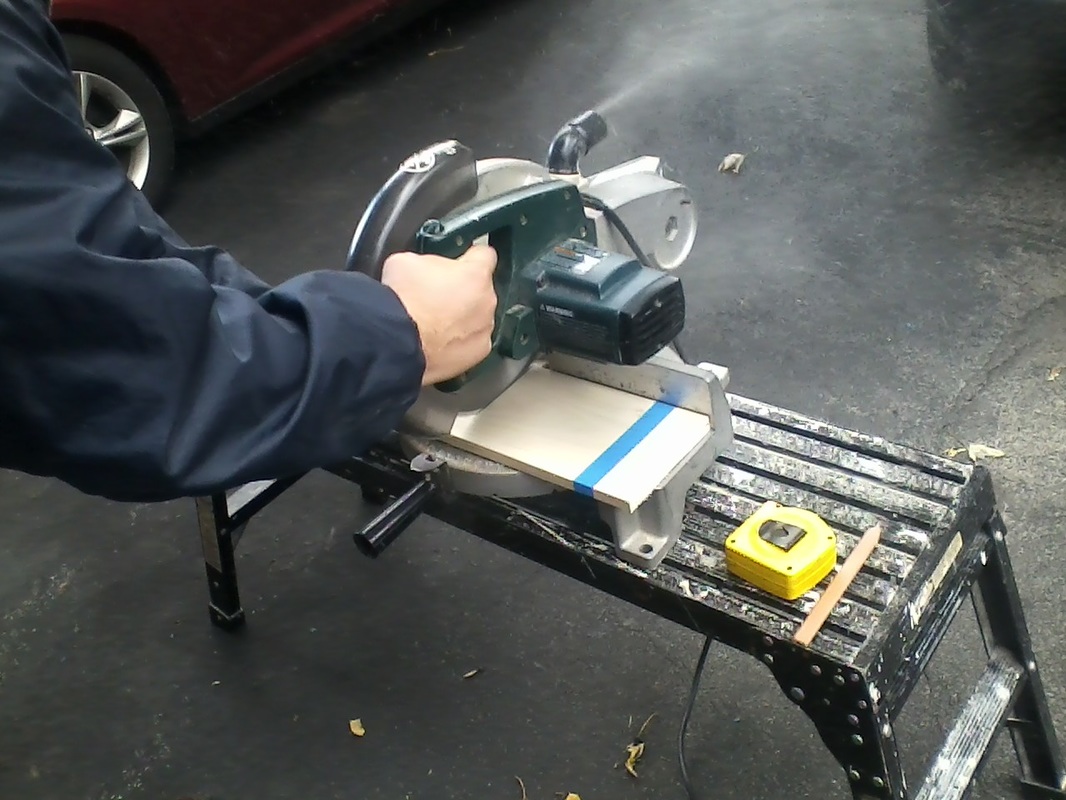
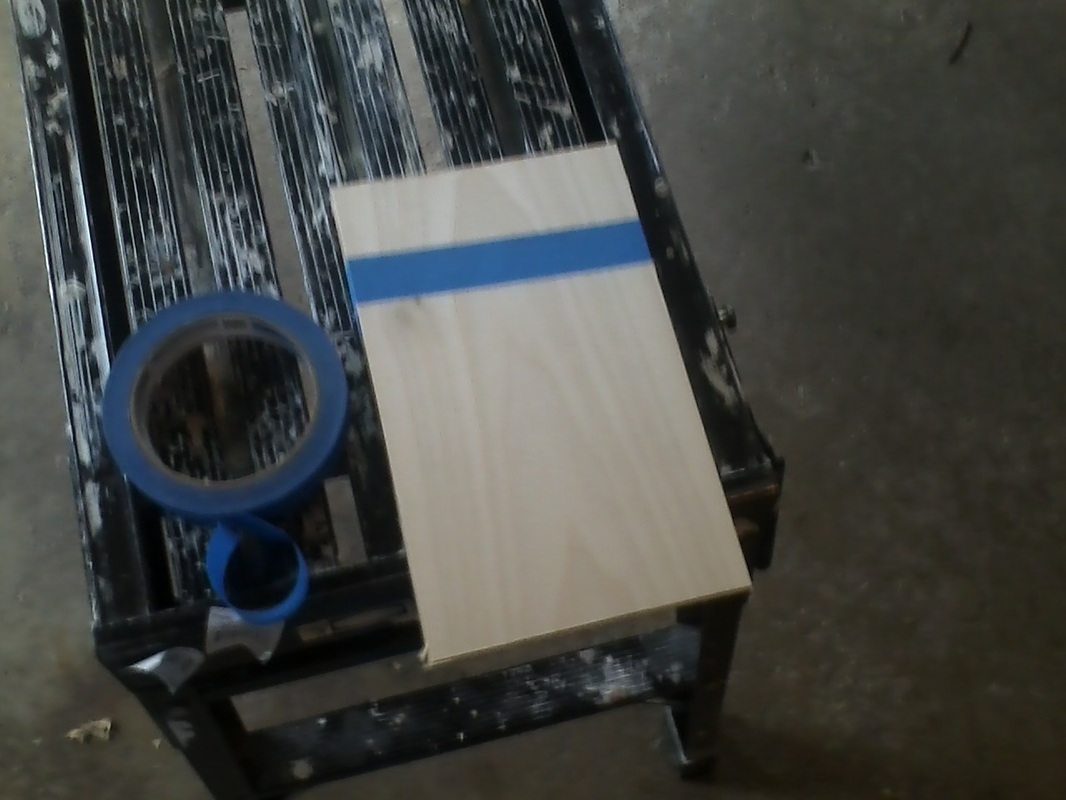
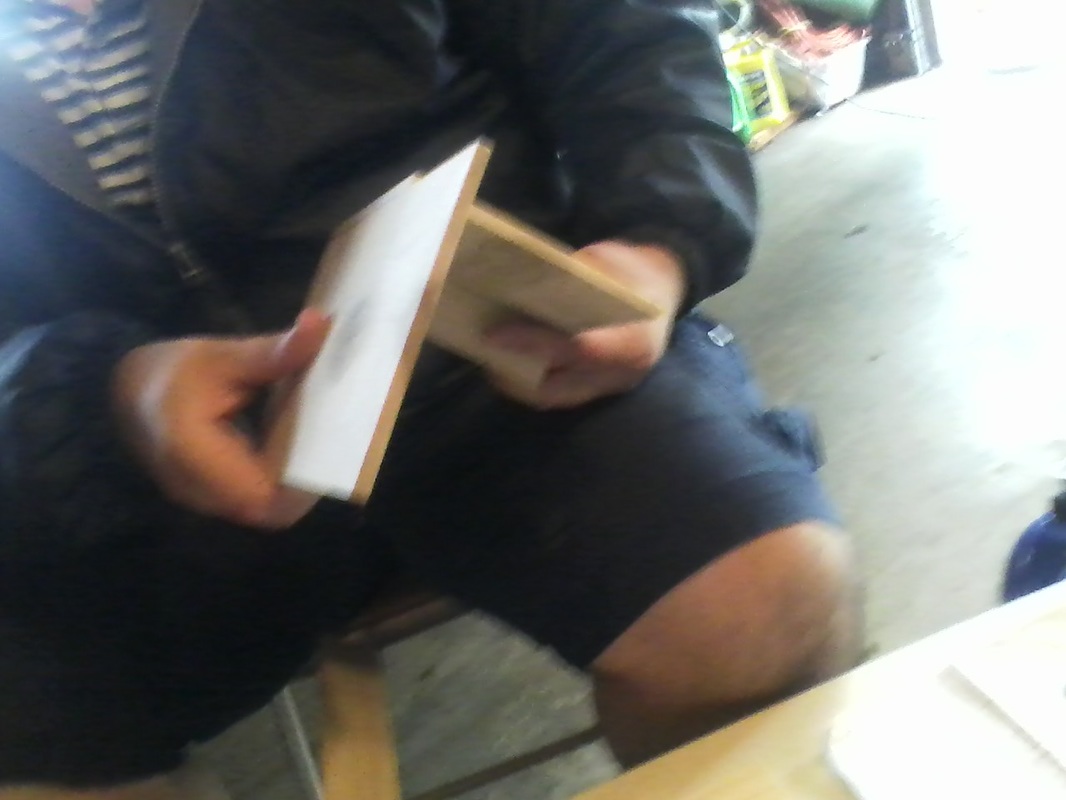
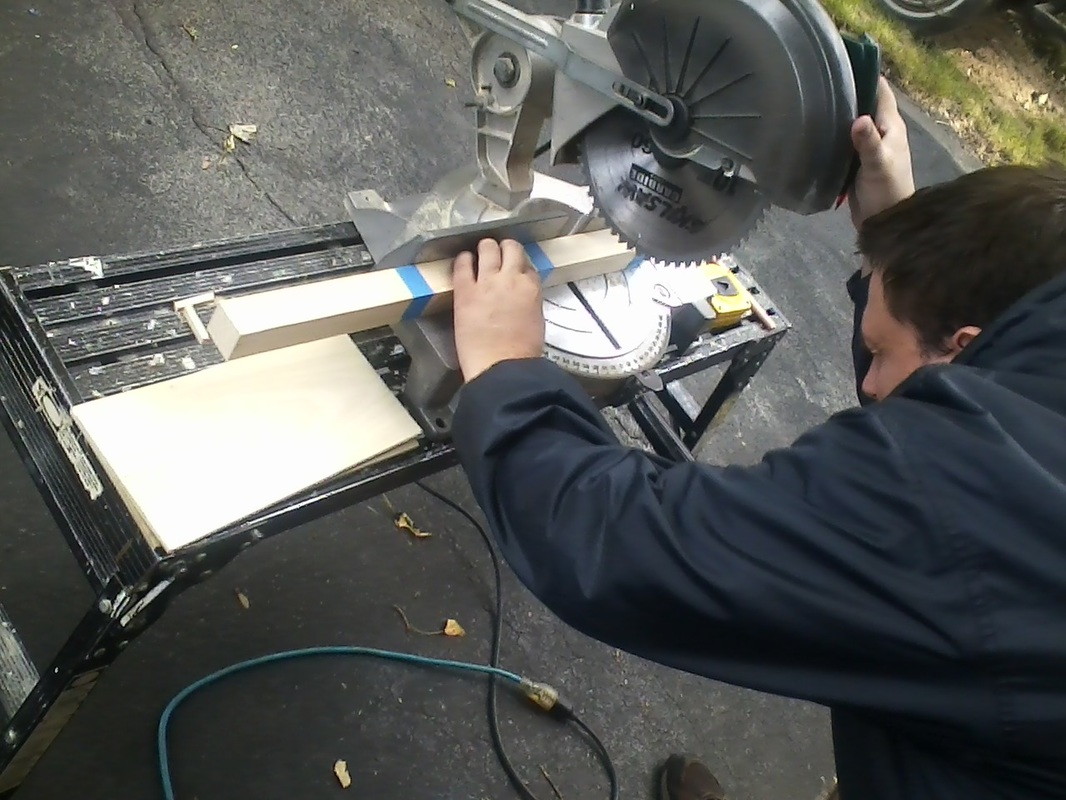
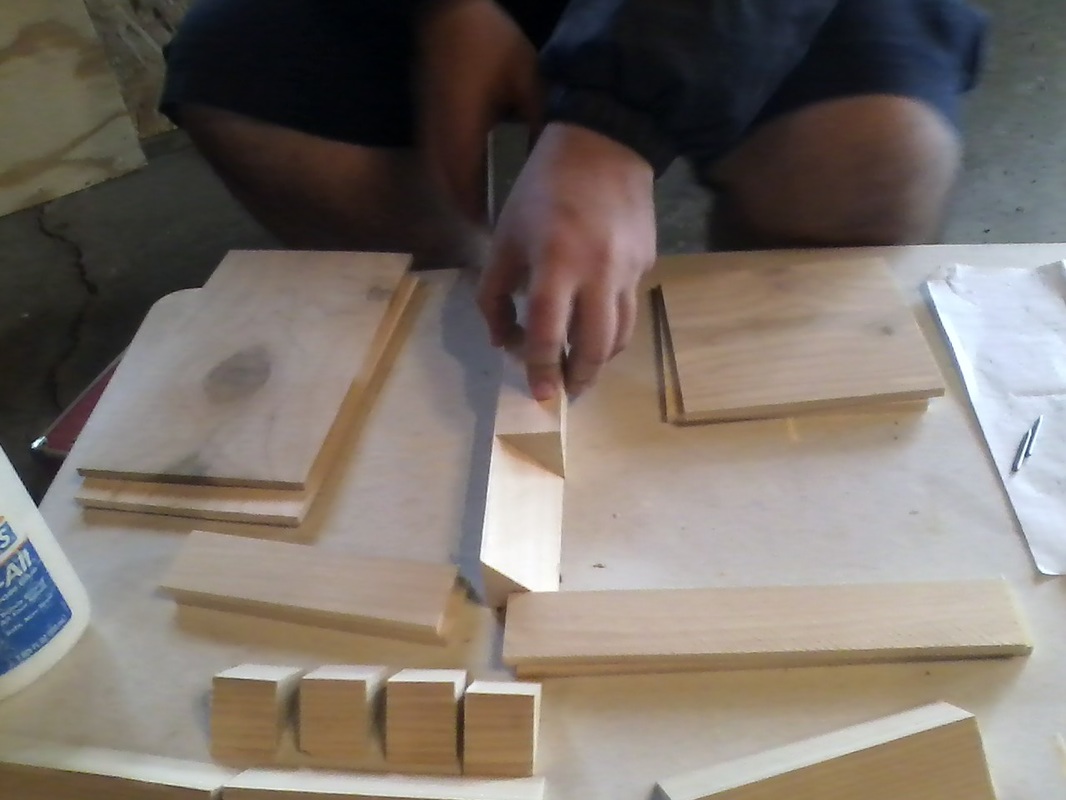
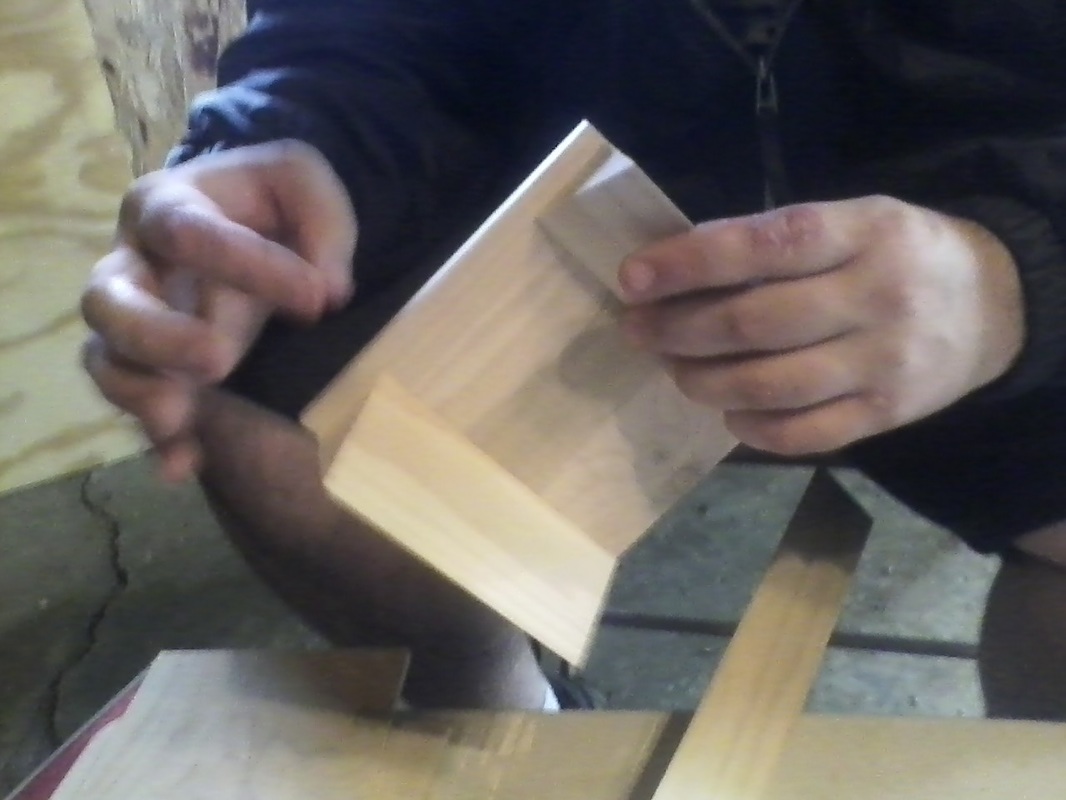
First my grandfather and my father cut the wood to size using the table saw. I can't use the saw without cutting my limbs off, so my grandfather and father, who have professional experience in this area, cut the wood for me. |
|
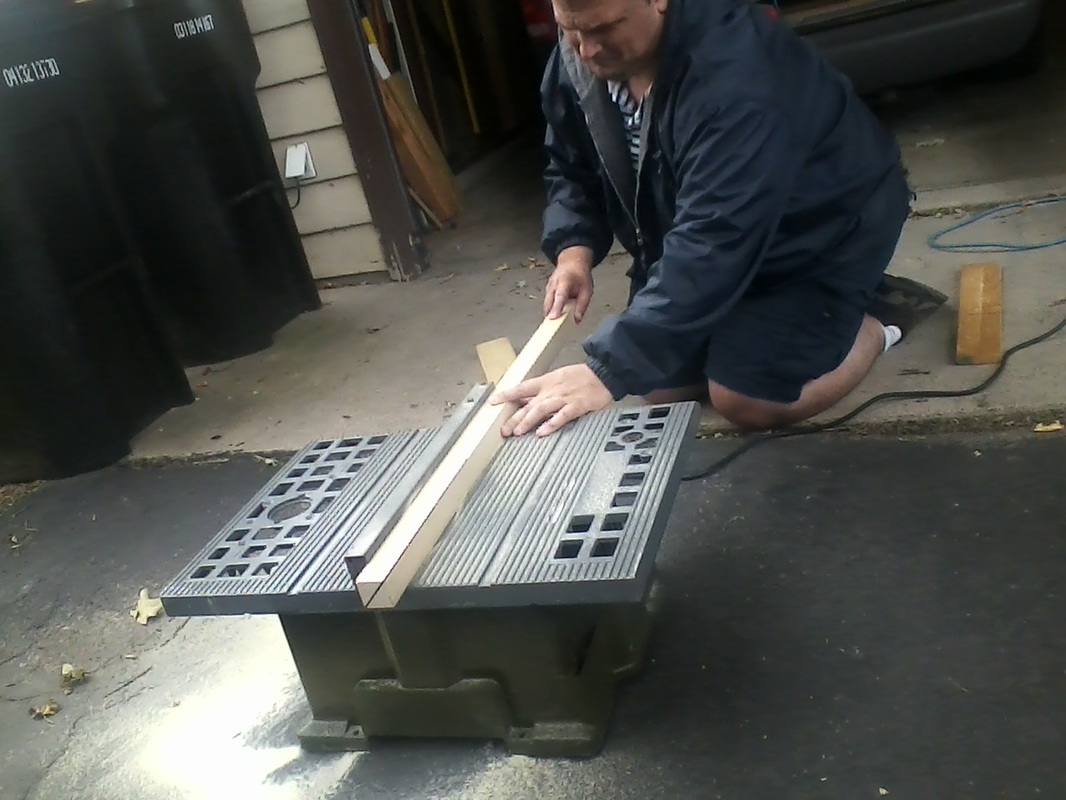
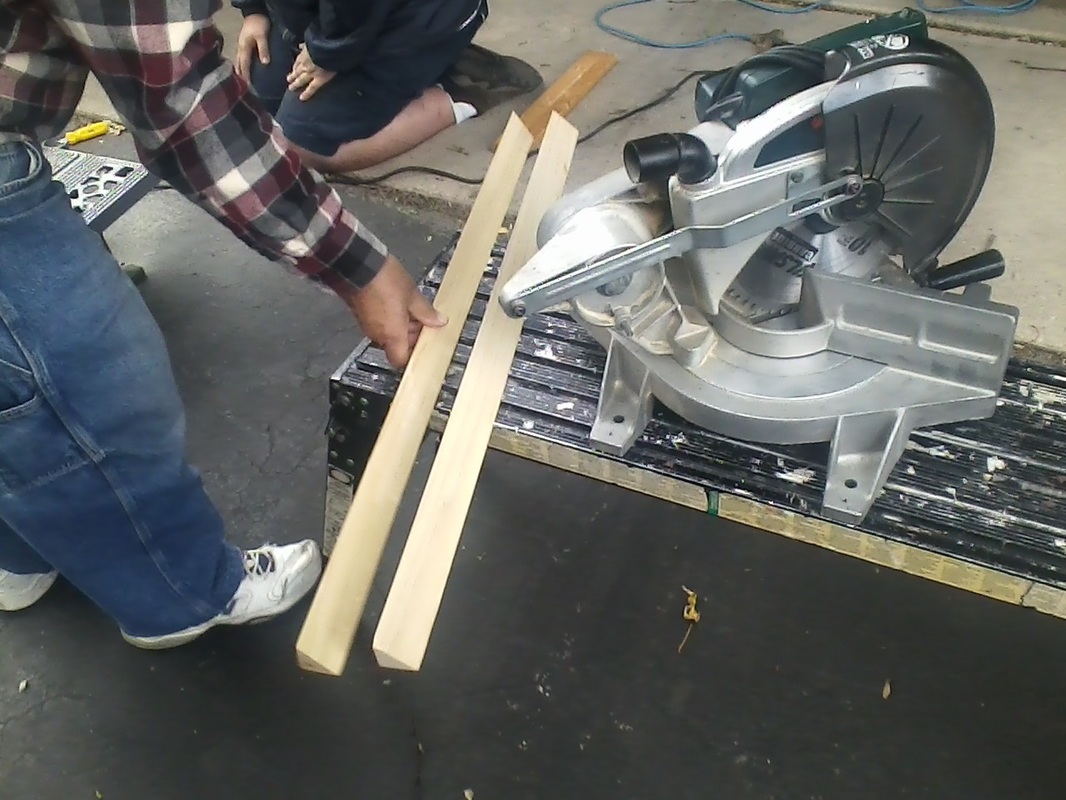
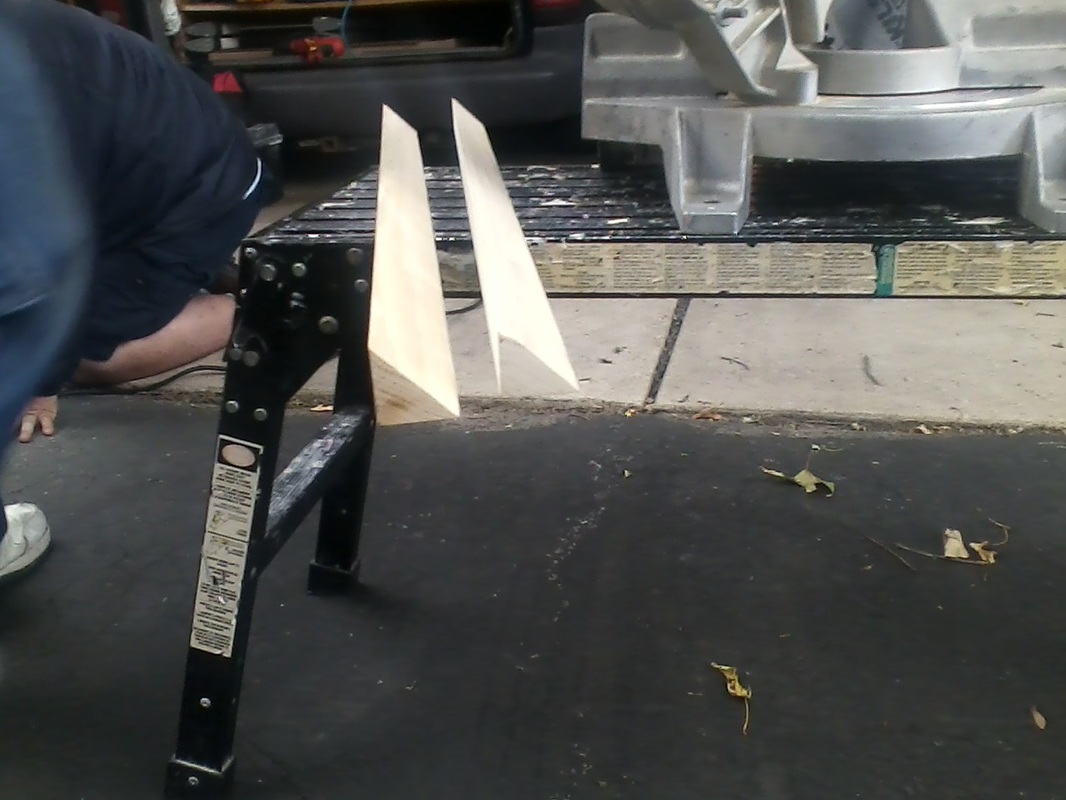
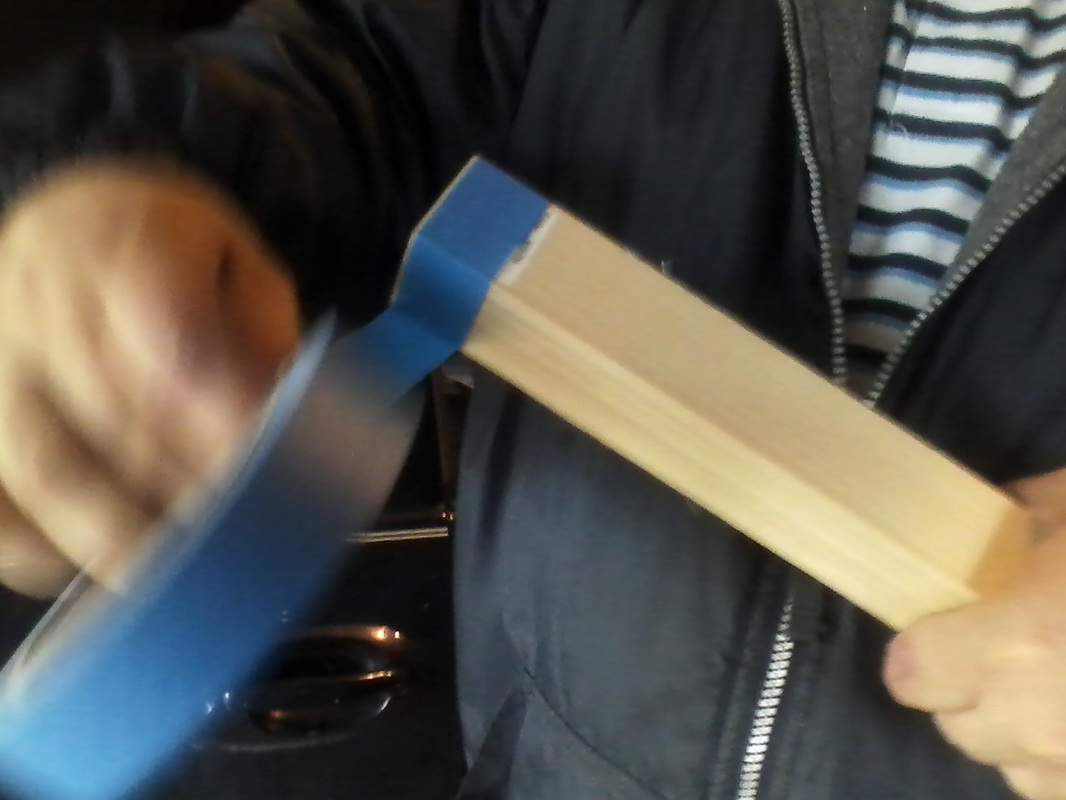
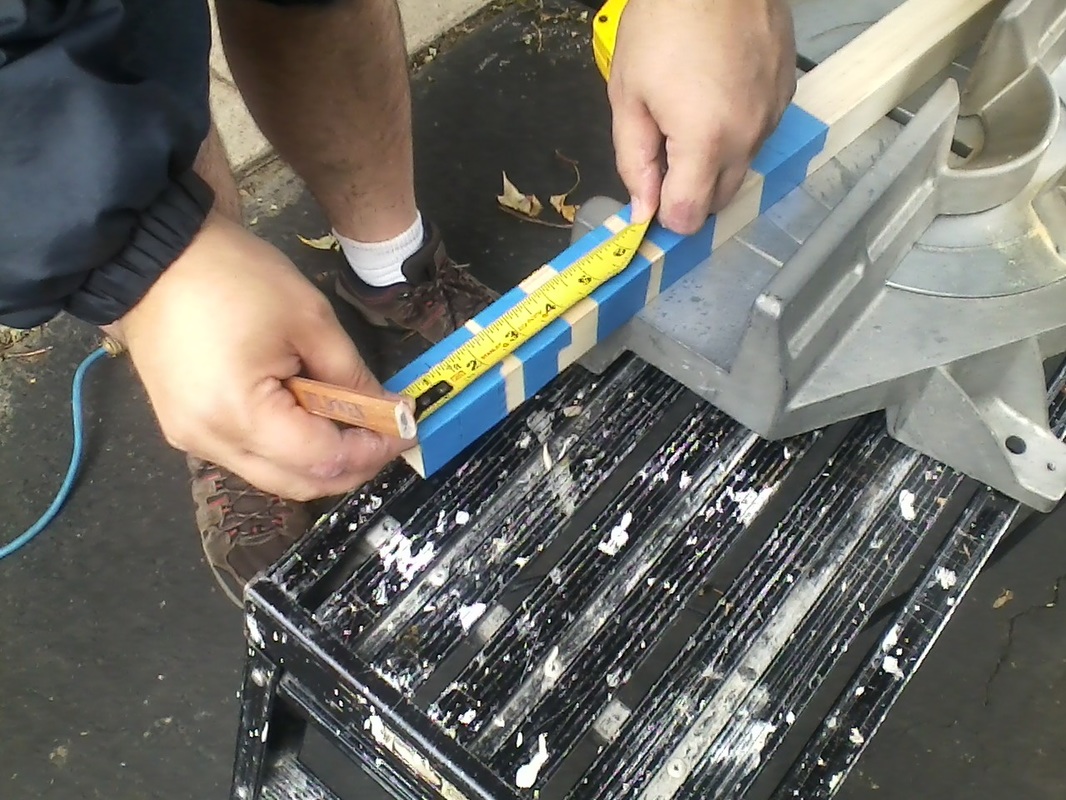
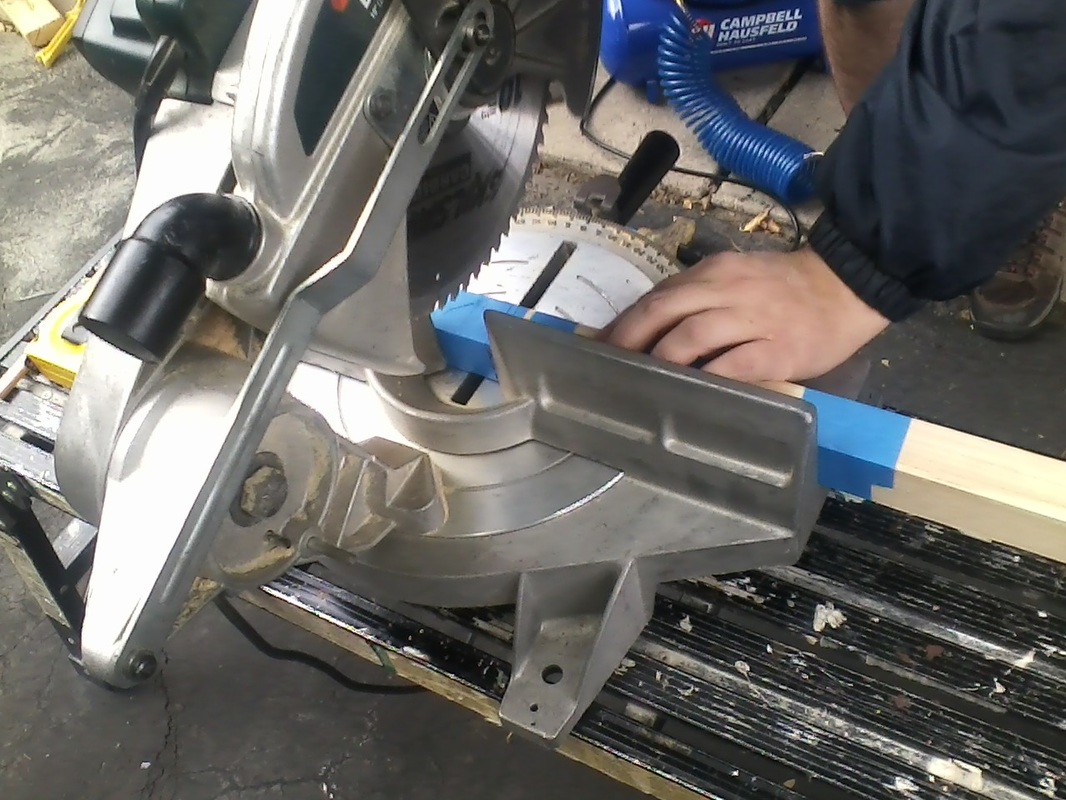
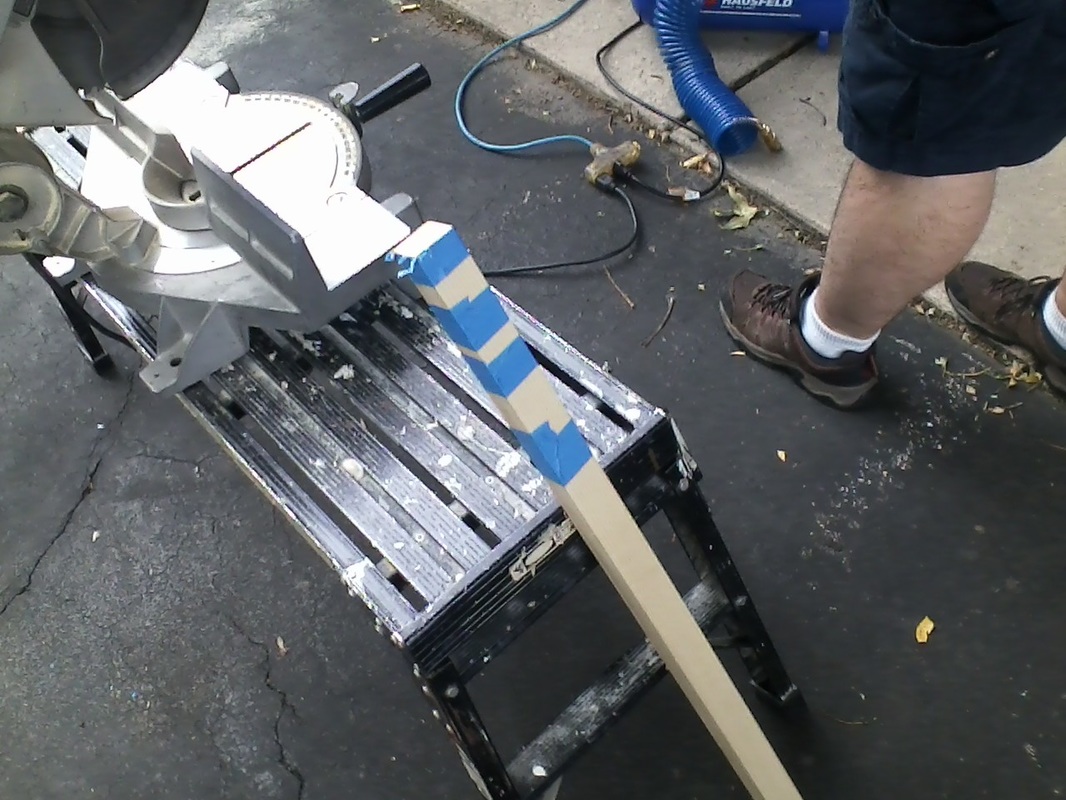
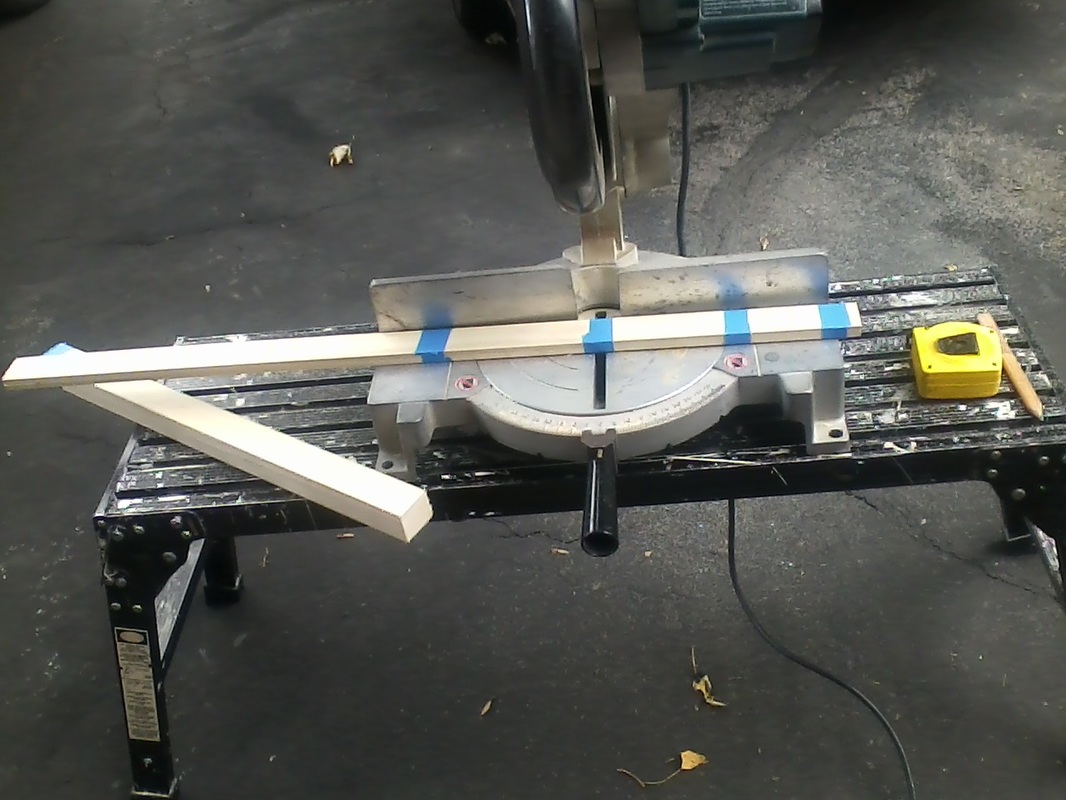
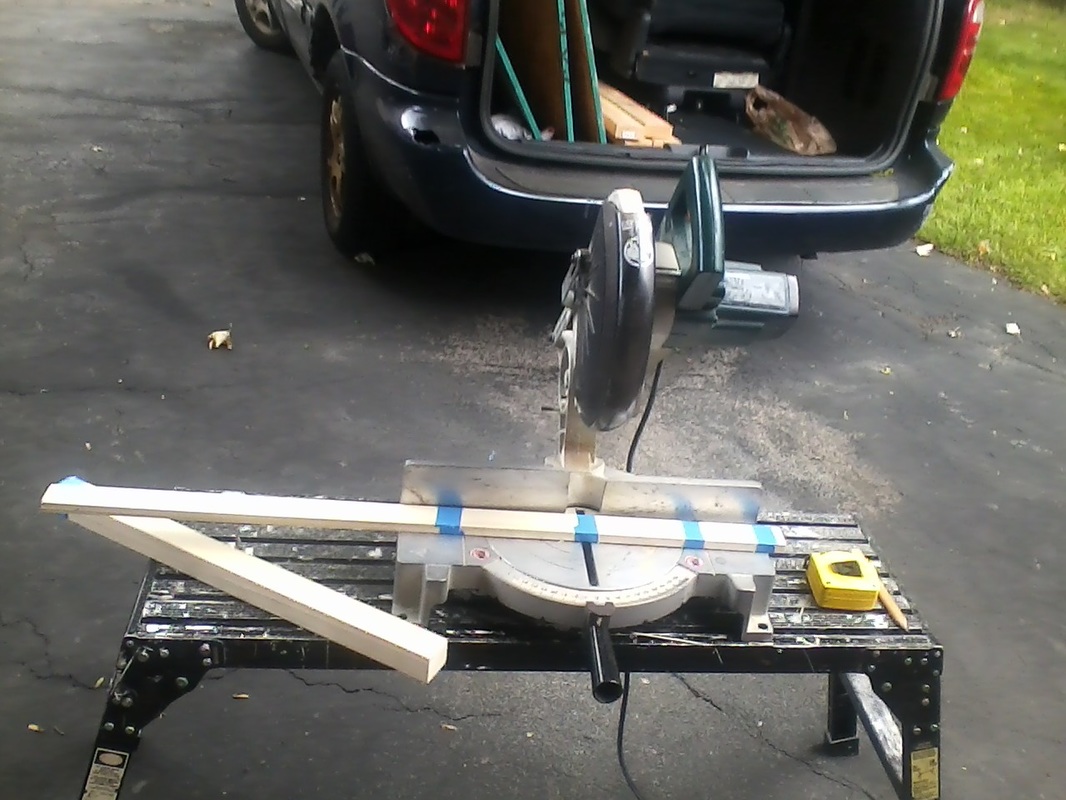
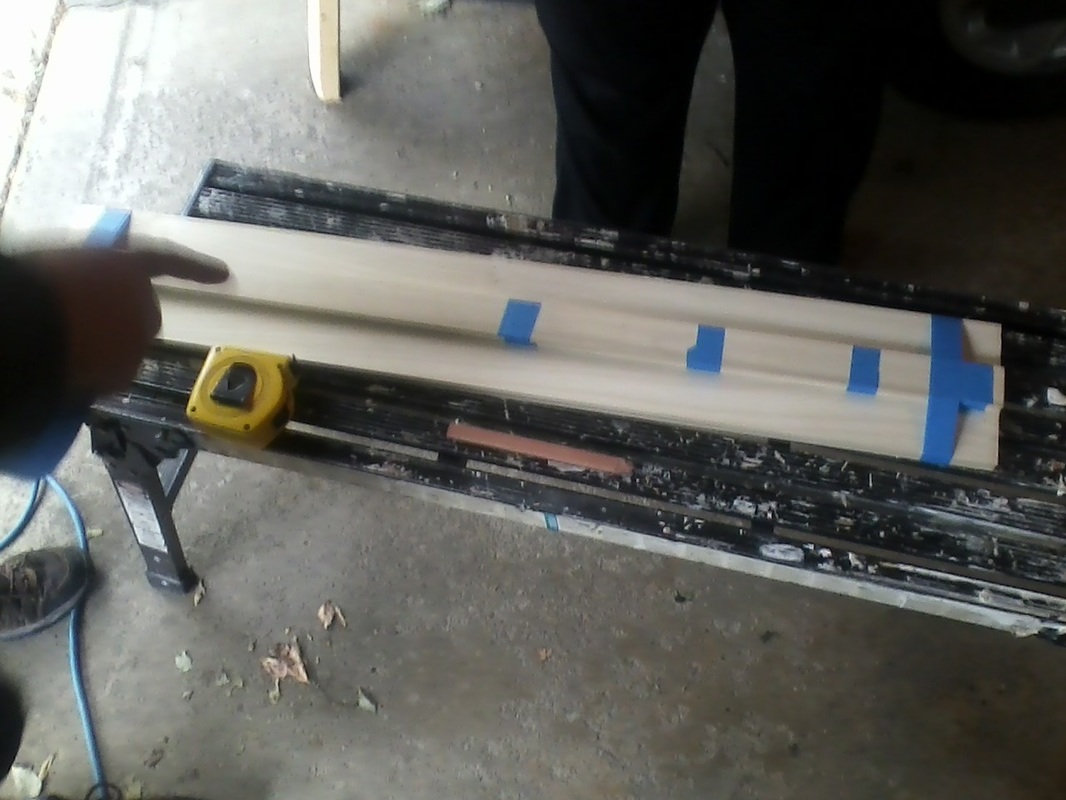
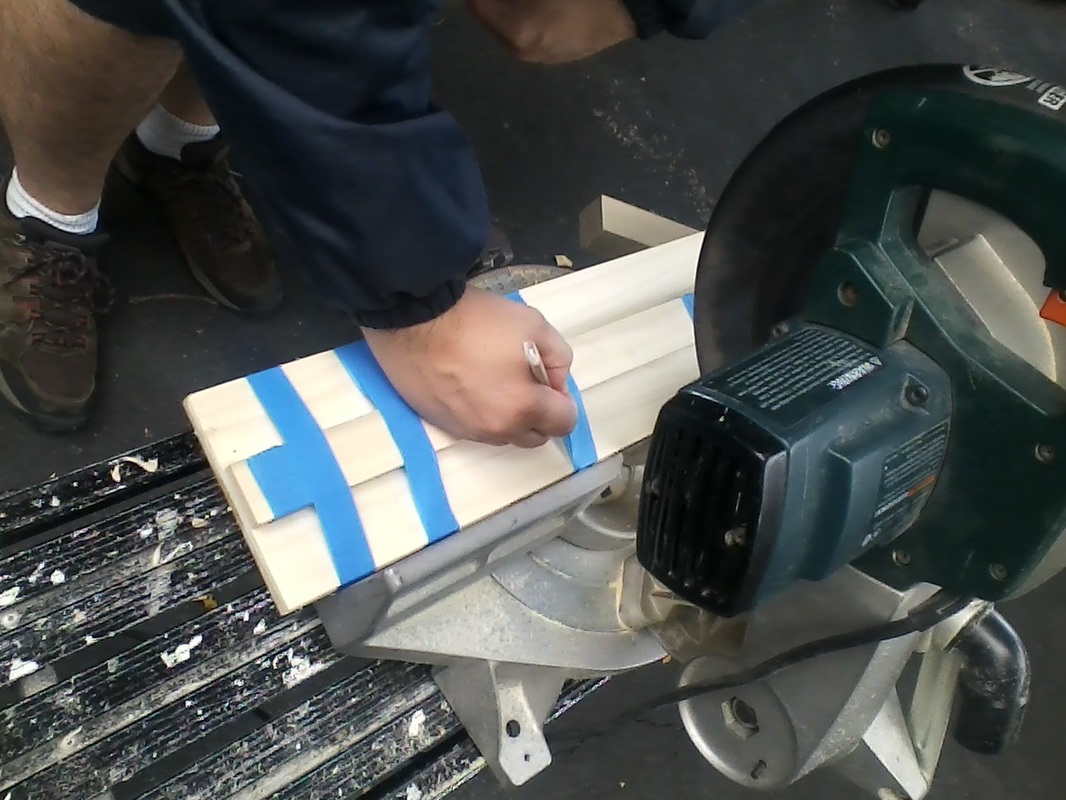
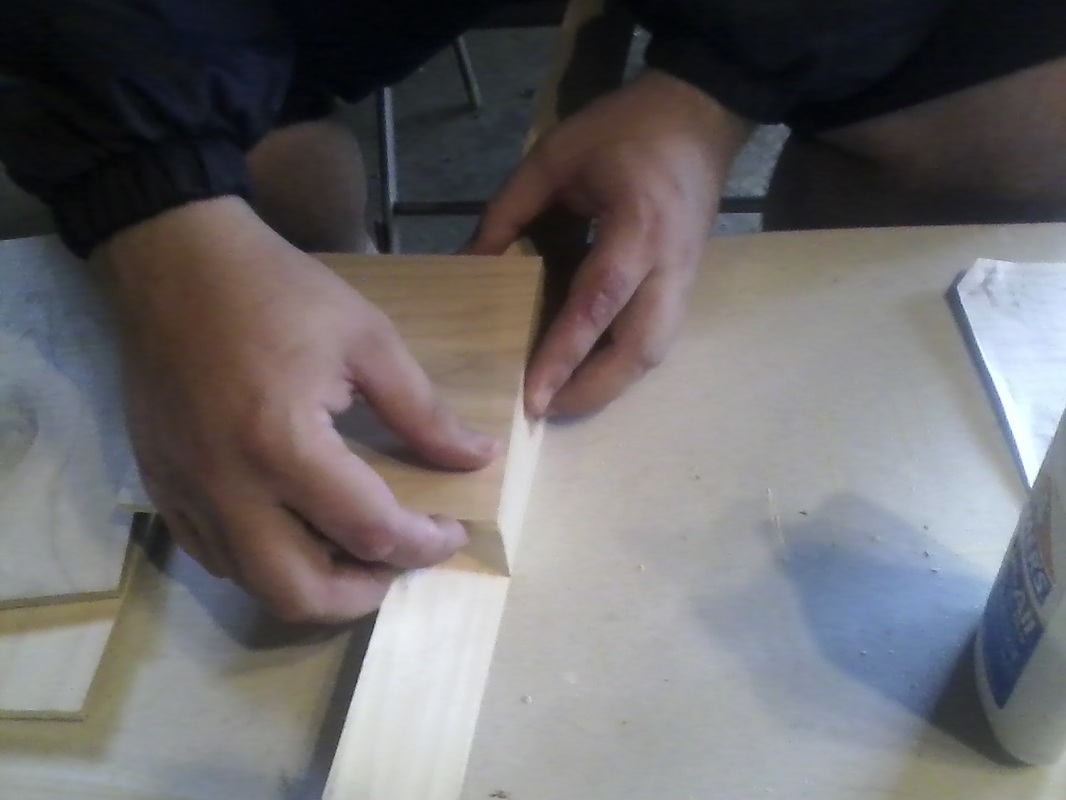
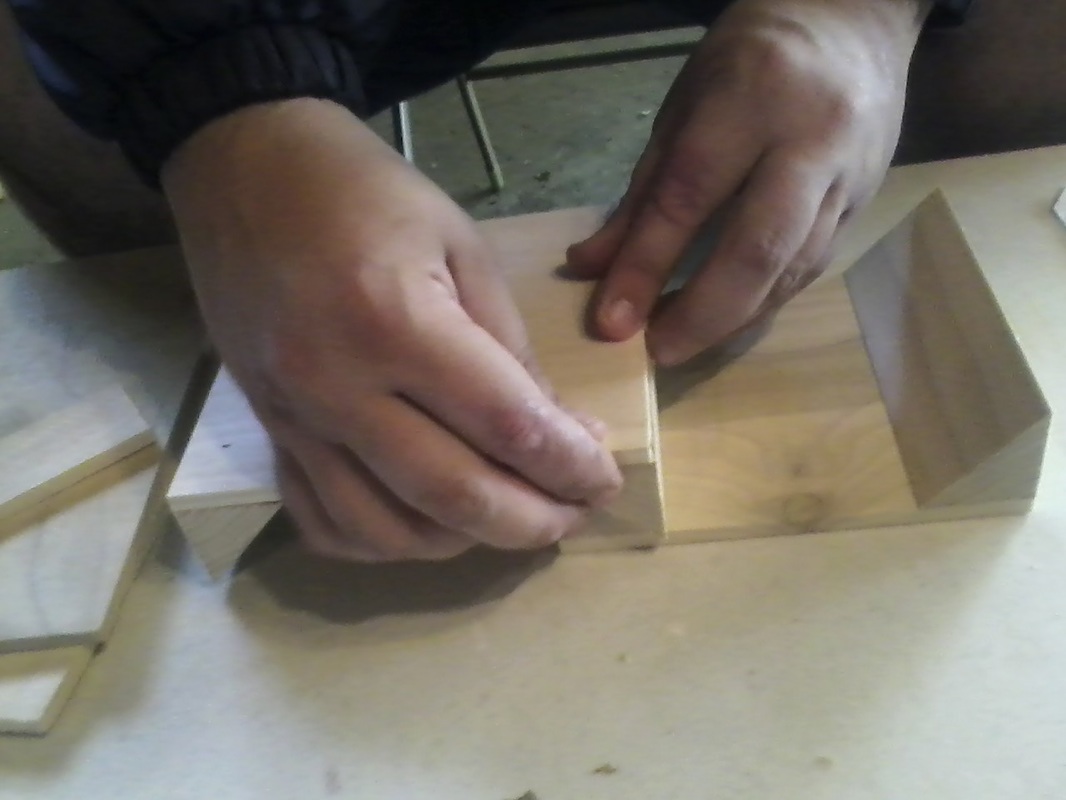
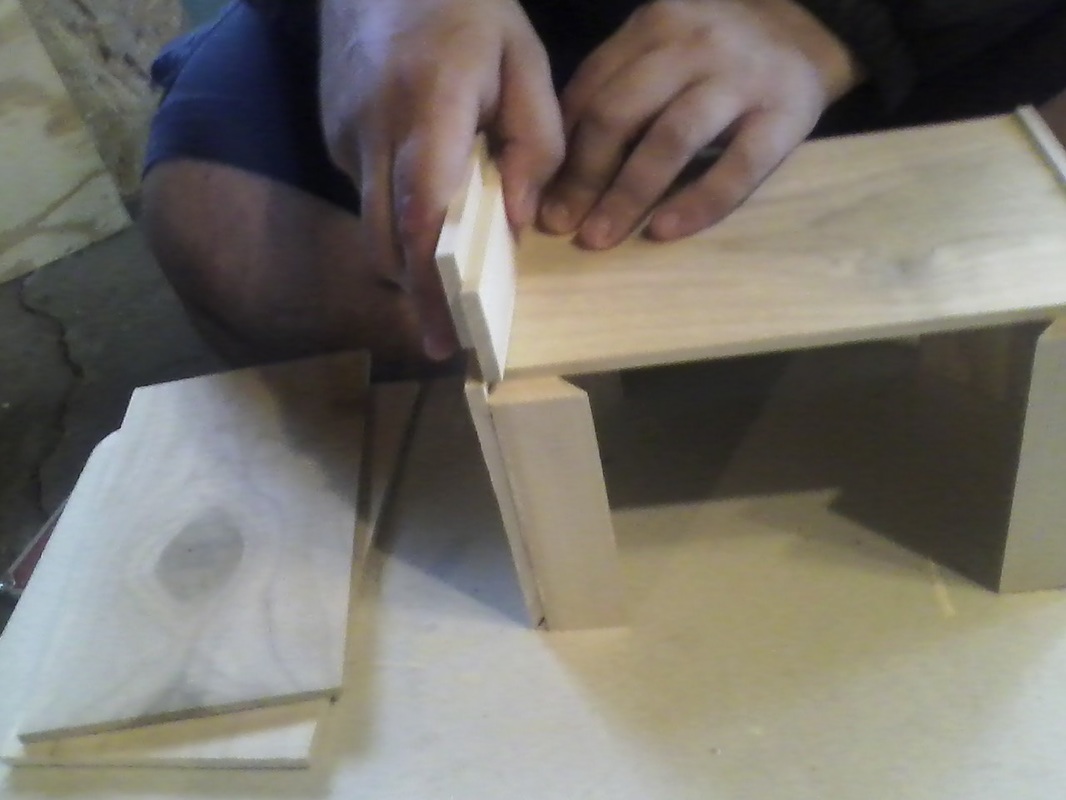
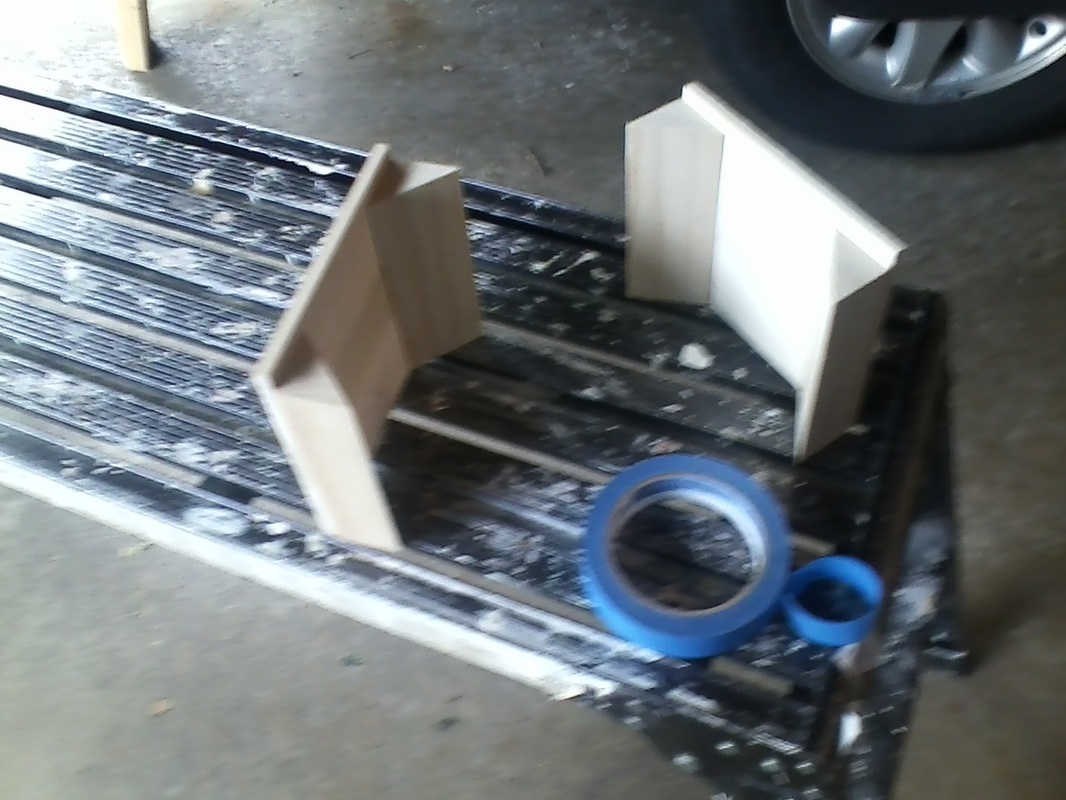
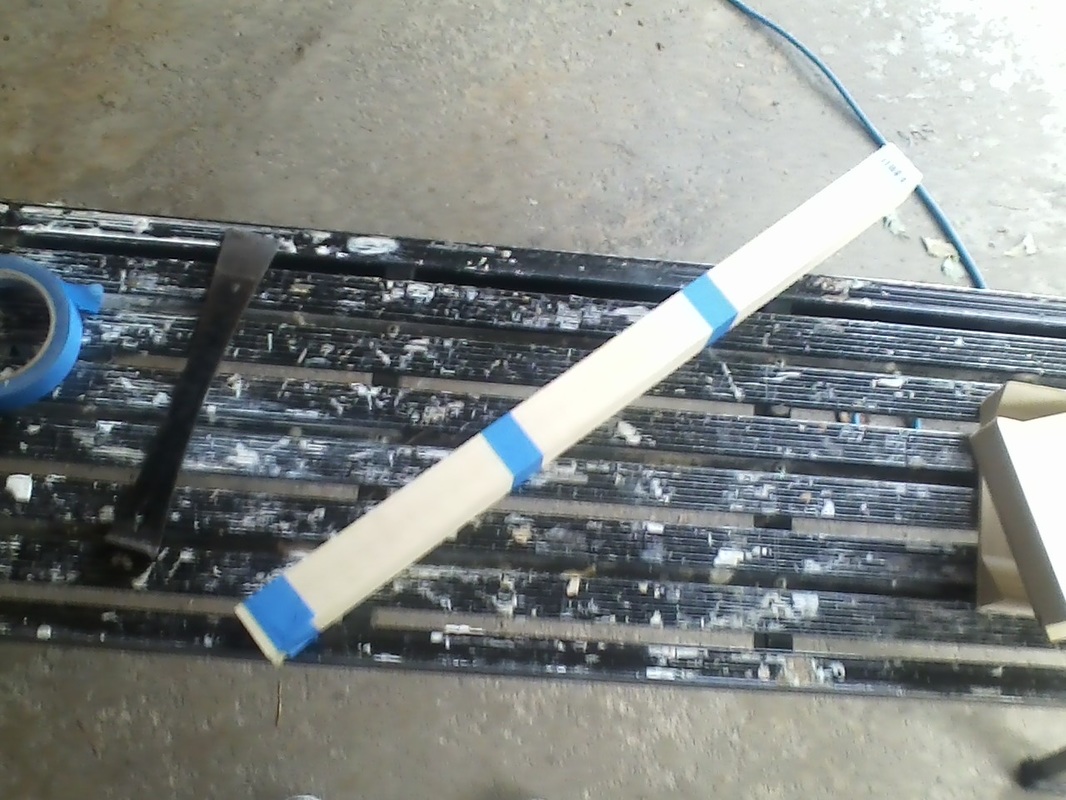
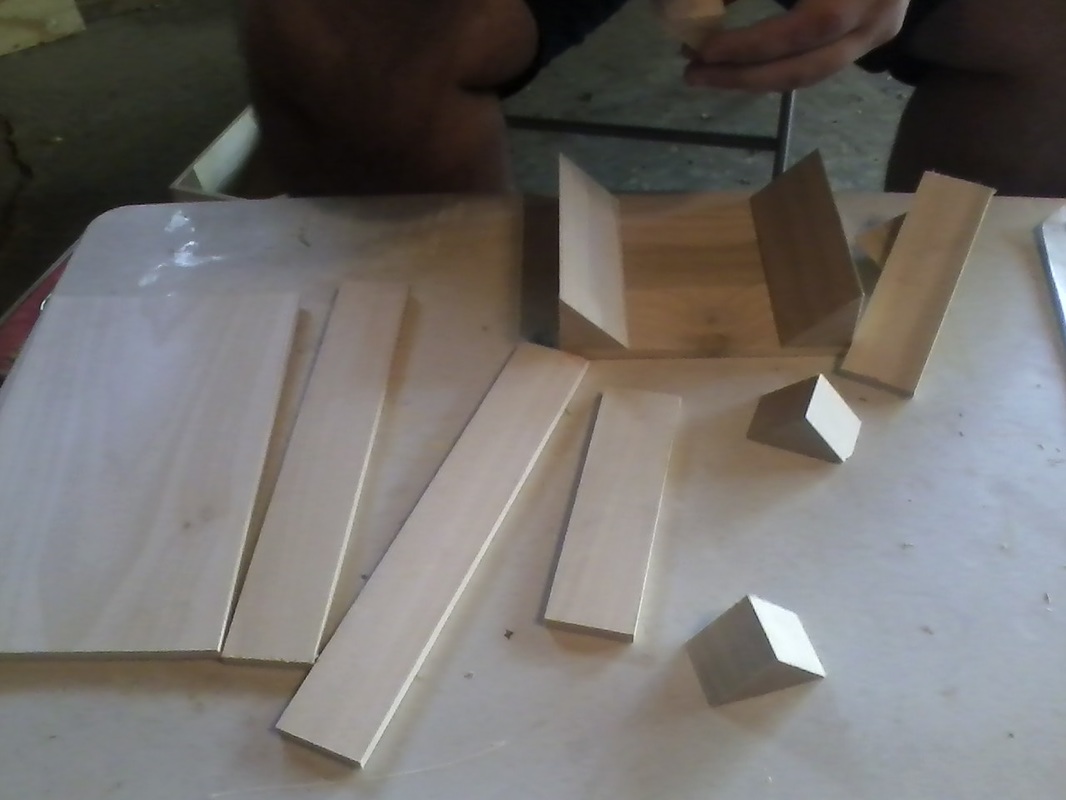
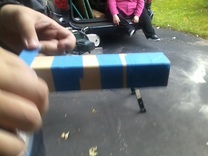
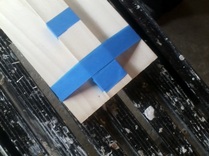
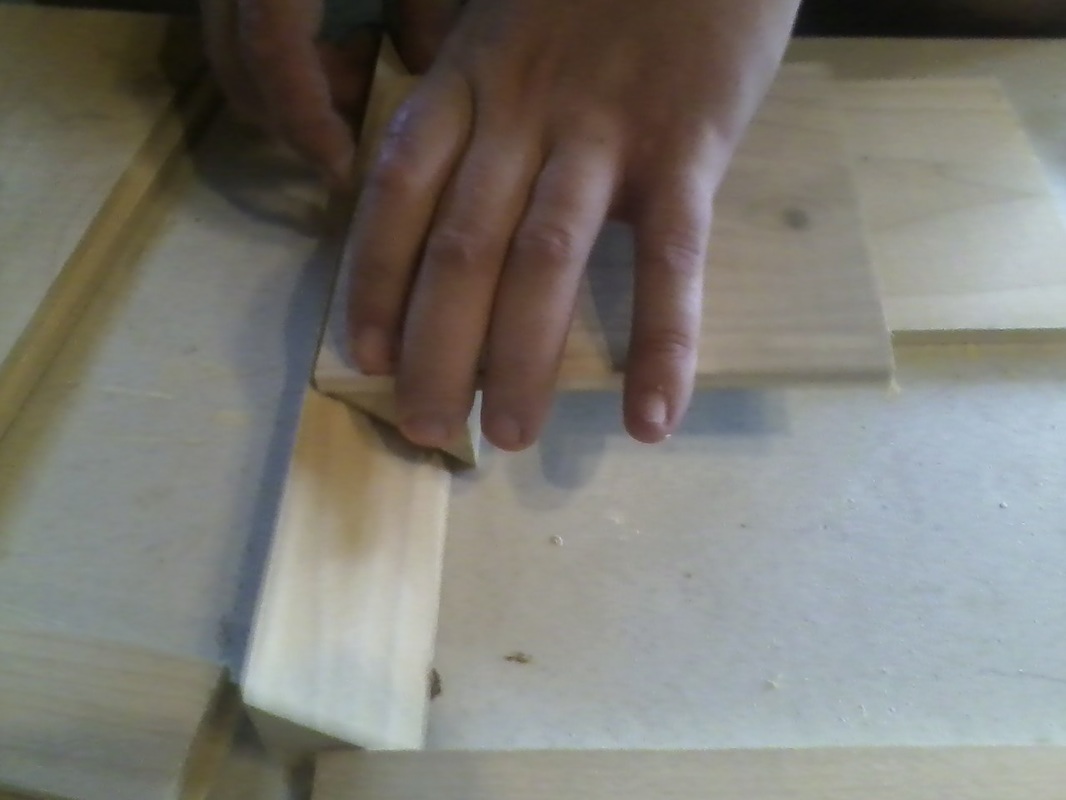
Then my father used painter's tape to hold the cut pieces together to size the smaller pieces that go inside the box as corners. He cut each piece at a 45 degree angle and then cut those pieces to size. |
|
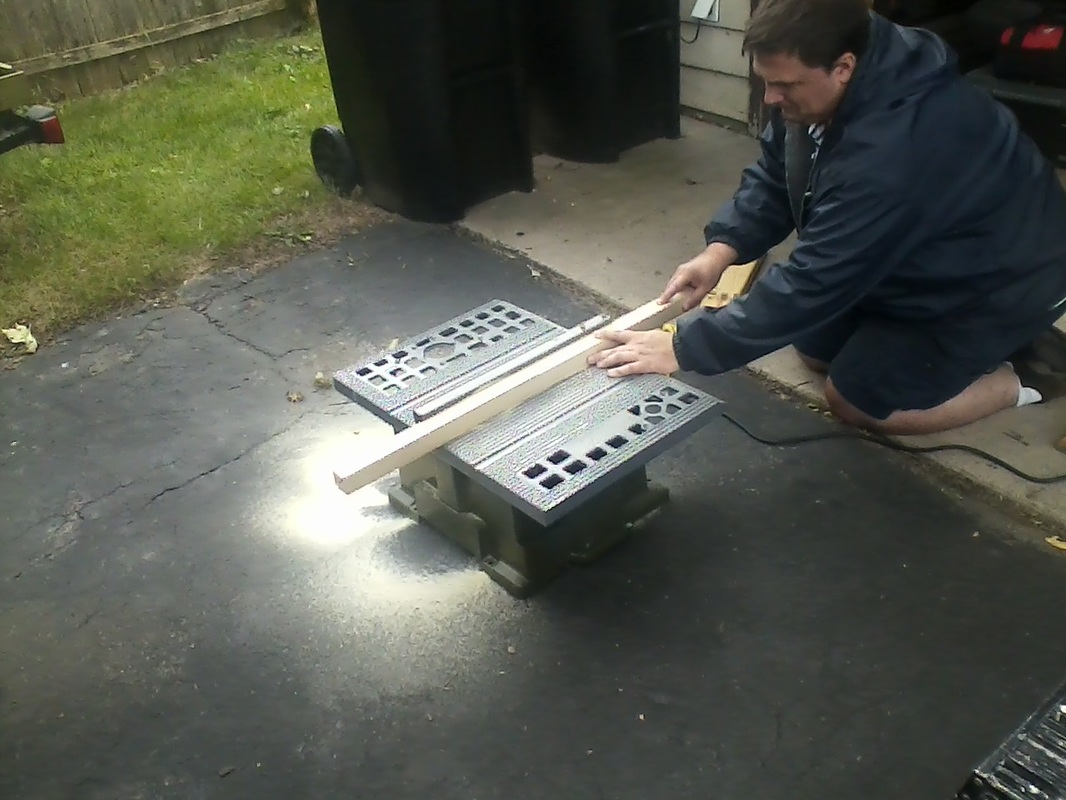
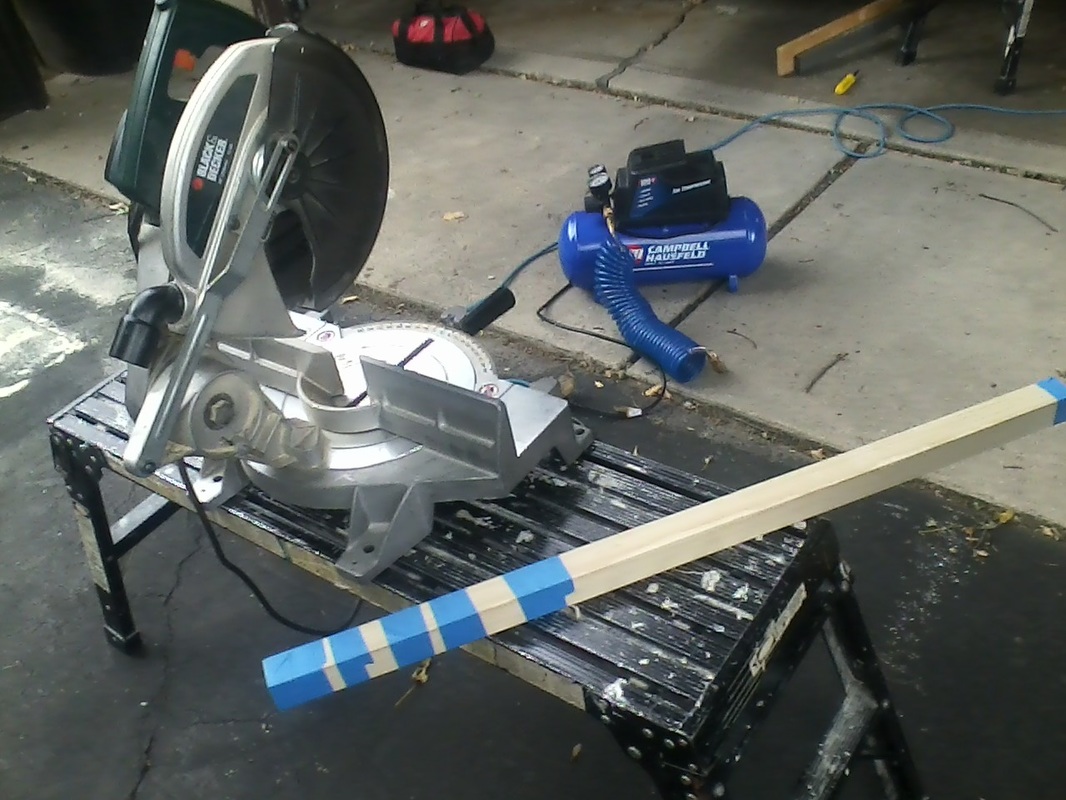
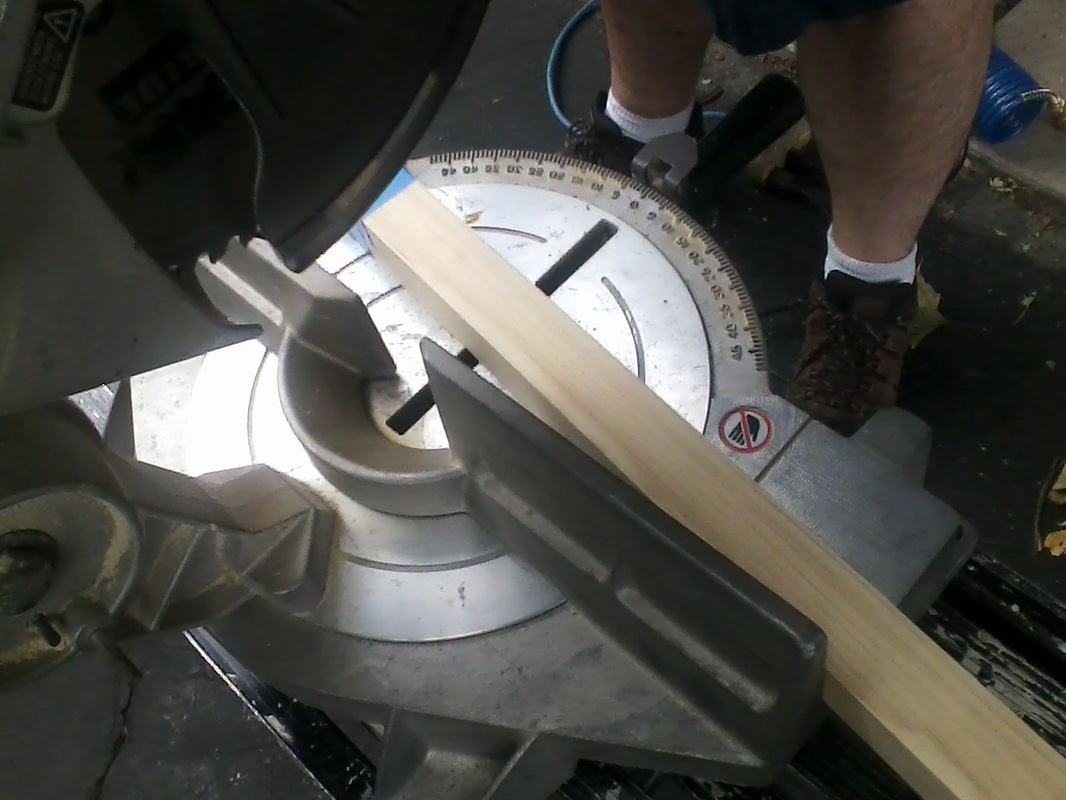
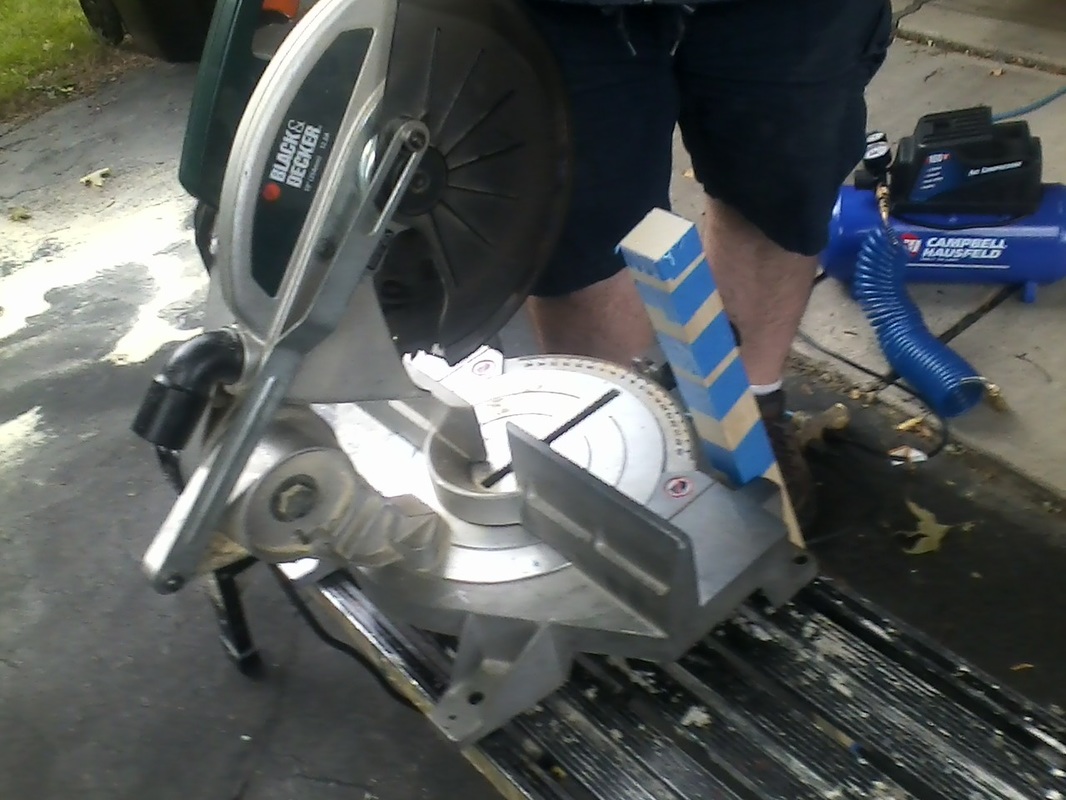
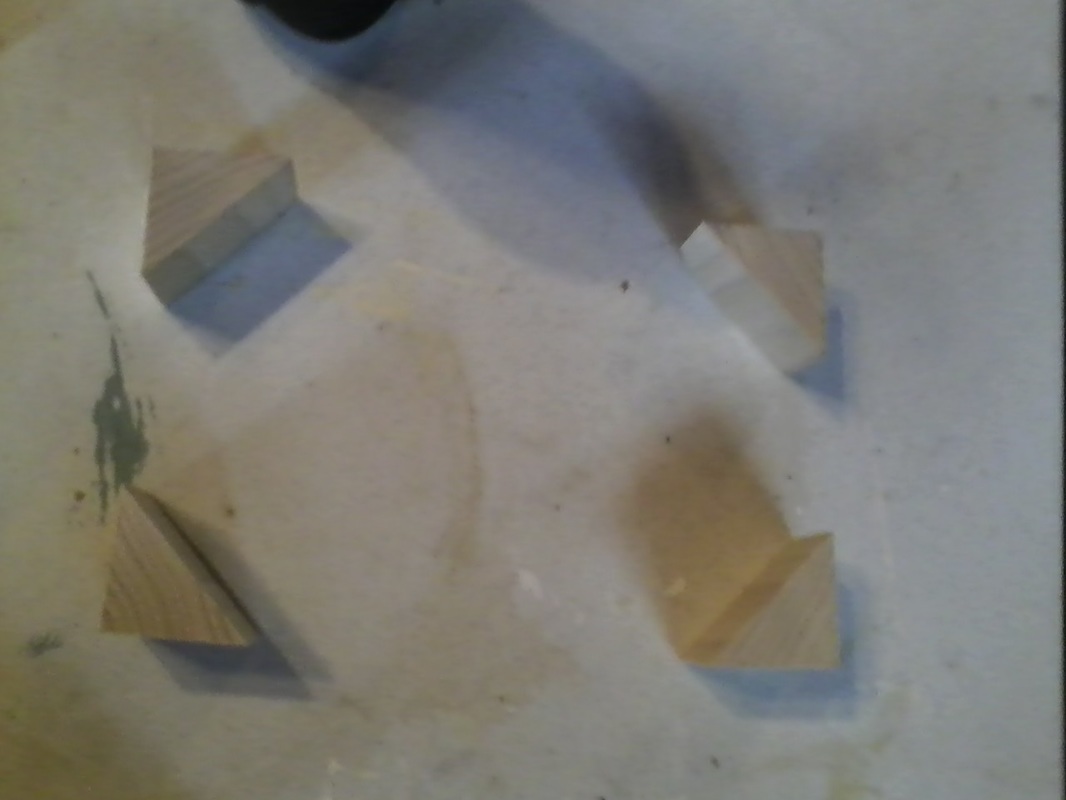
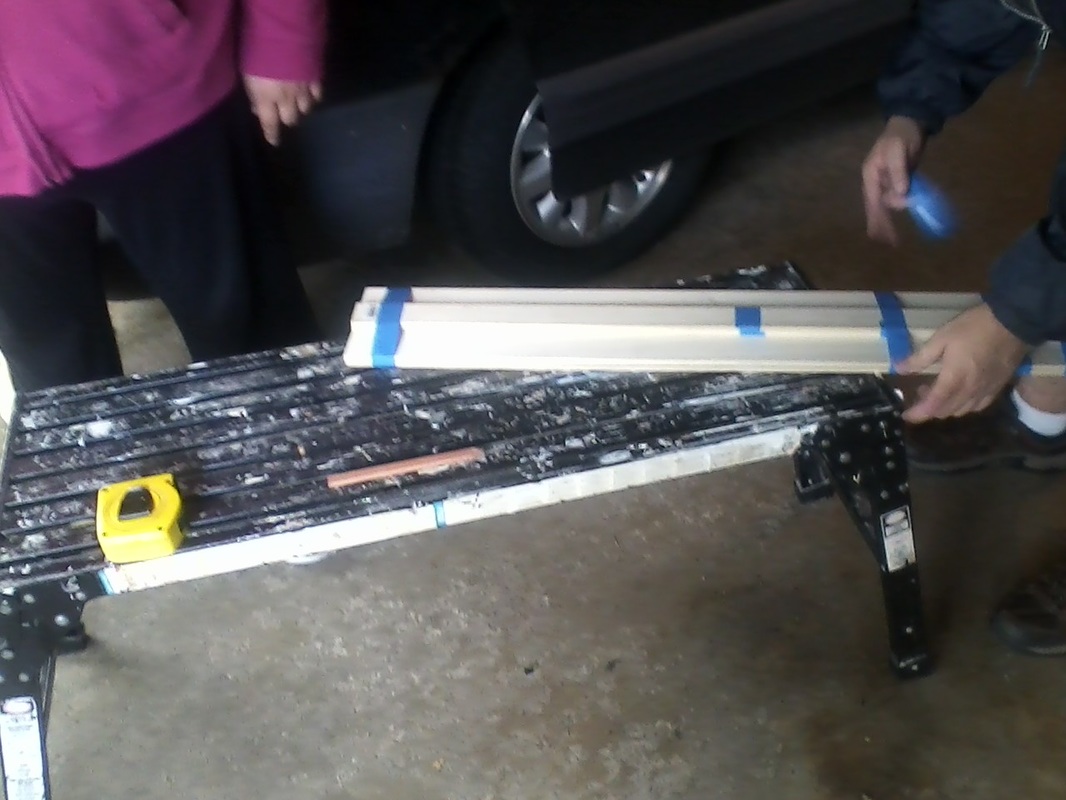
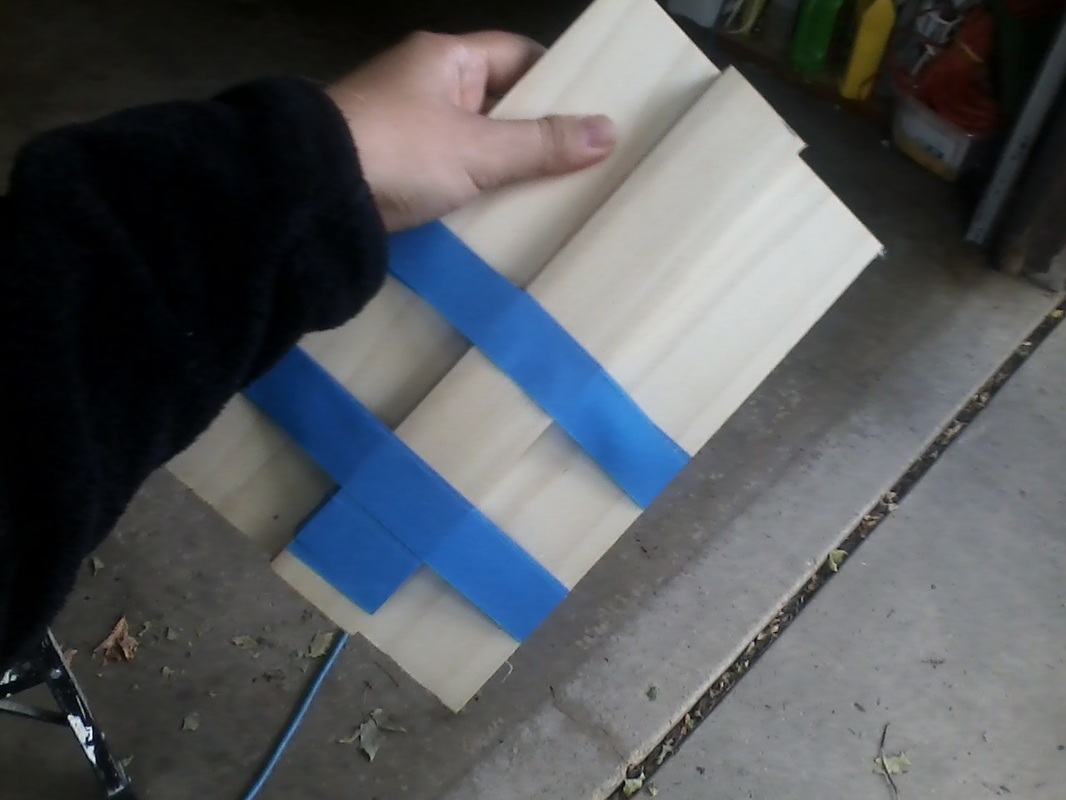
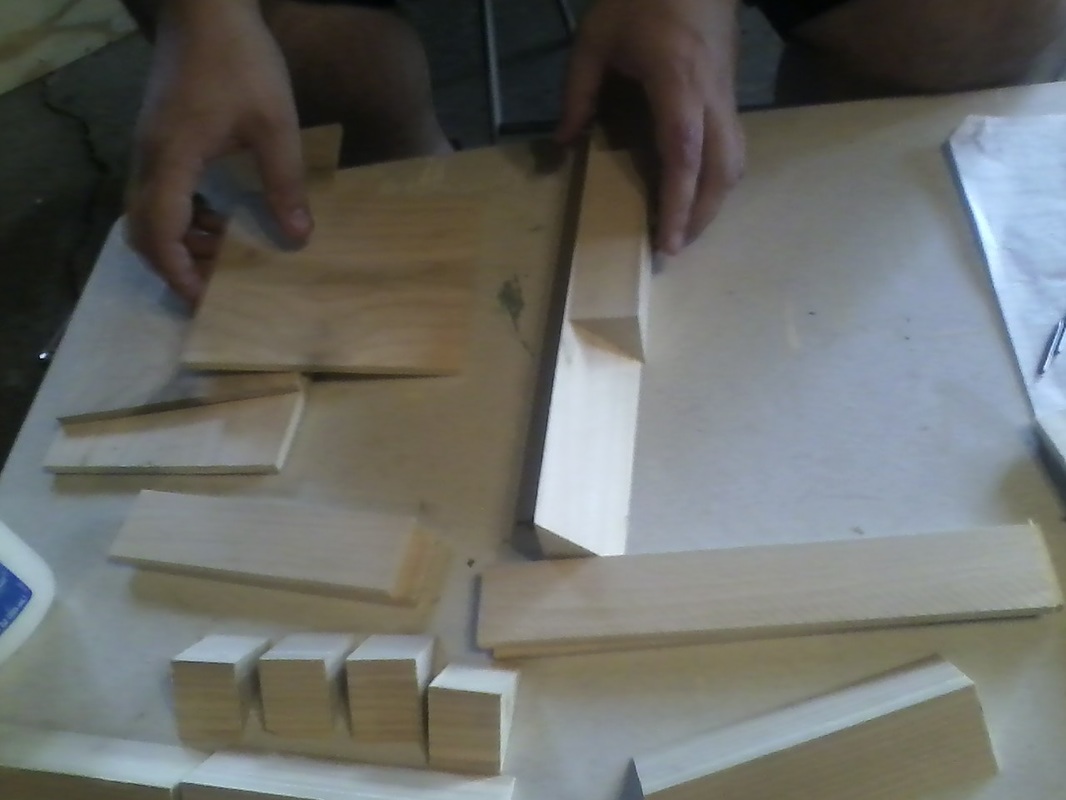
This is how every piece was cut exactly to size, taping all of them together and cutting them all at once. |

|
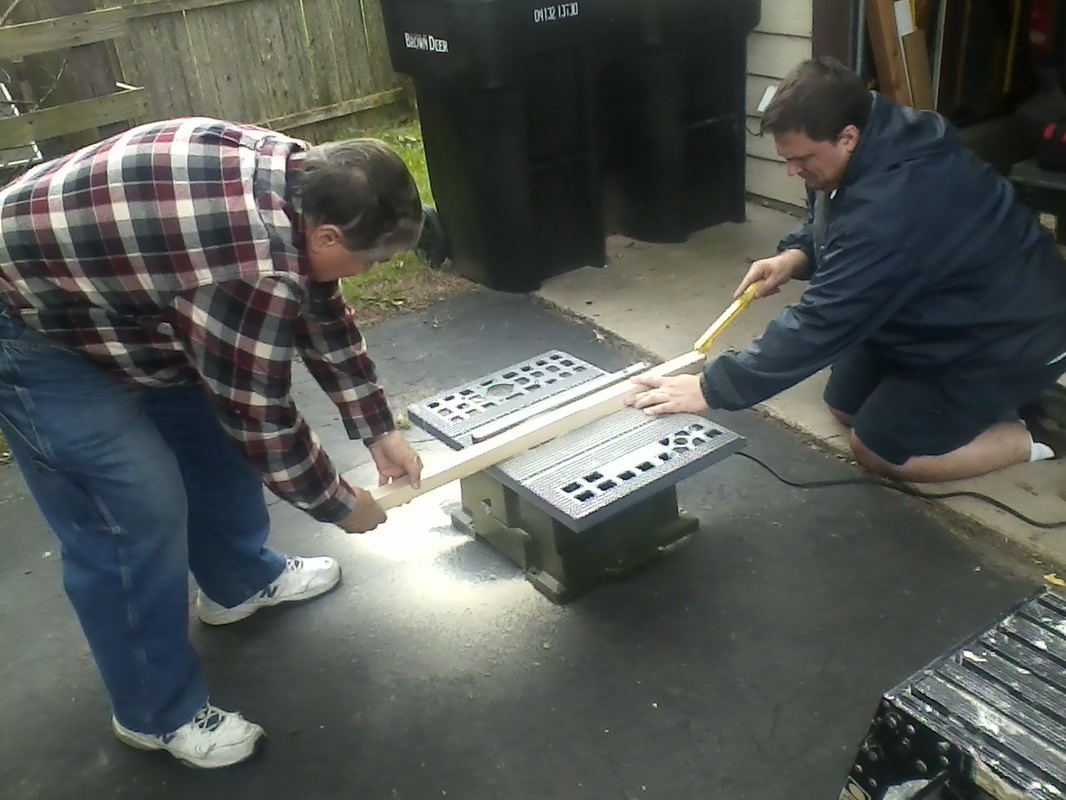
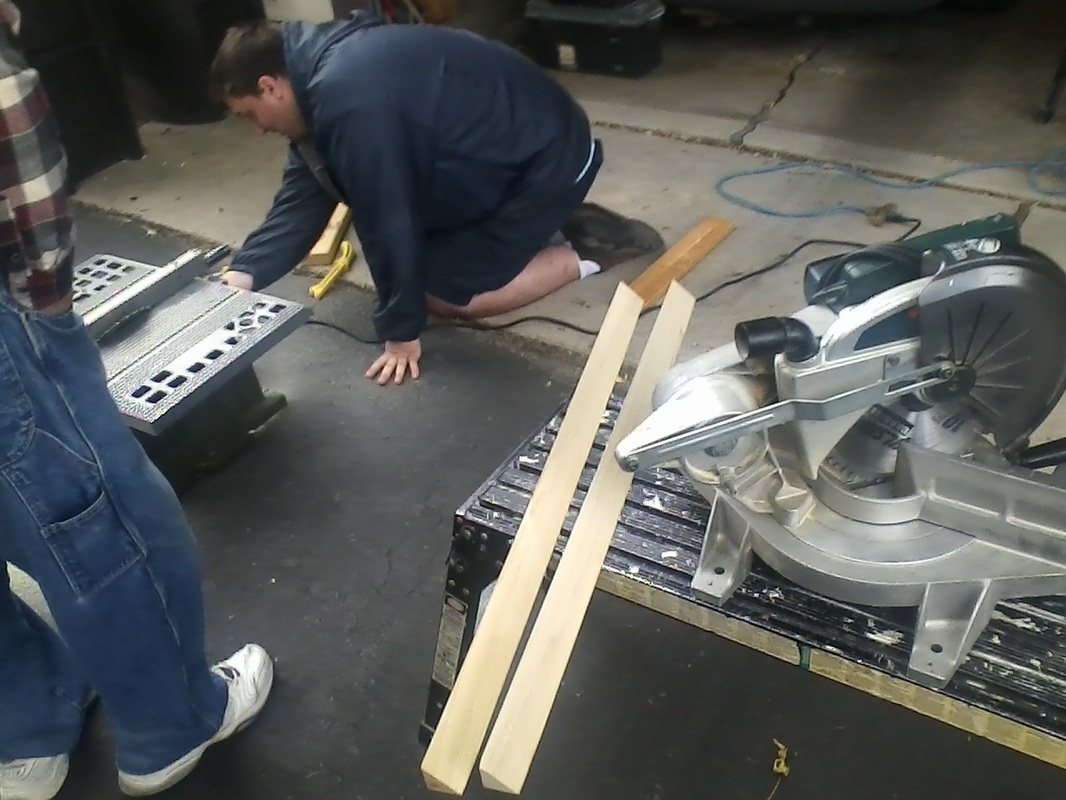
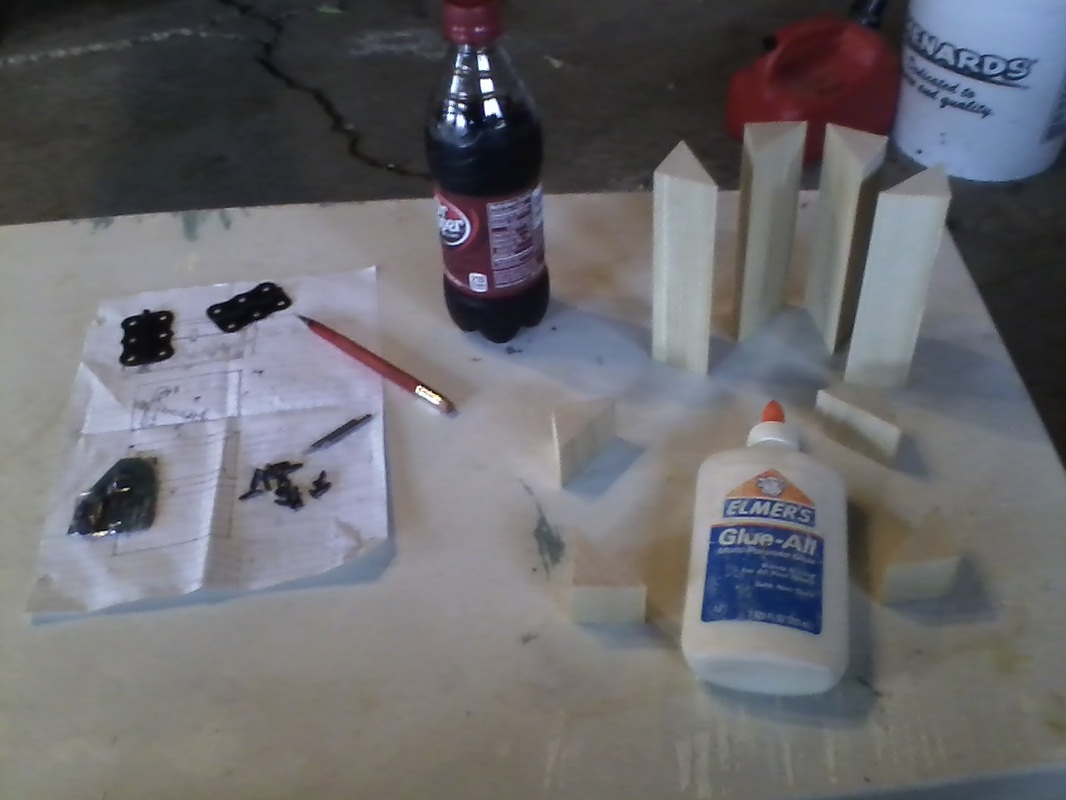
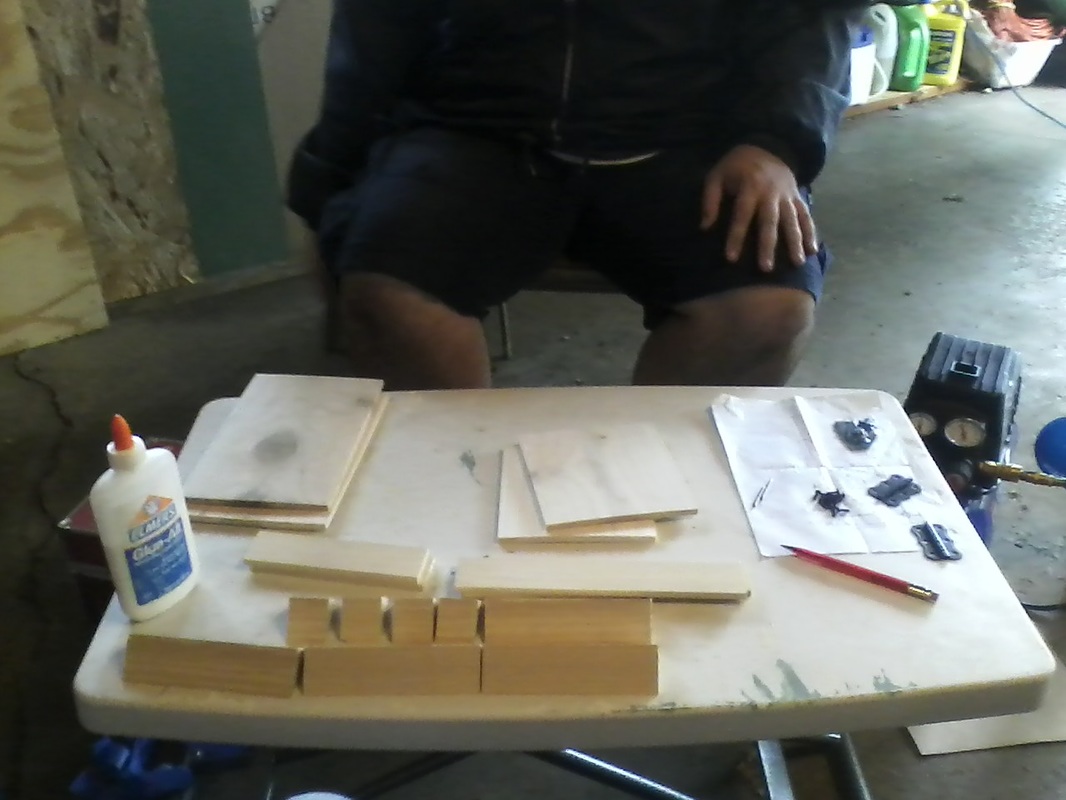
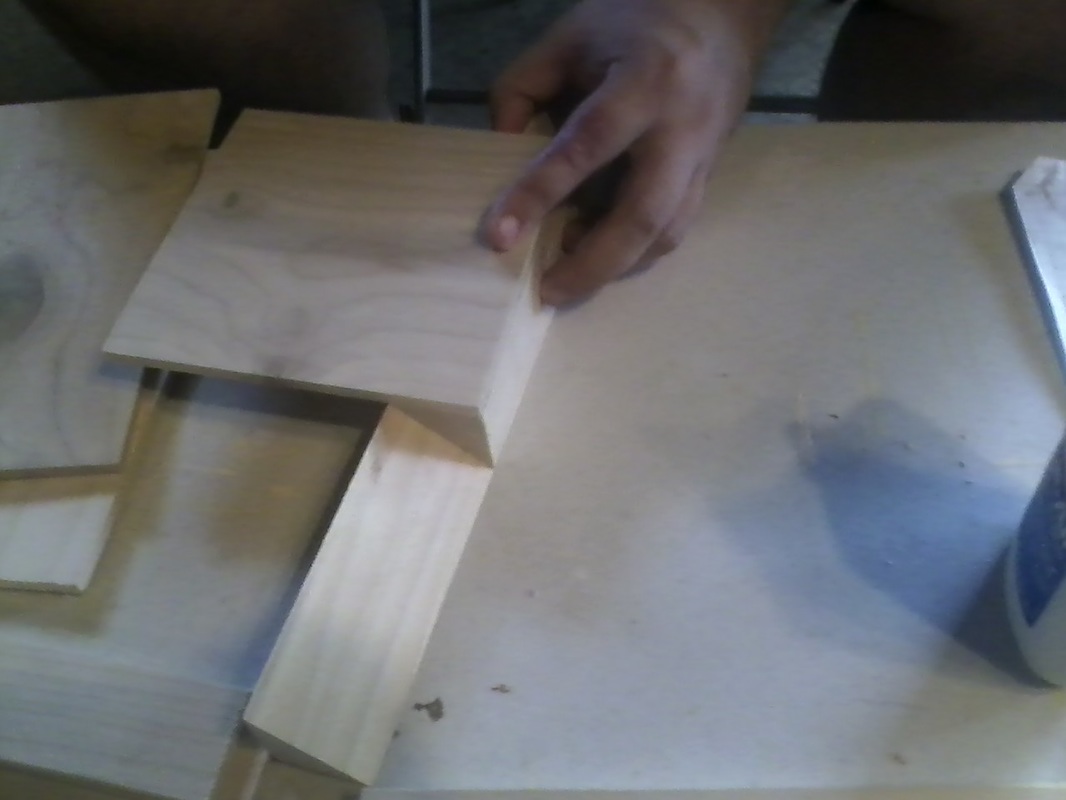
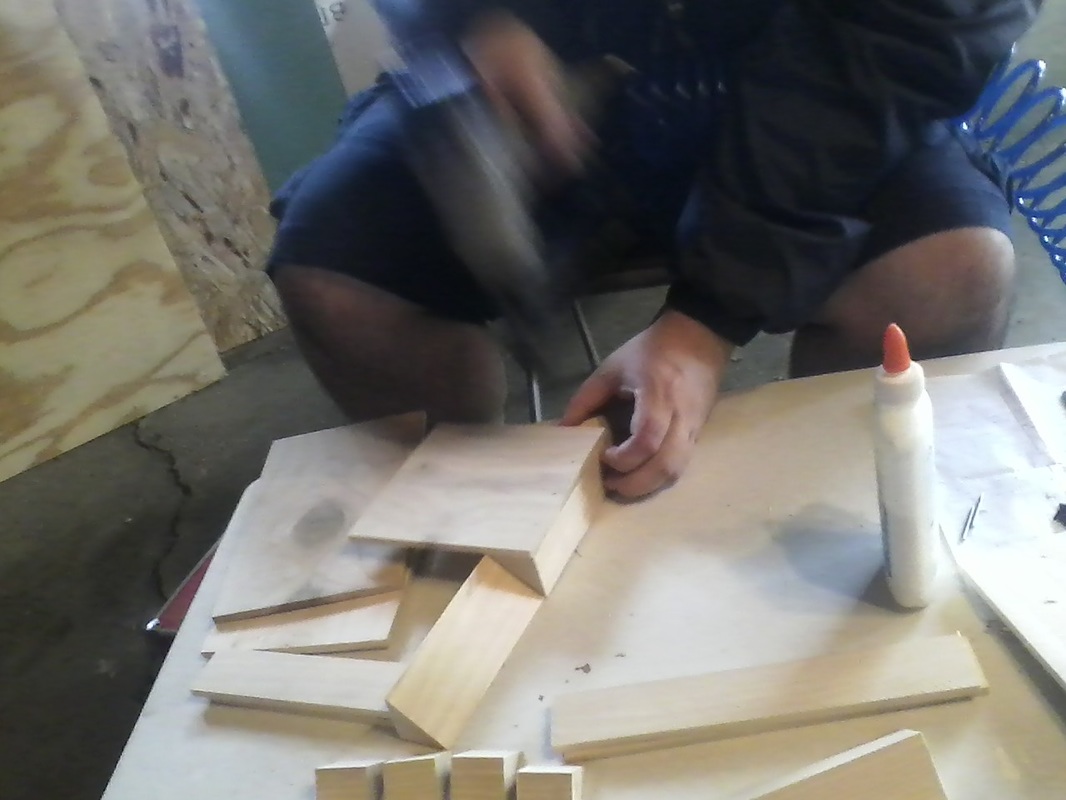
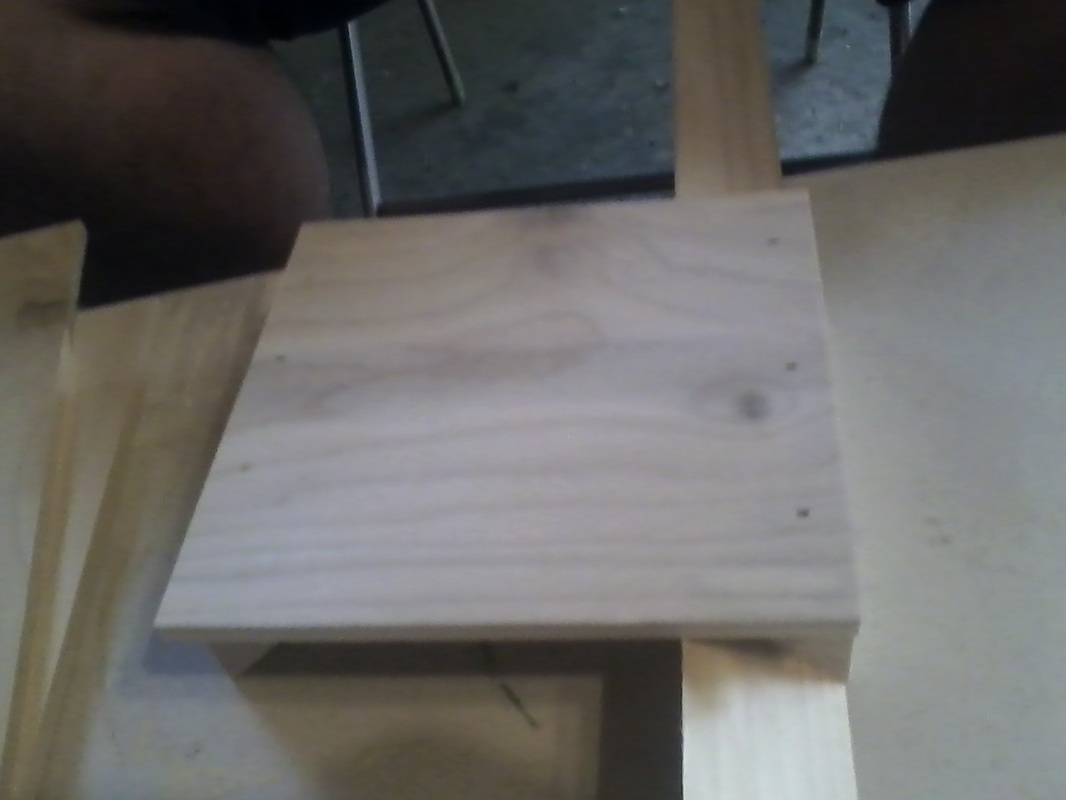
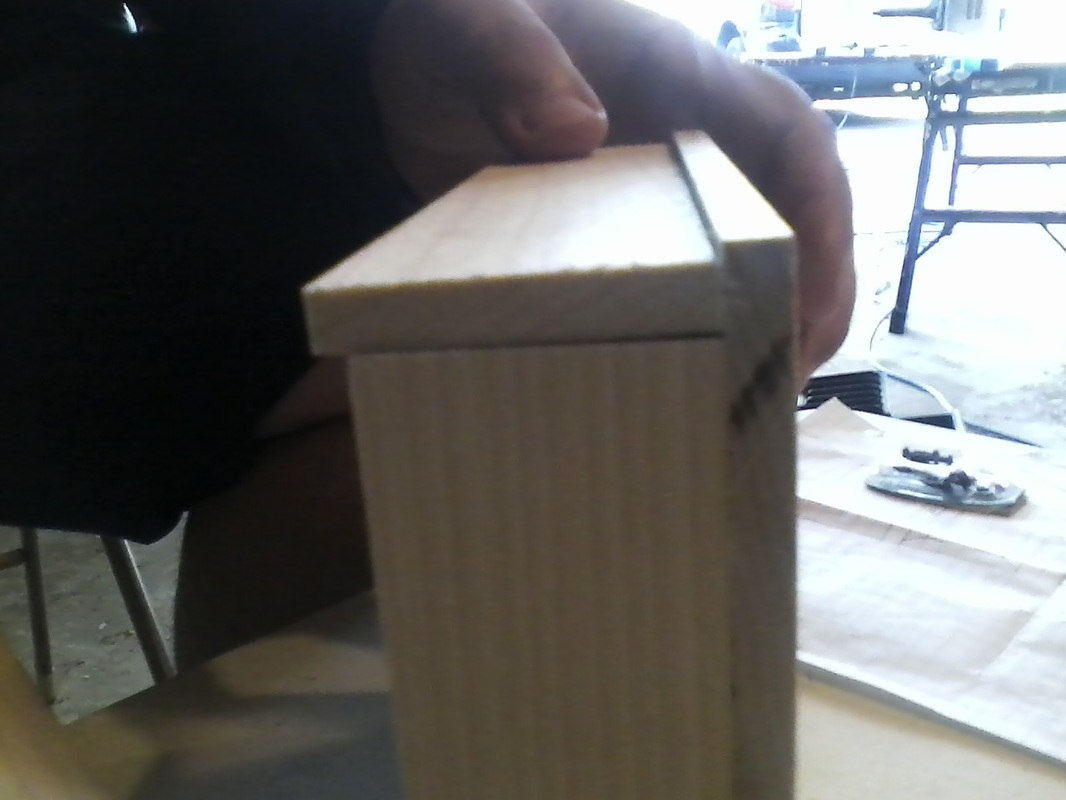
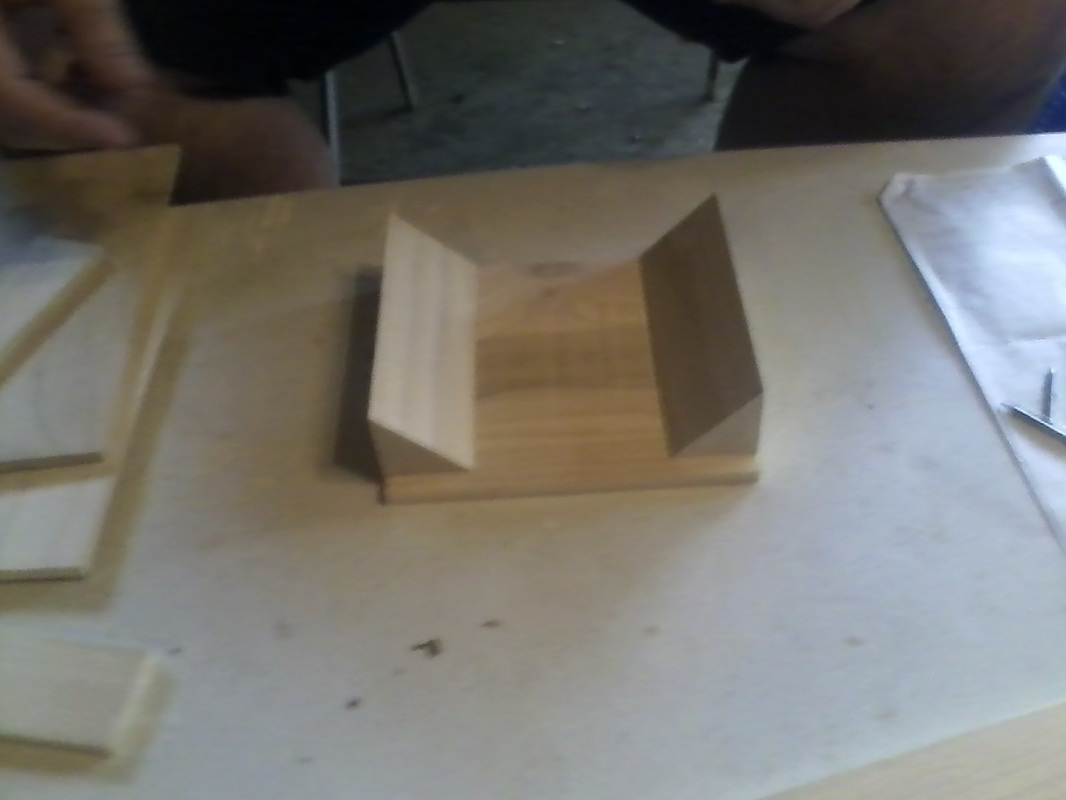
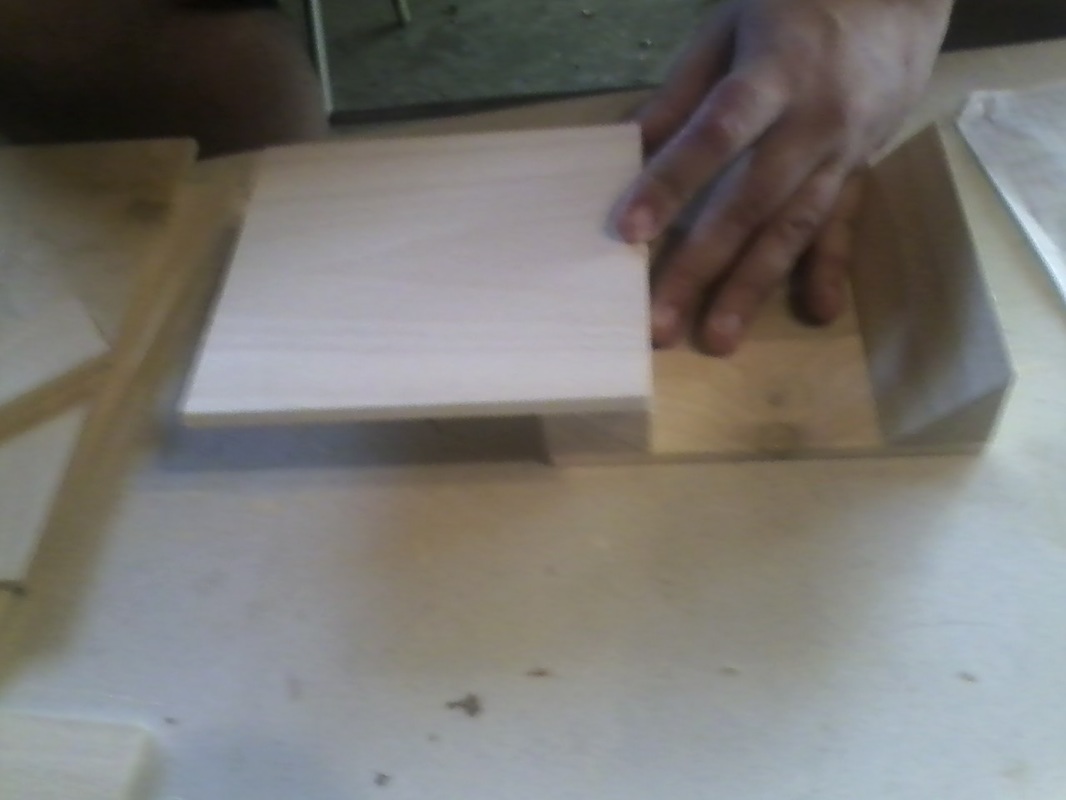
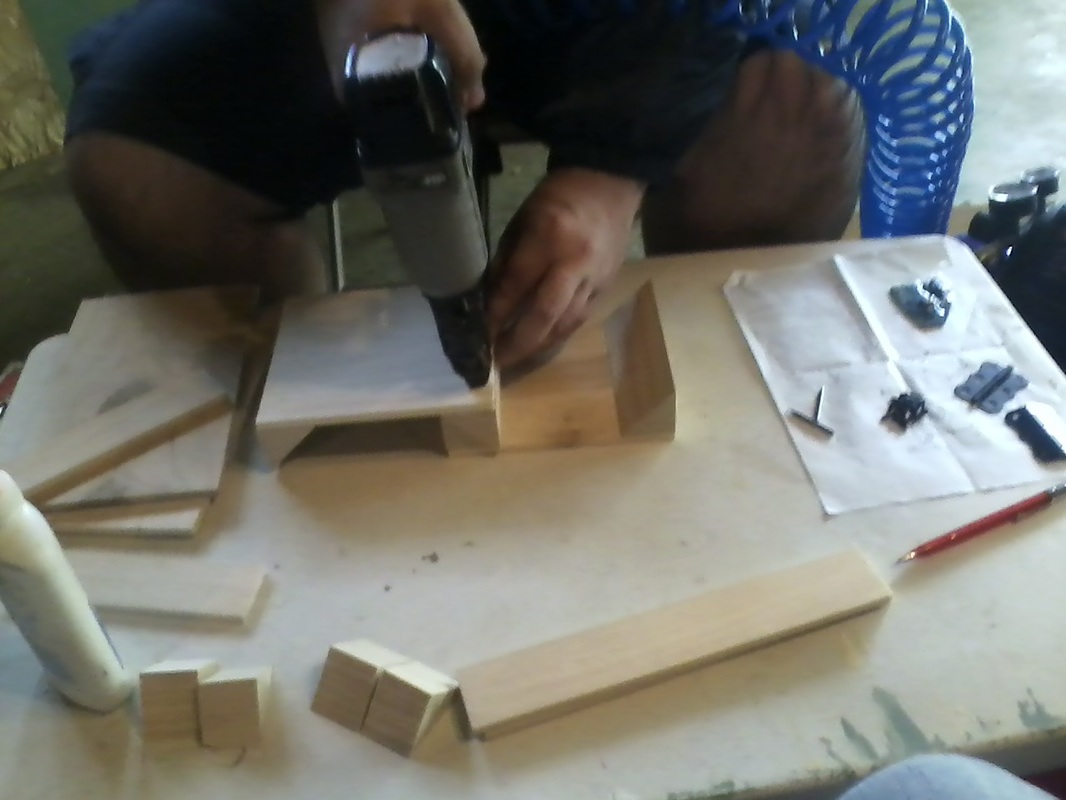
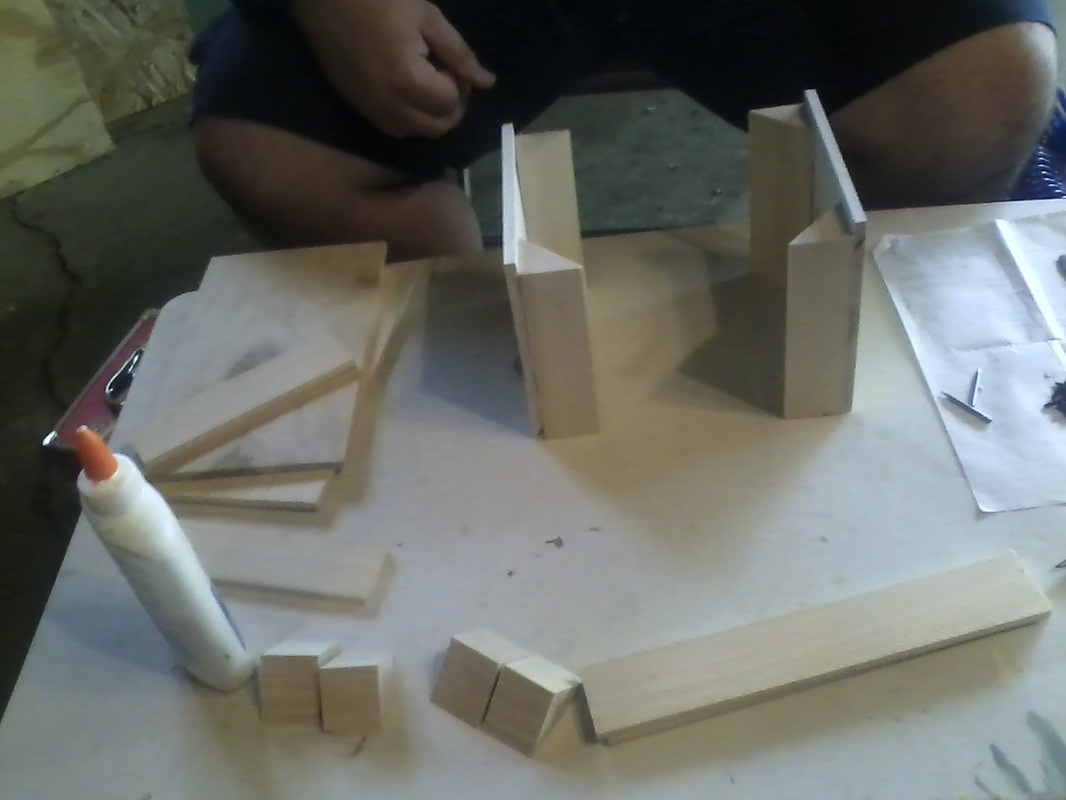
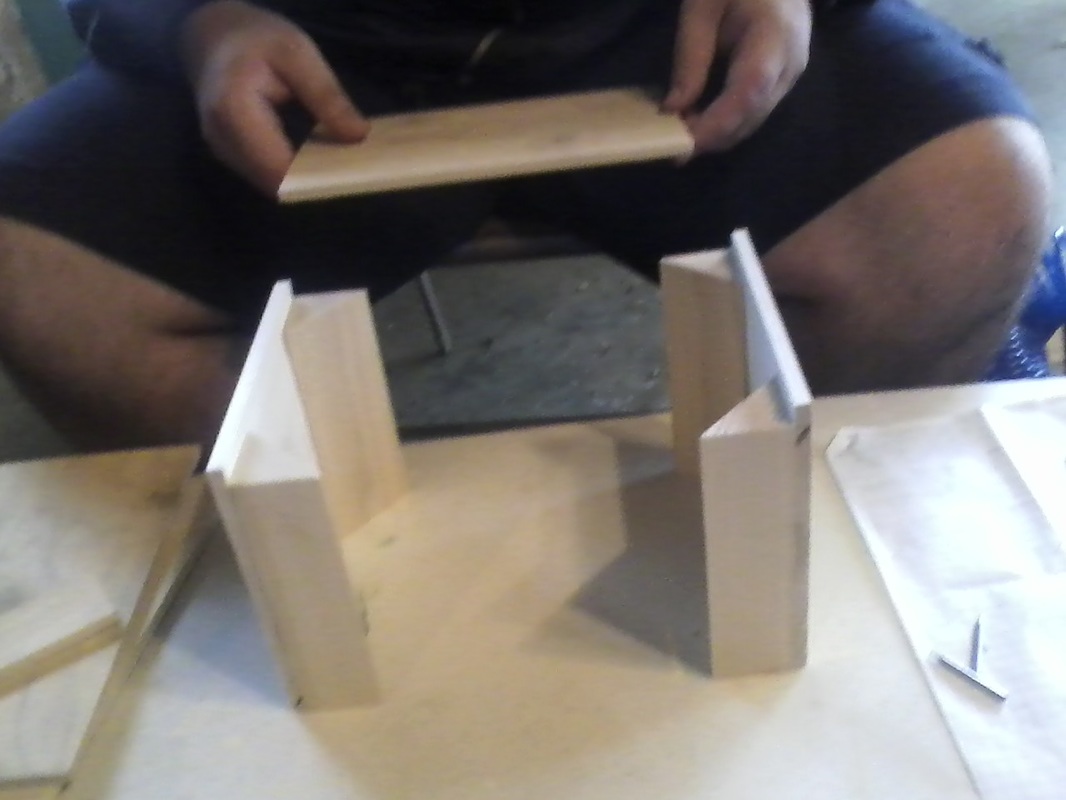
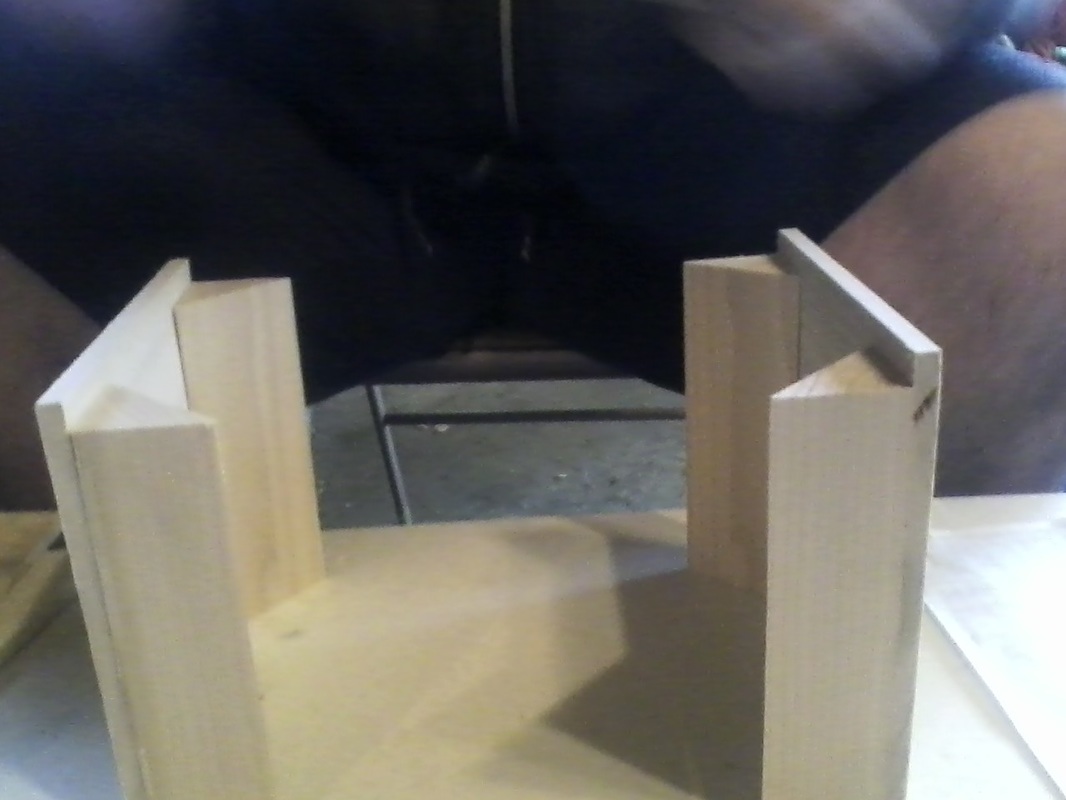
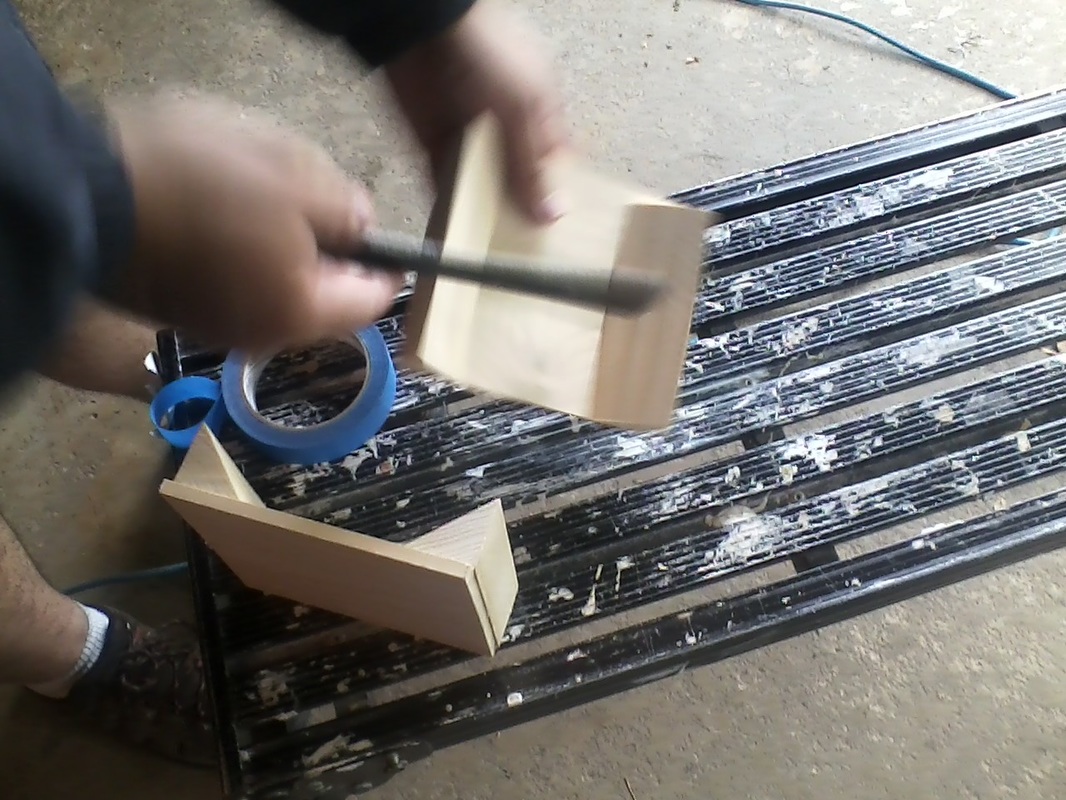
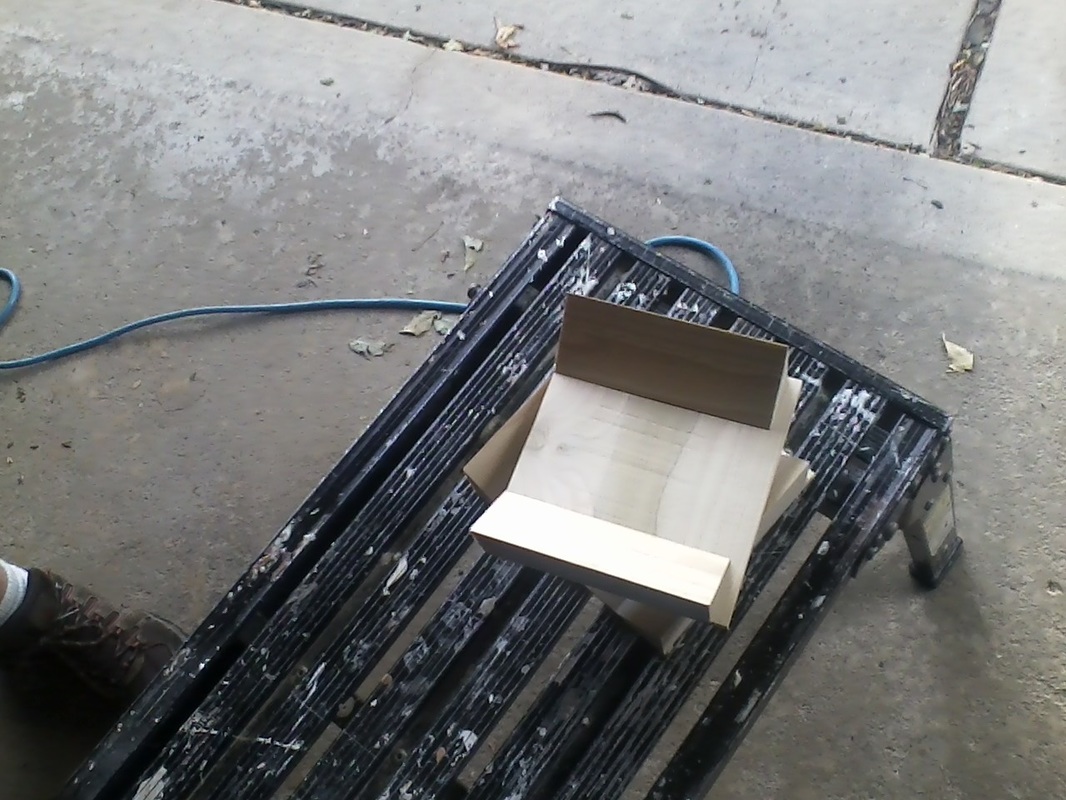
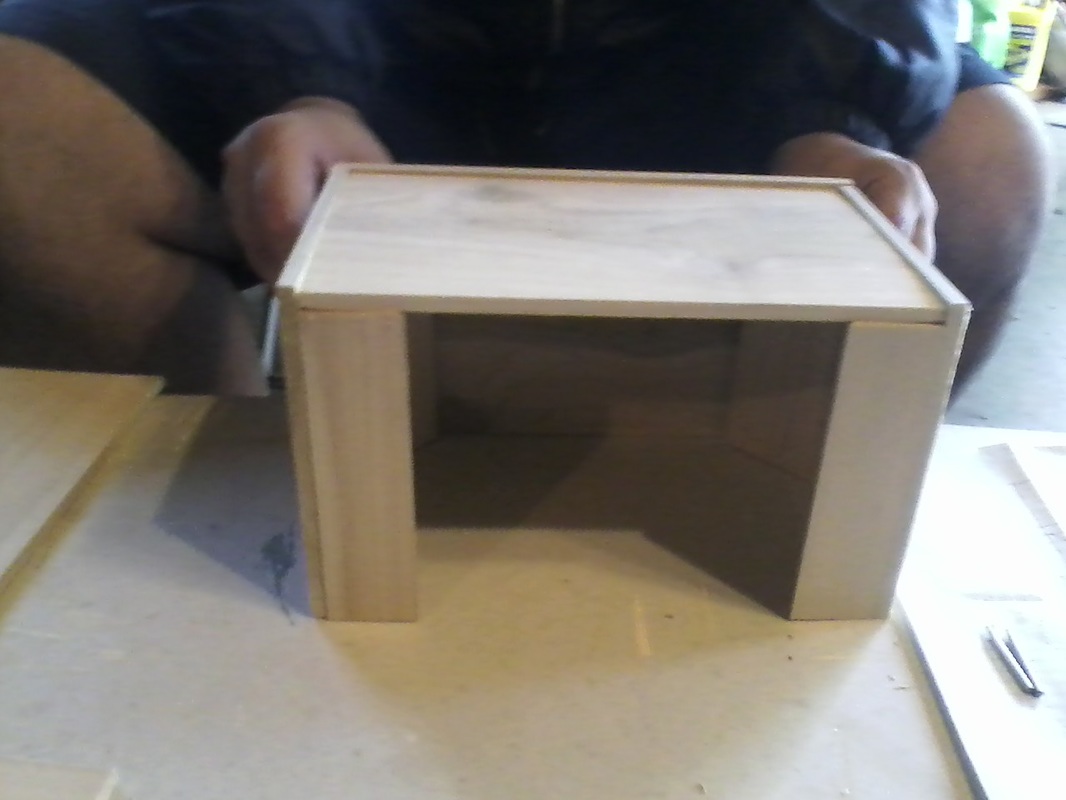
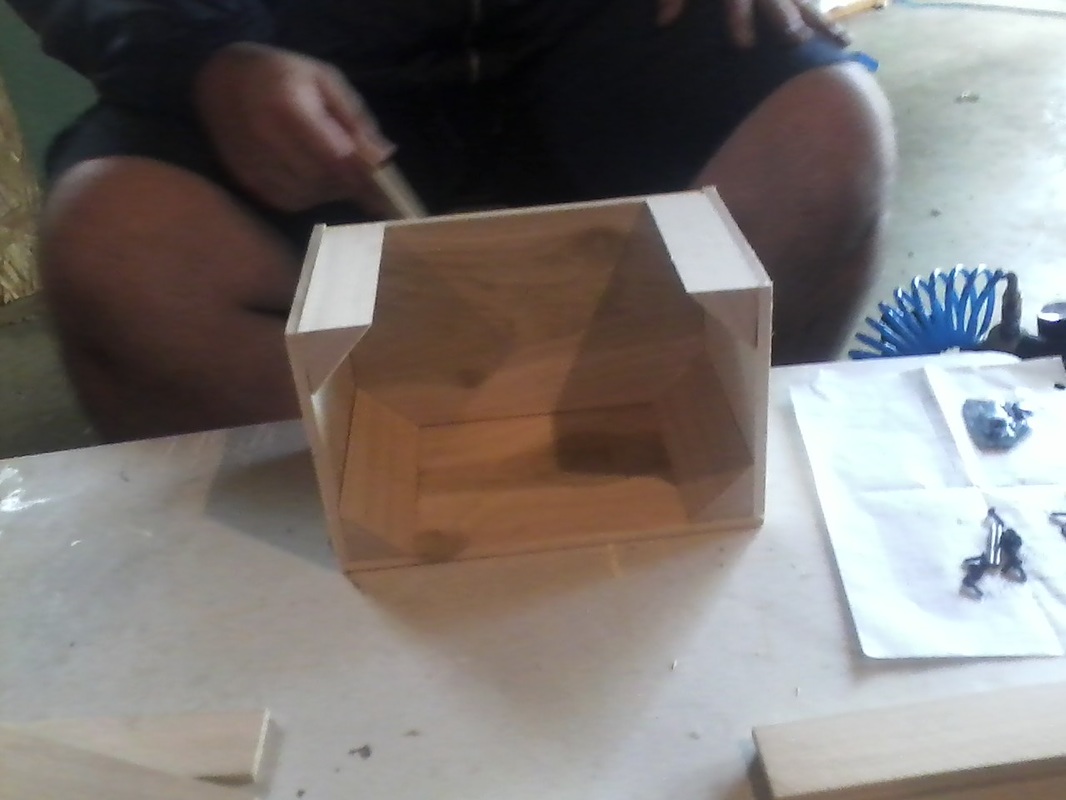
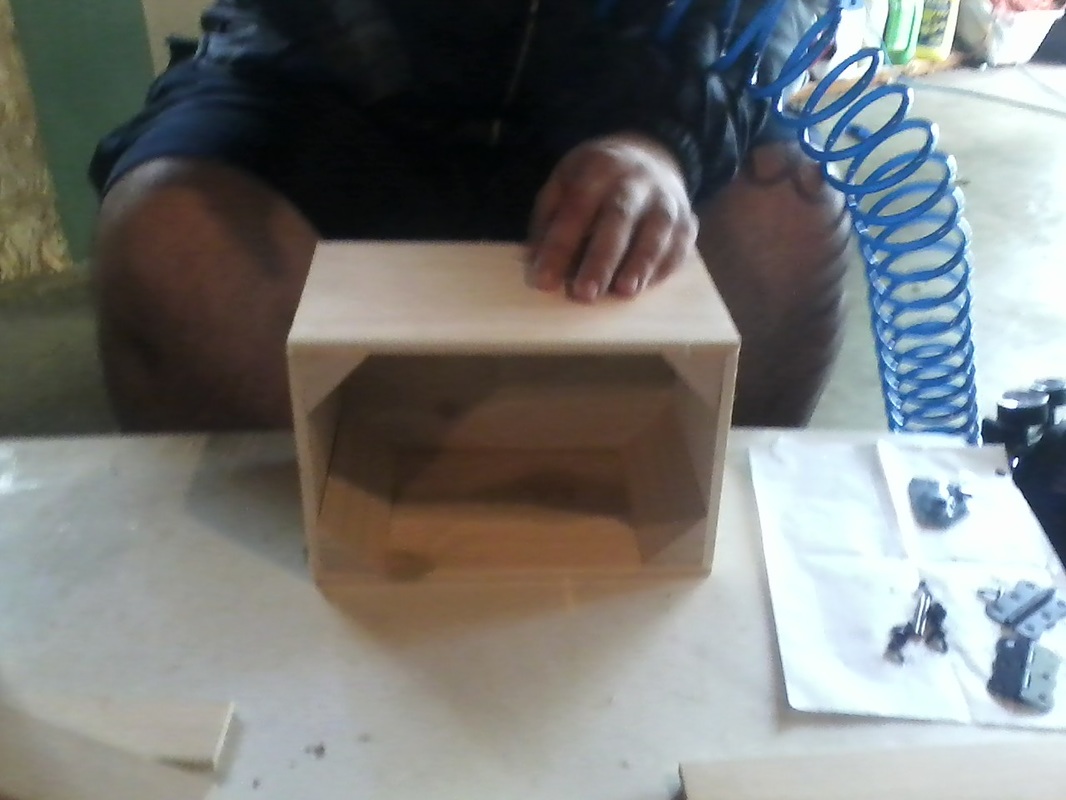
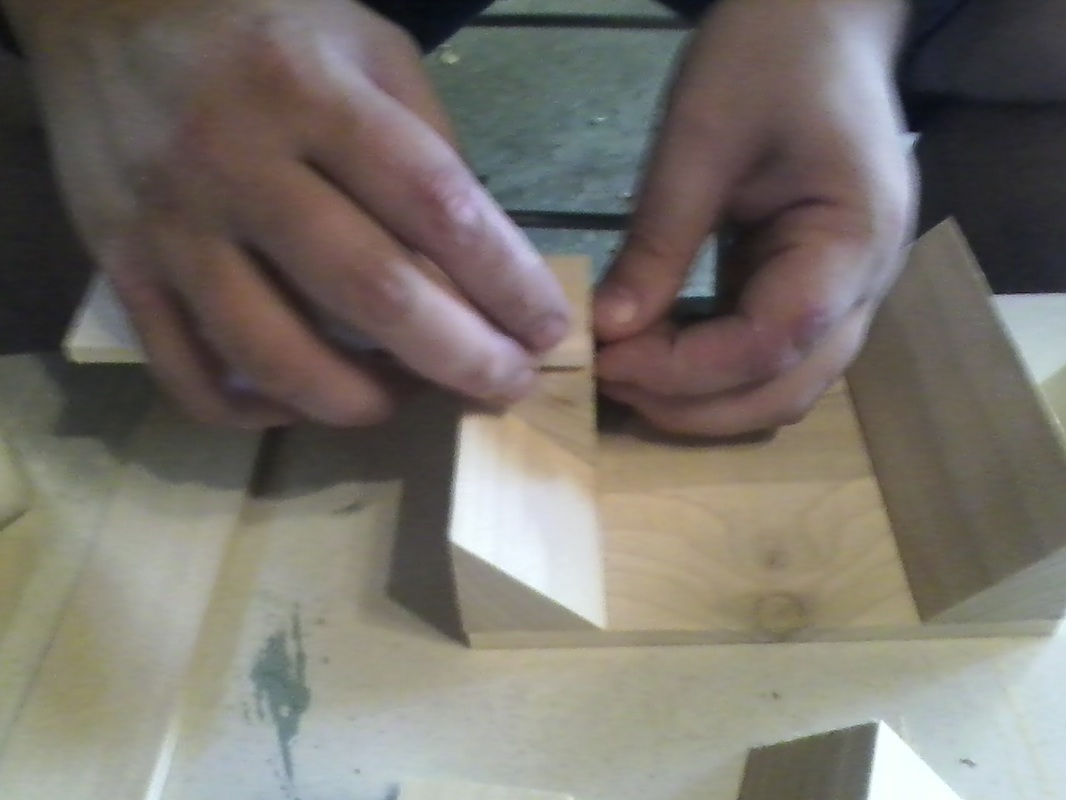
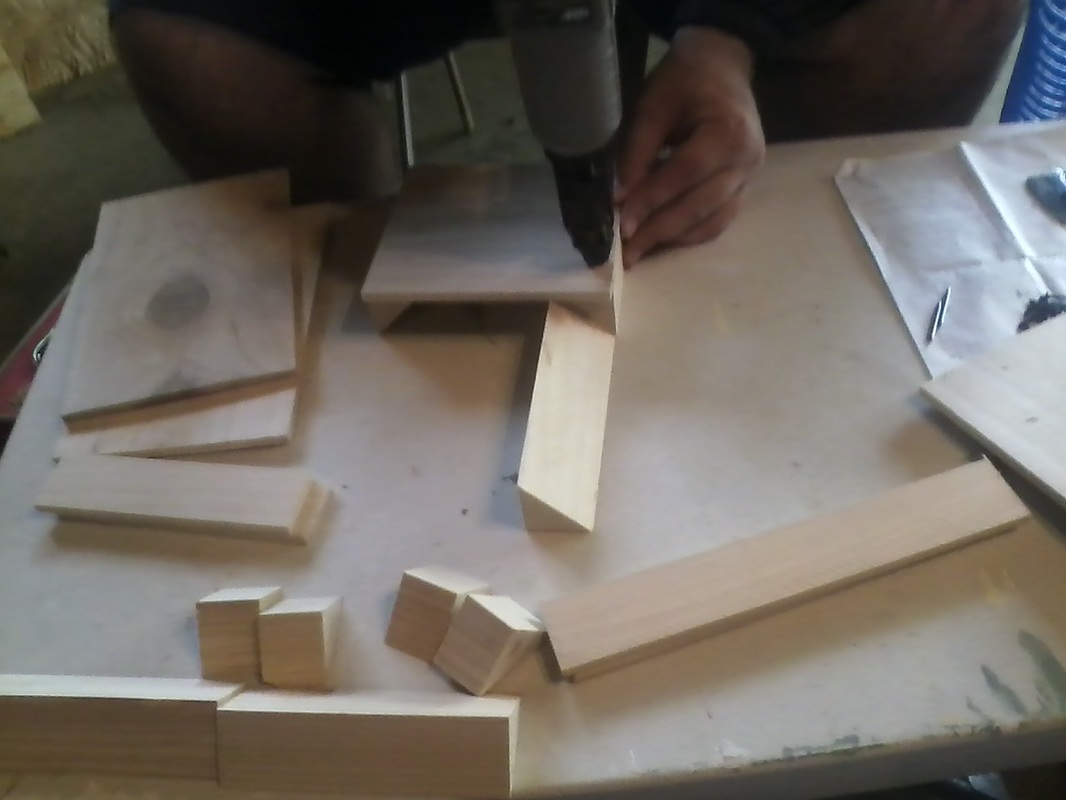
Once all the pieces were cut, we started placing them together. |
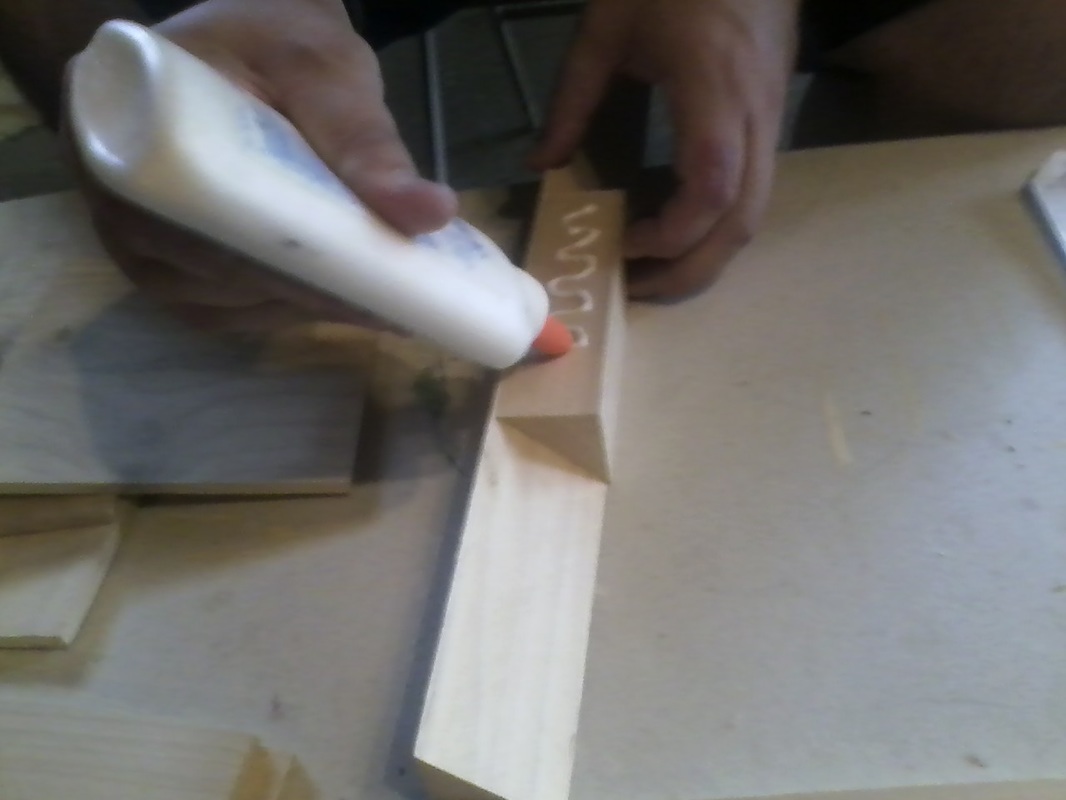
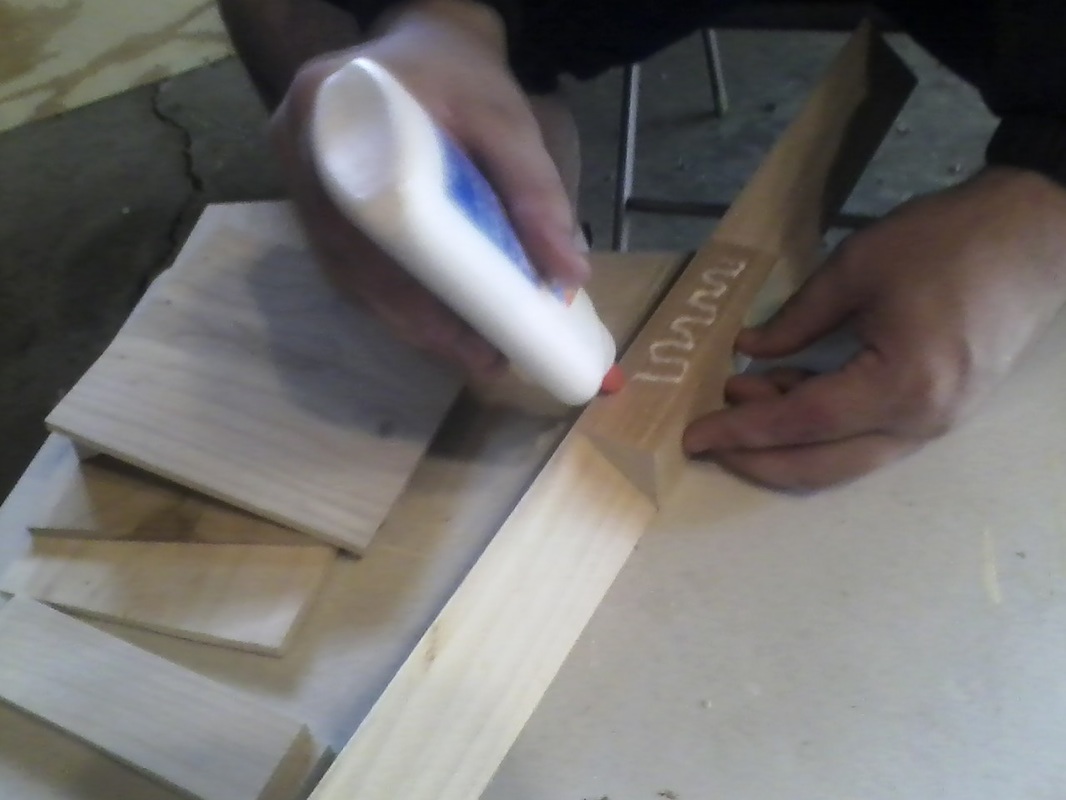
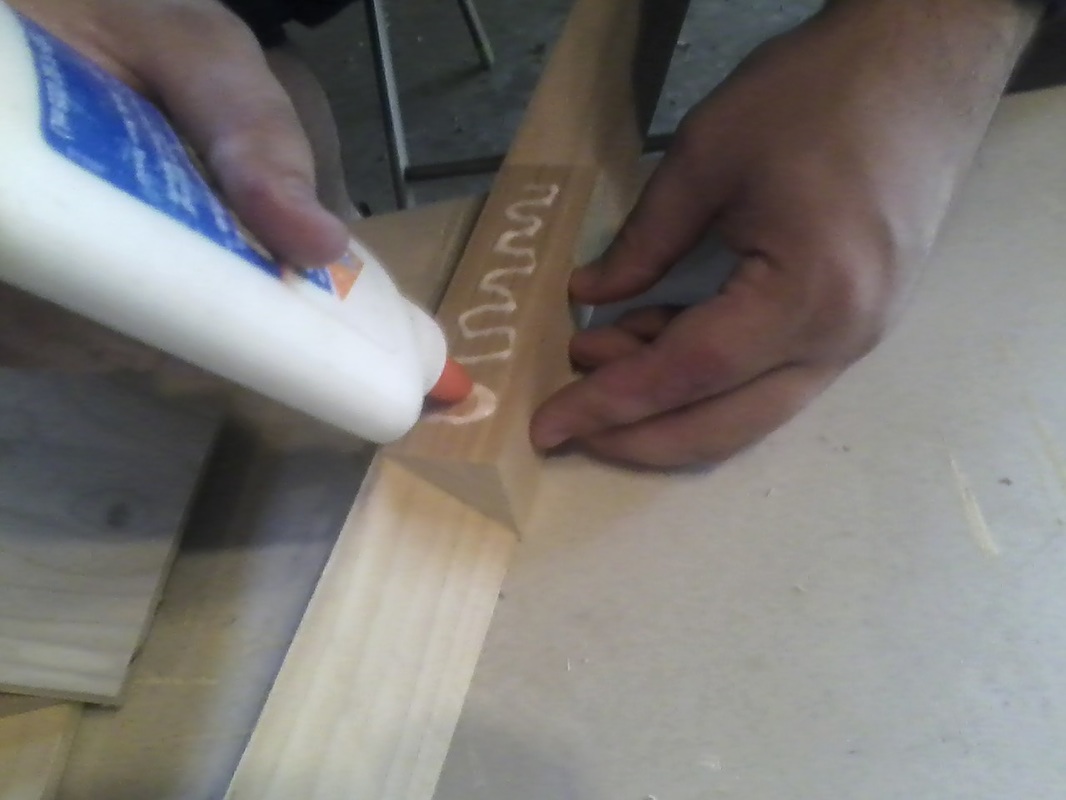
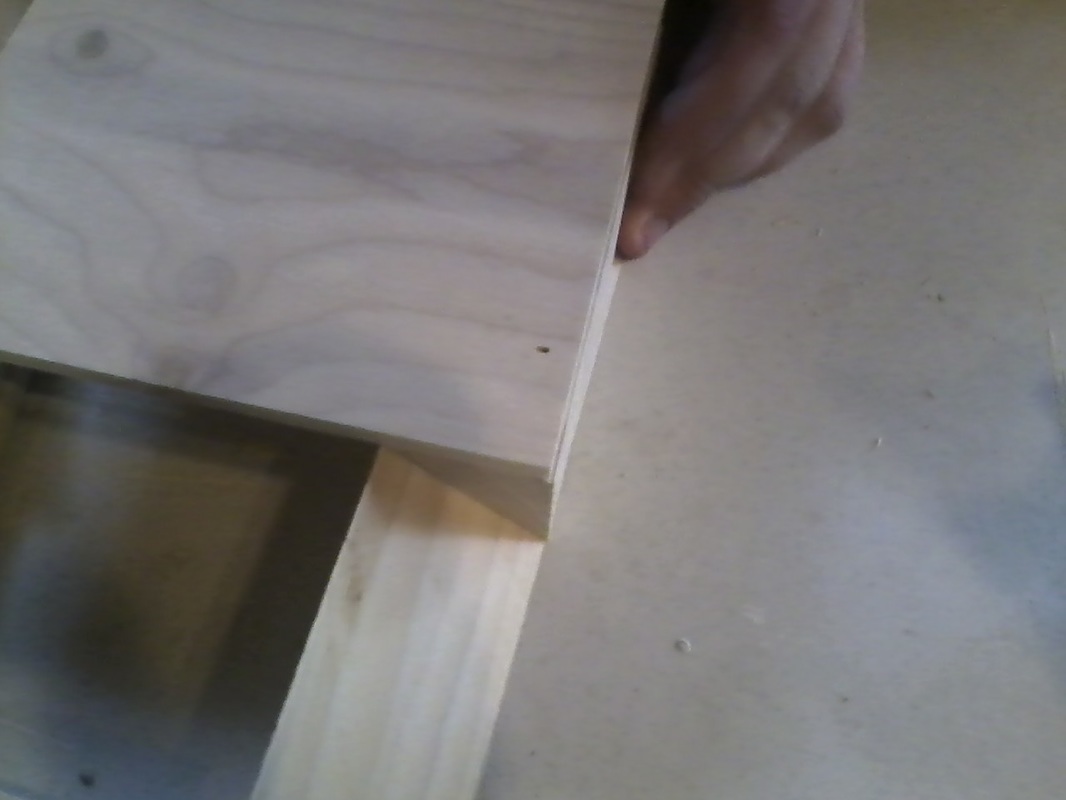
This is where the box was being built, using wood glue and a nail gun, the sides and corners were constructed.


|
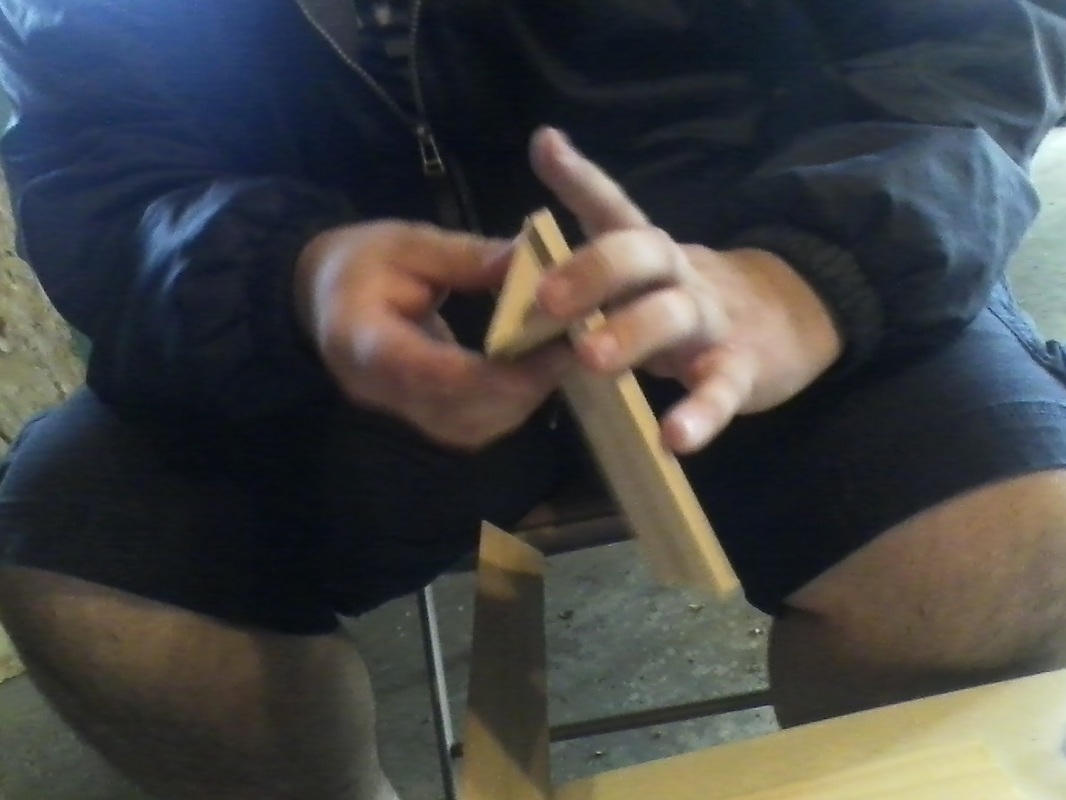
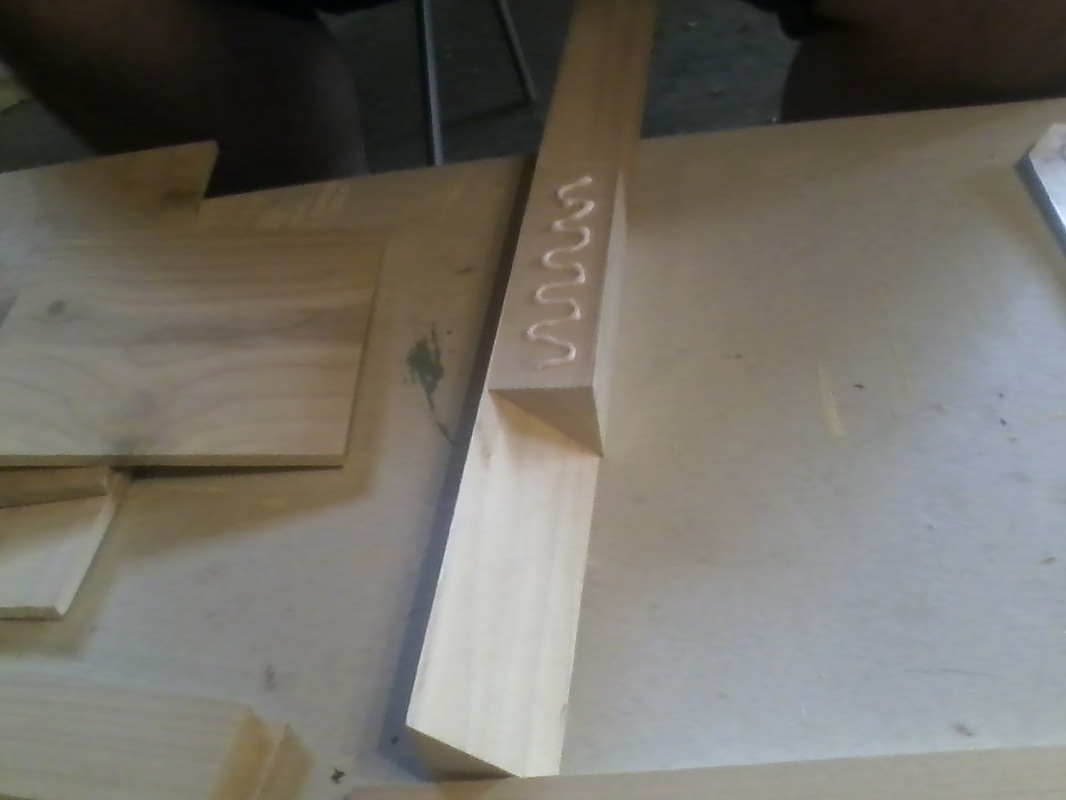
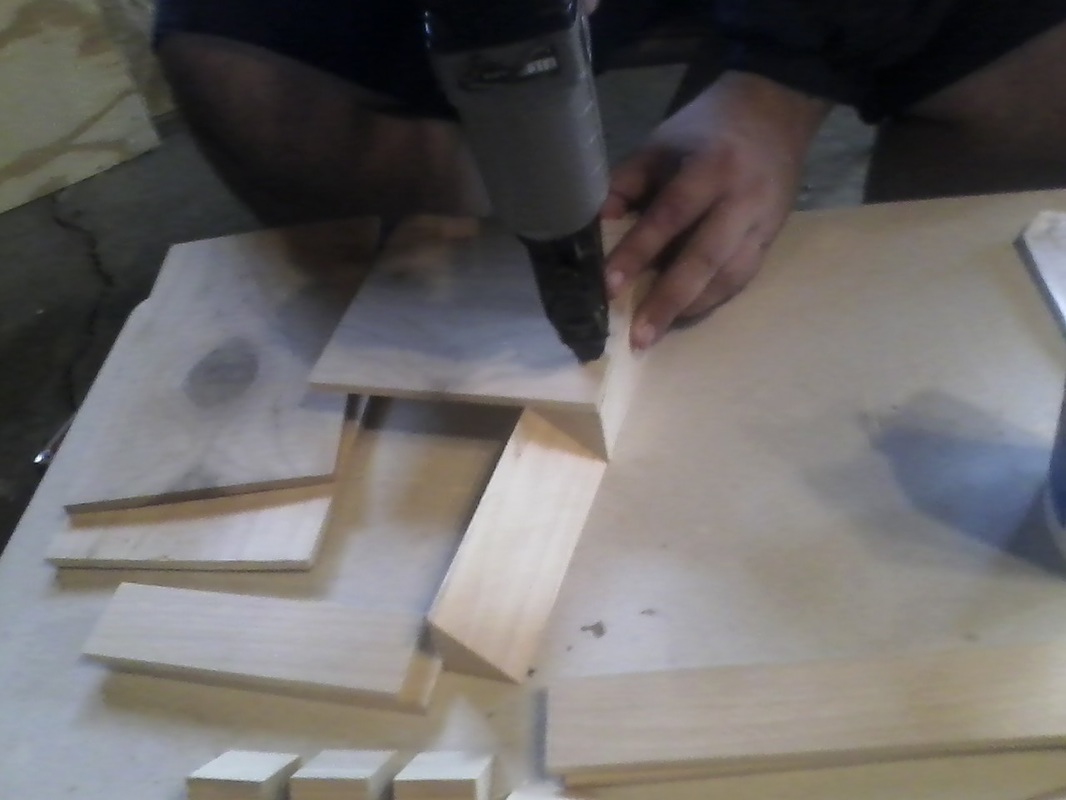
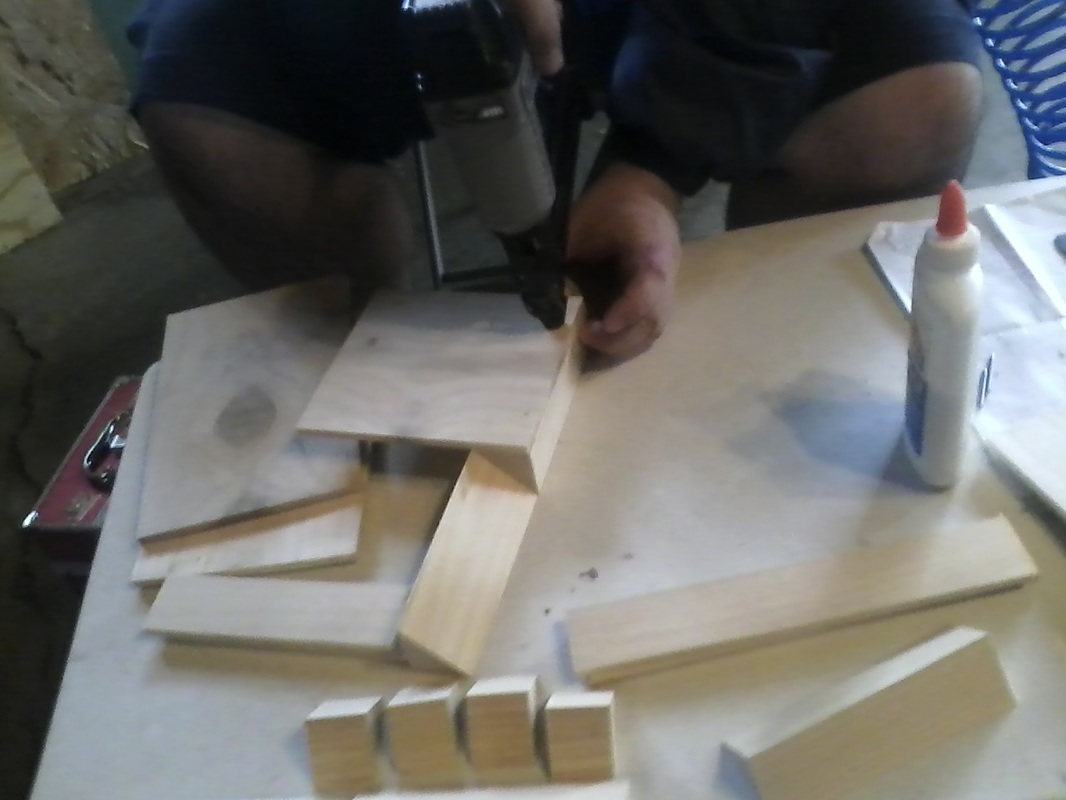
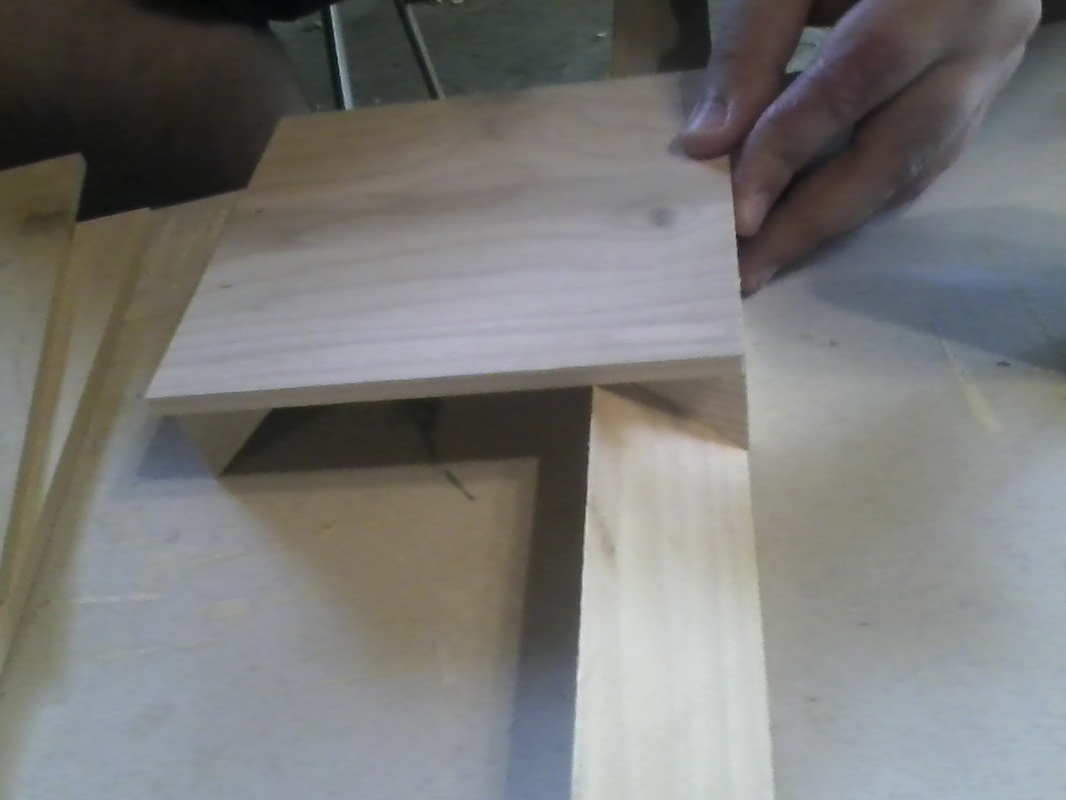
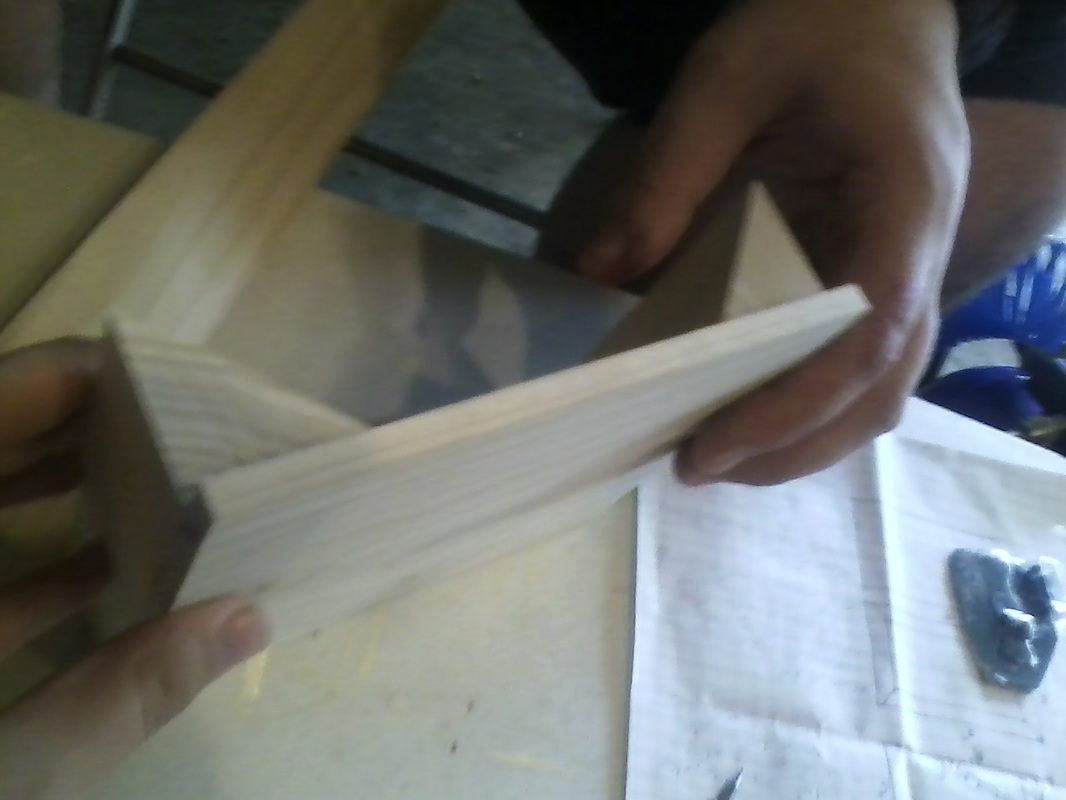
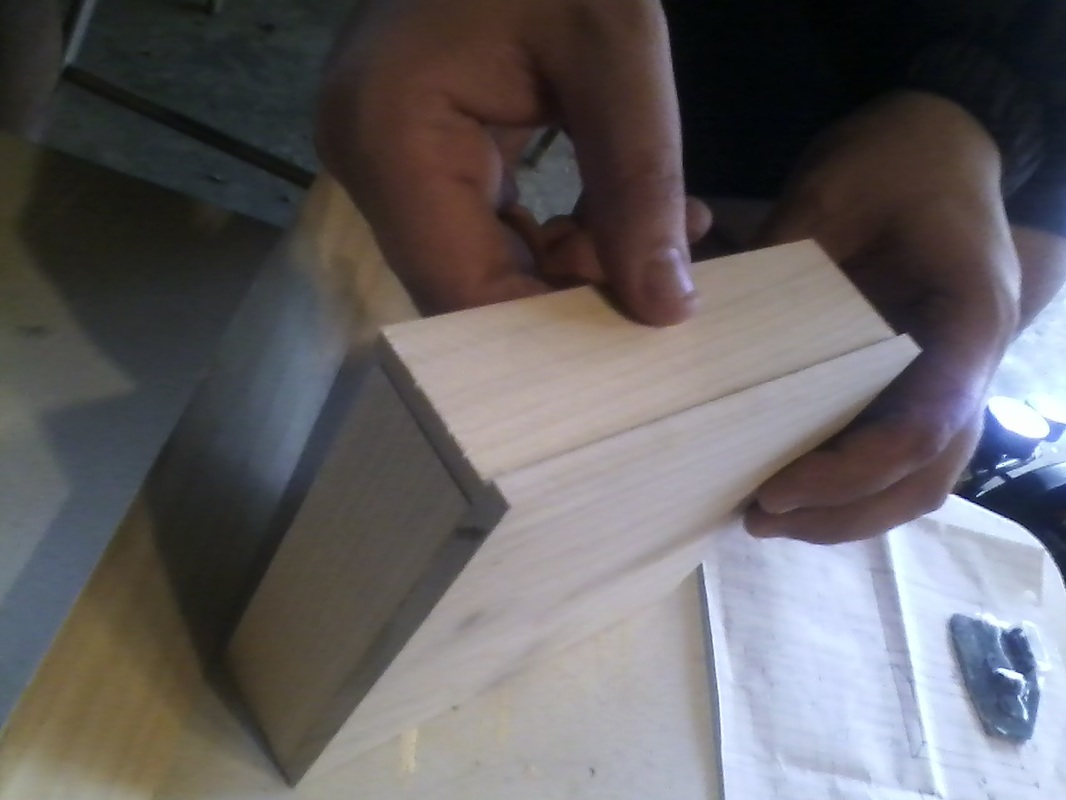
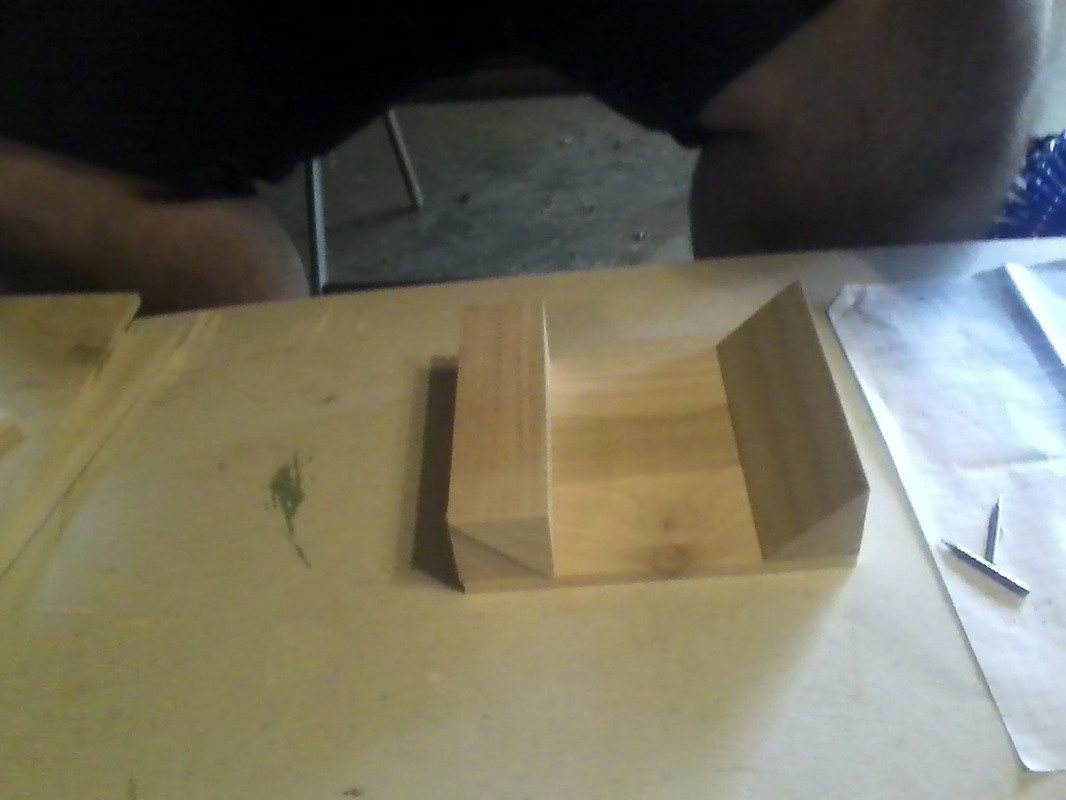
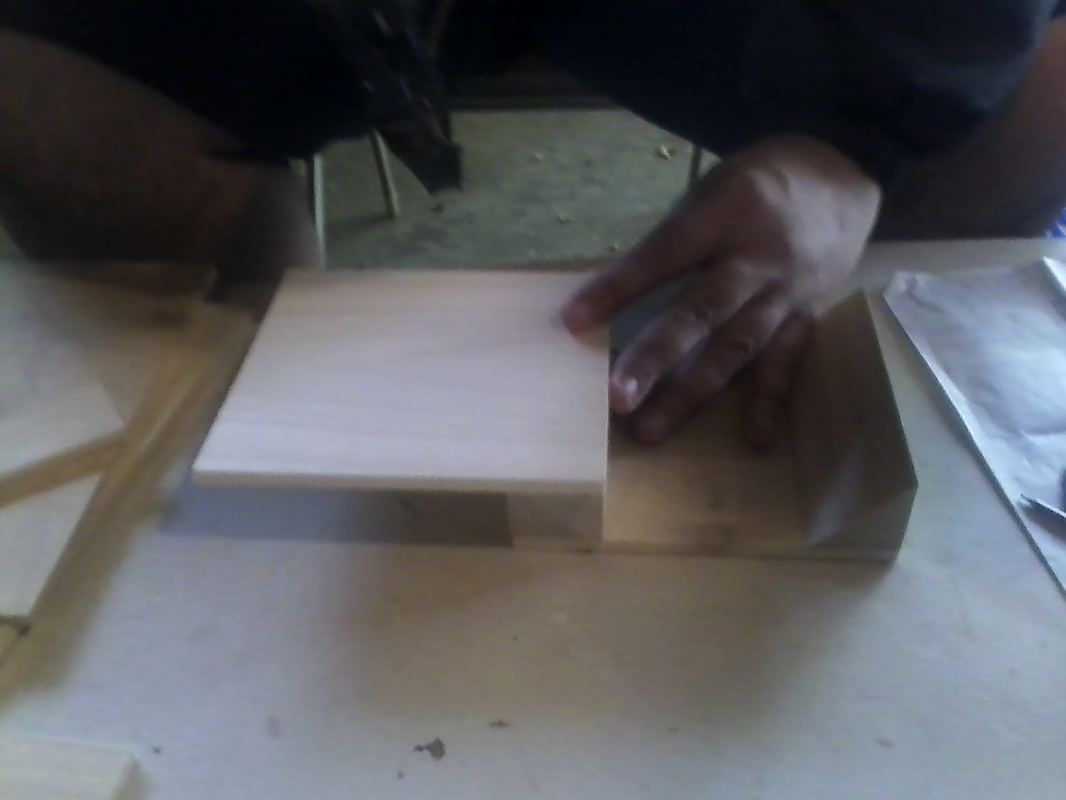
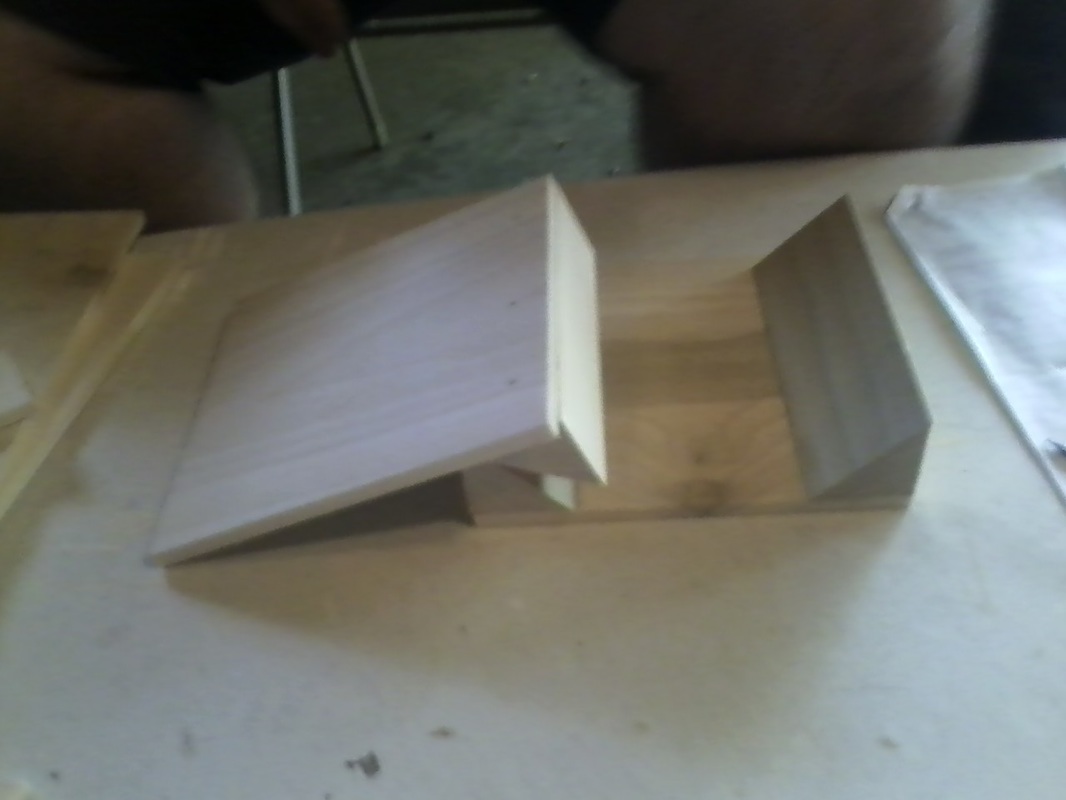
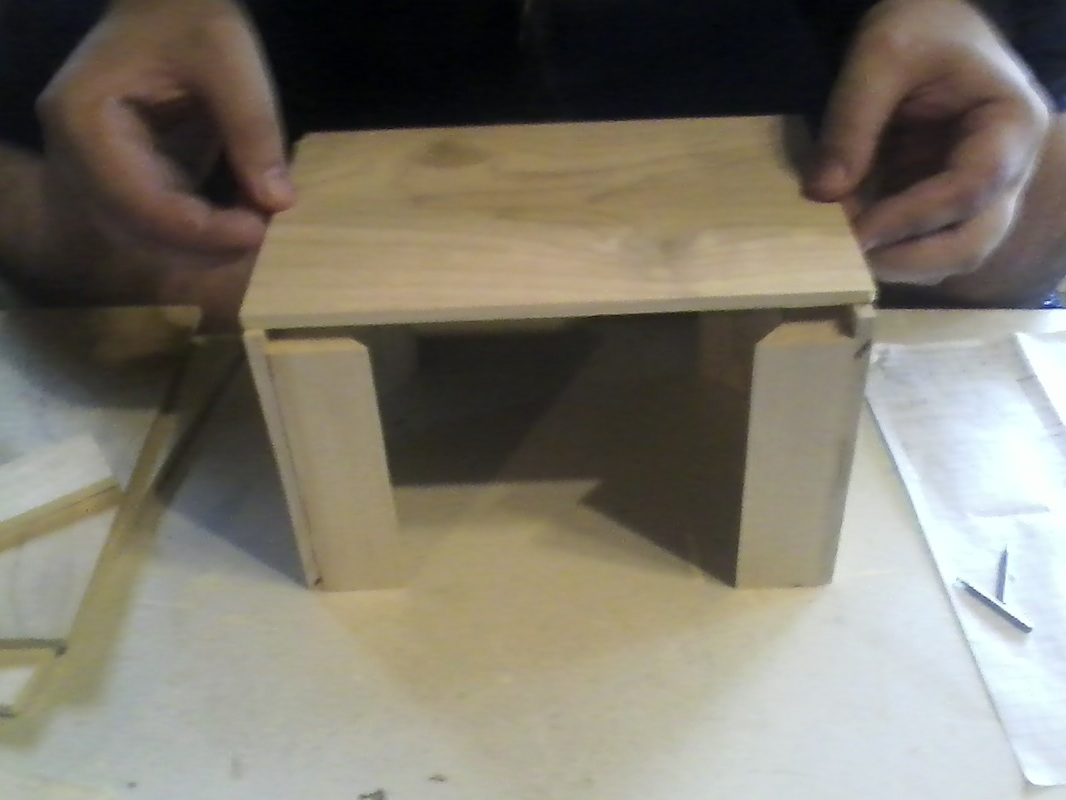
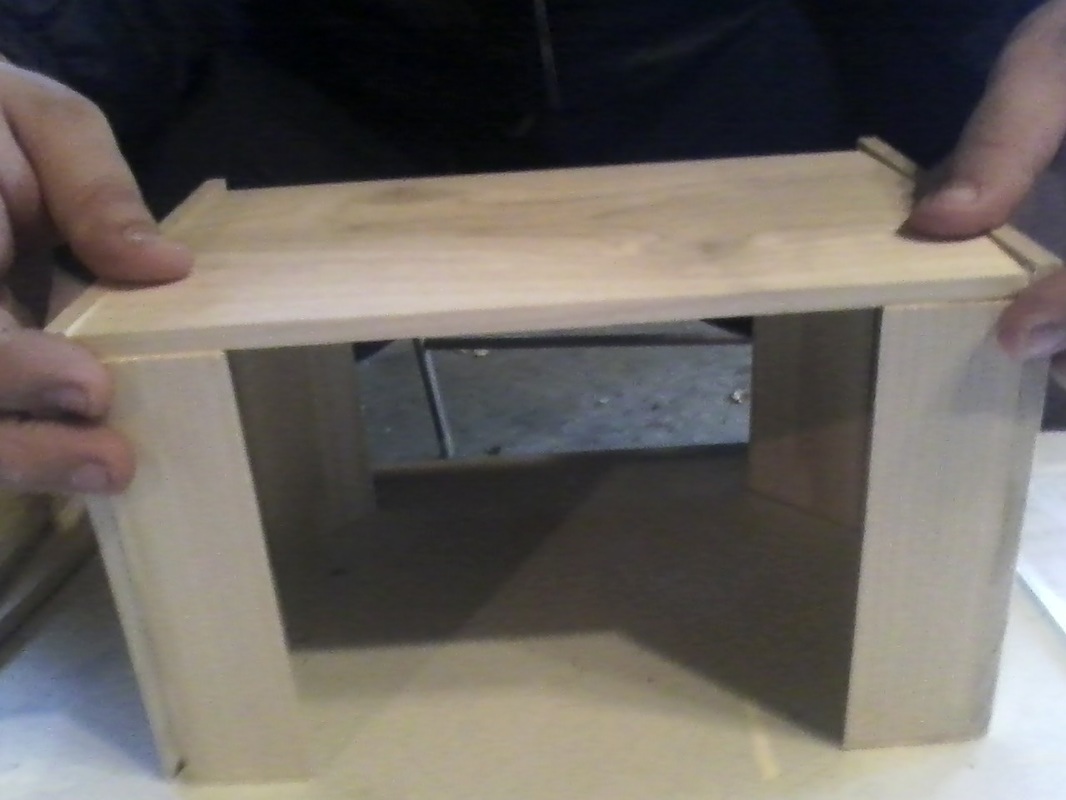
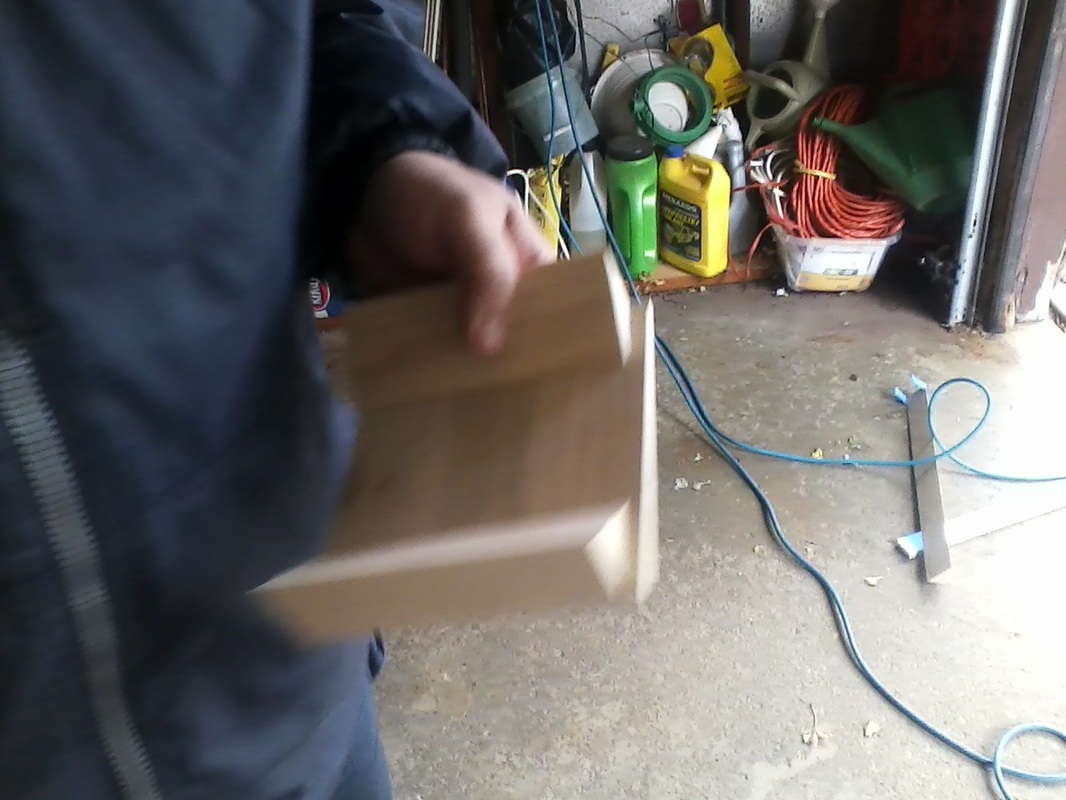
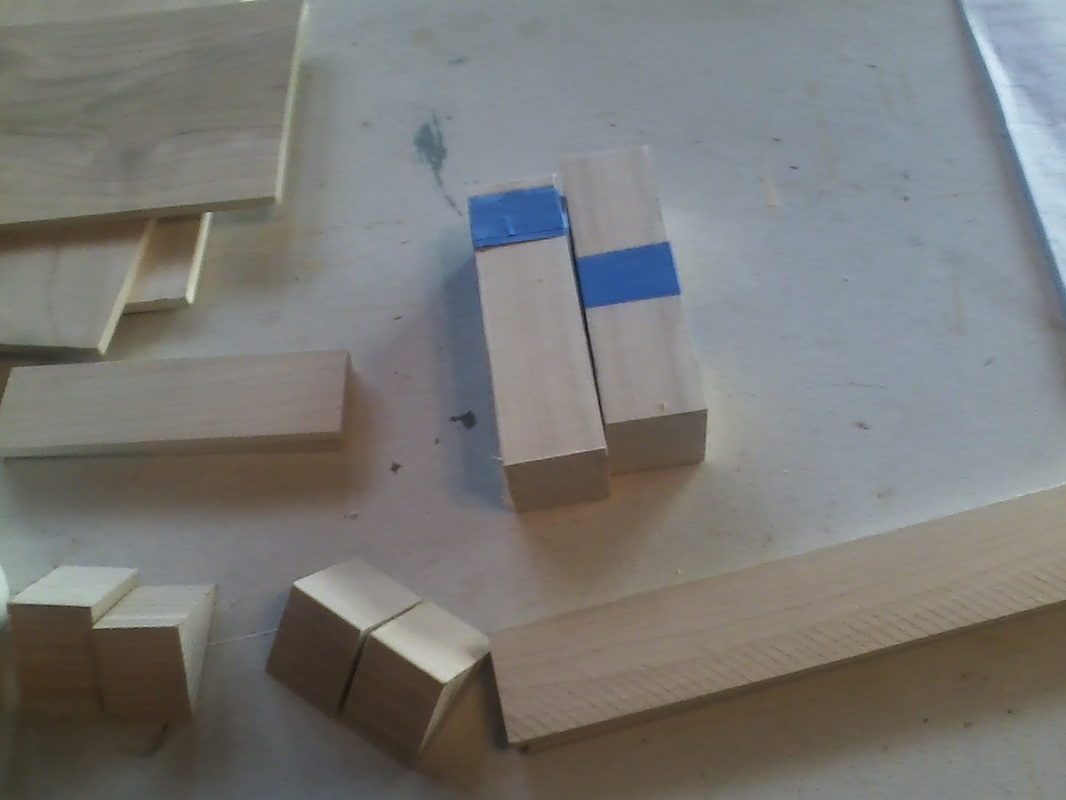
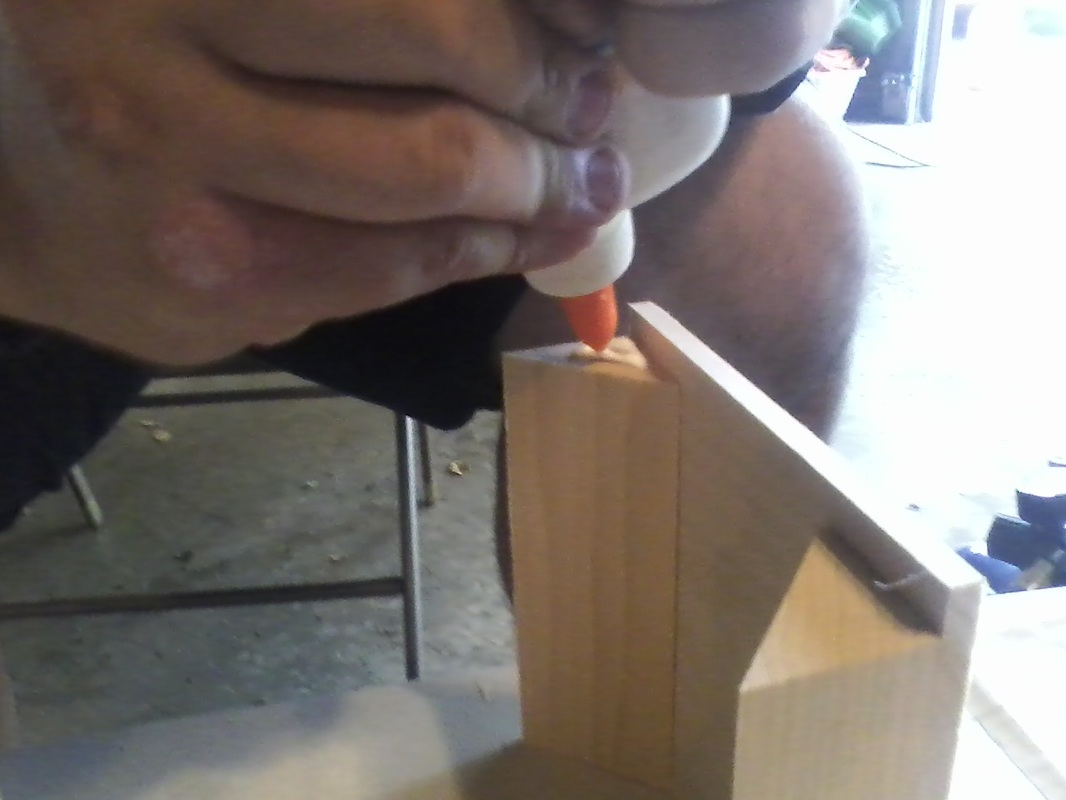
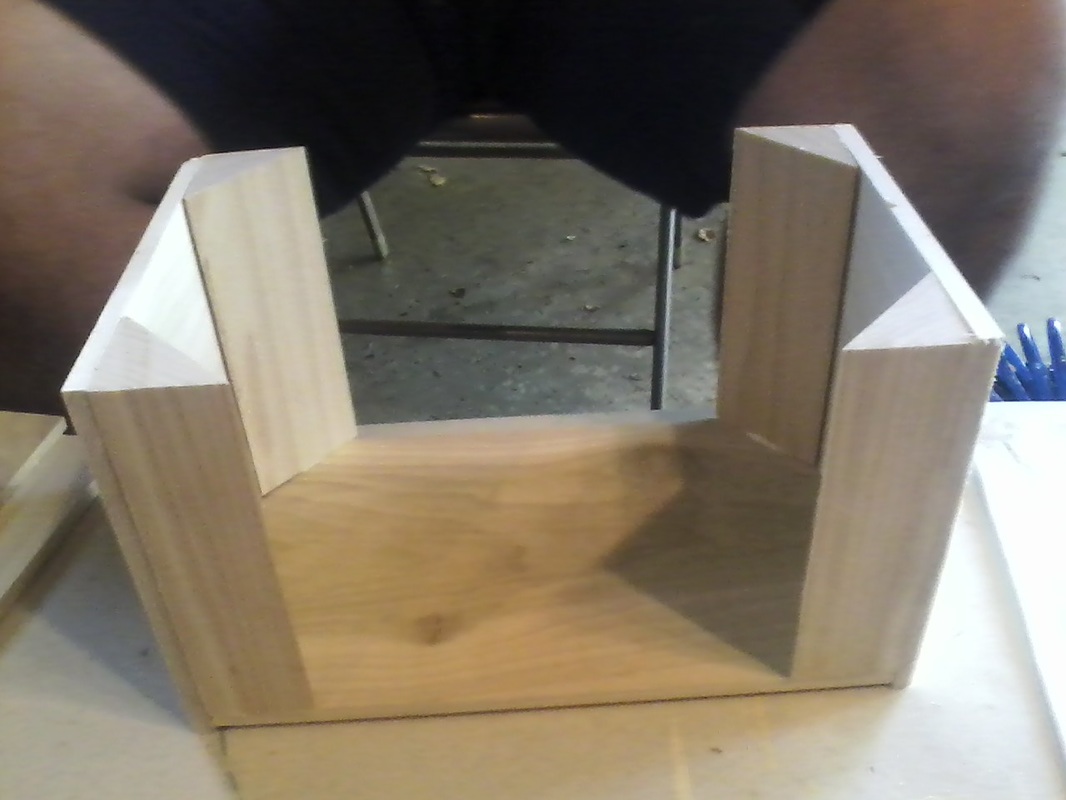
This is how the box is held together.
These pieces that were cut at the 45 degree angle were placed as corners, glued and nailed into place. Since the box was not meant to hold much weight, glue and nails were used to hold the box together. |

|
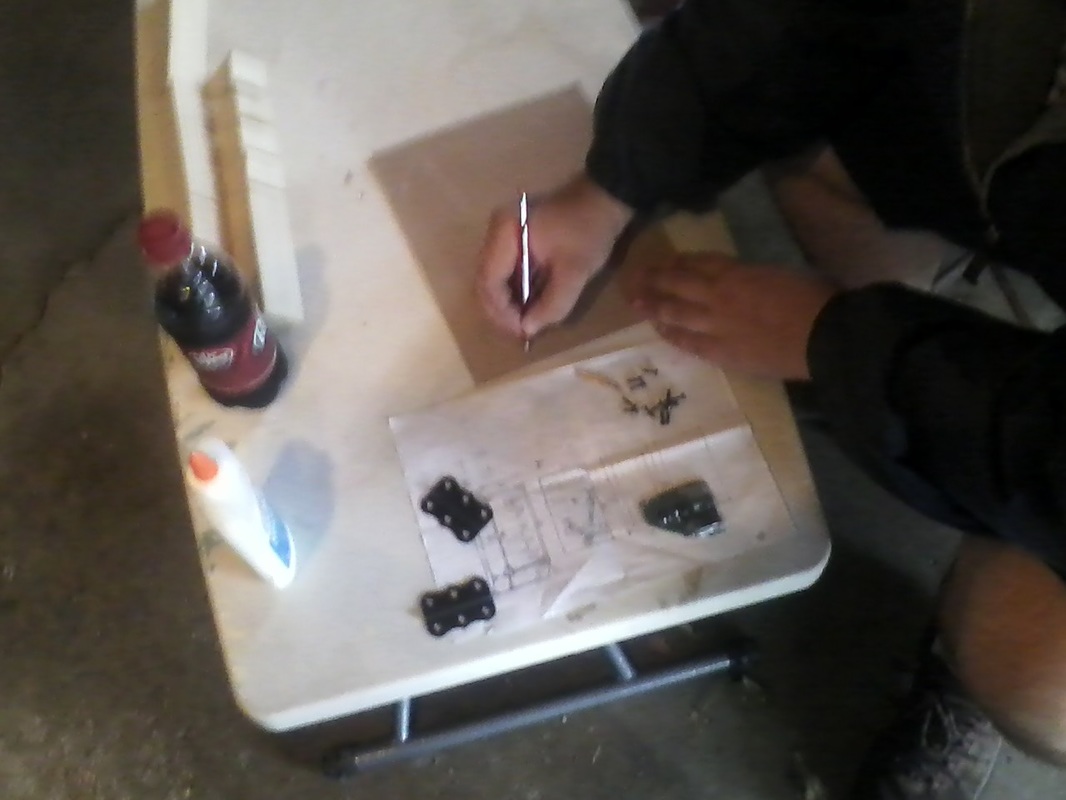
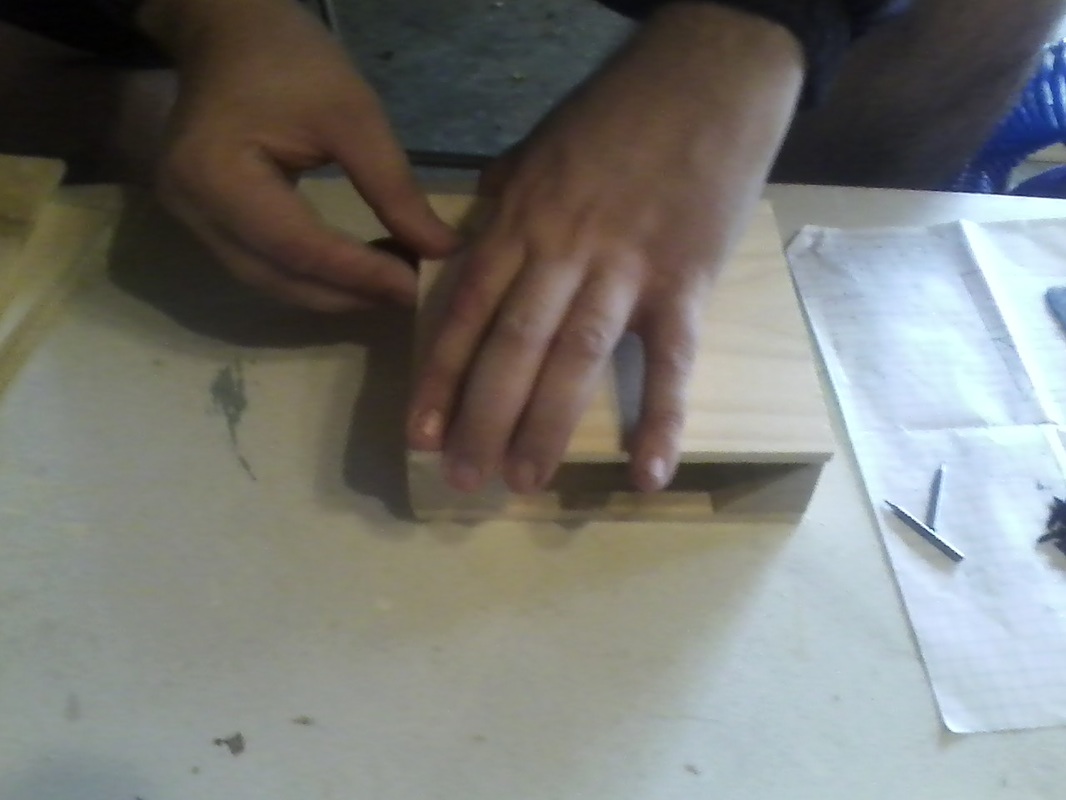
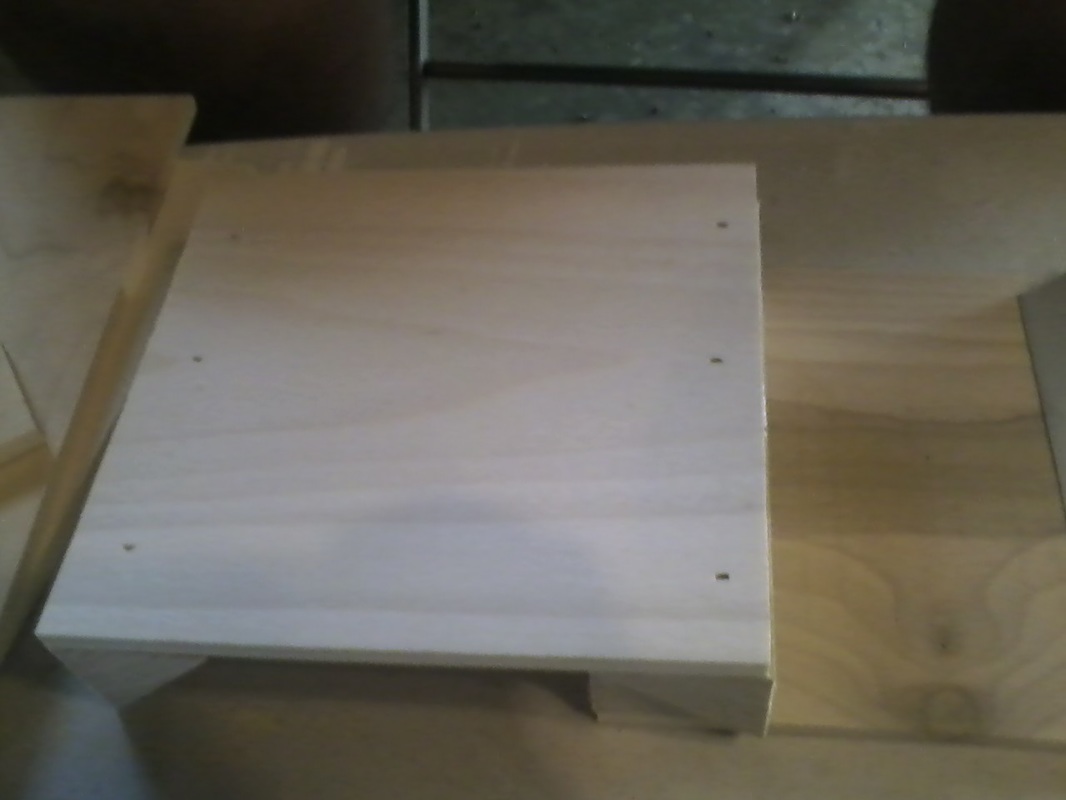
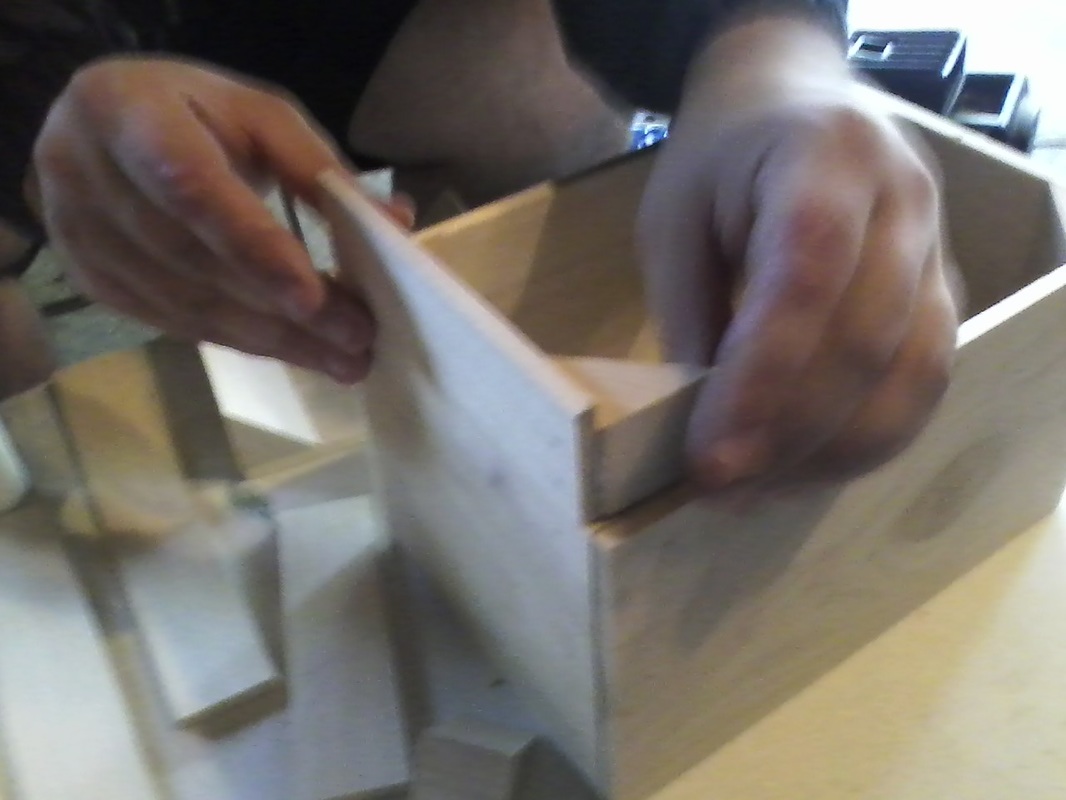
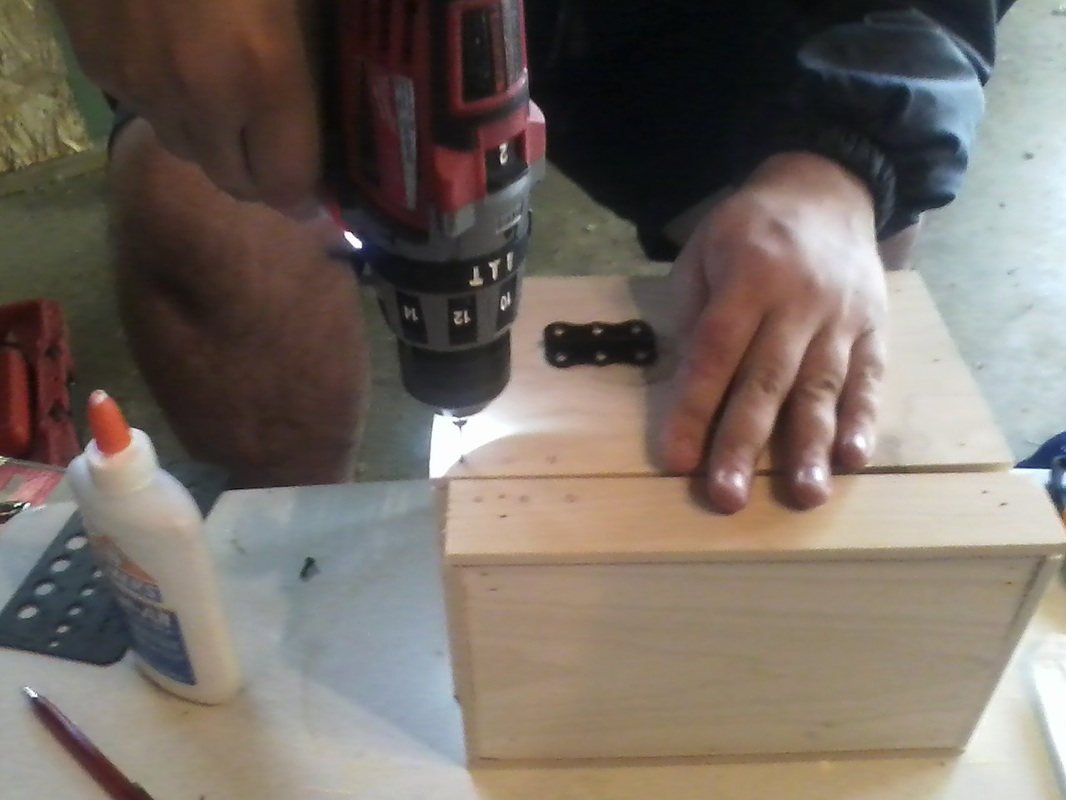
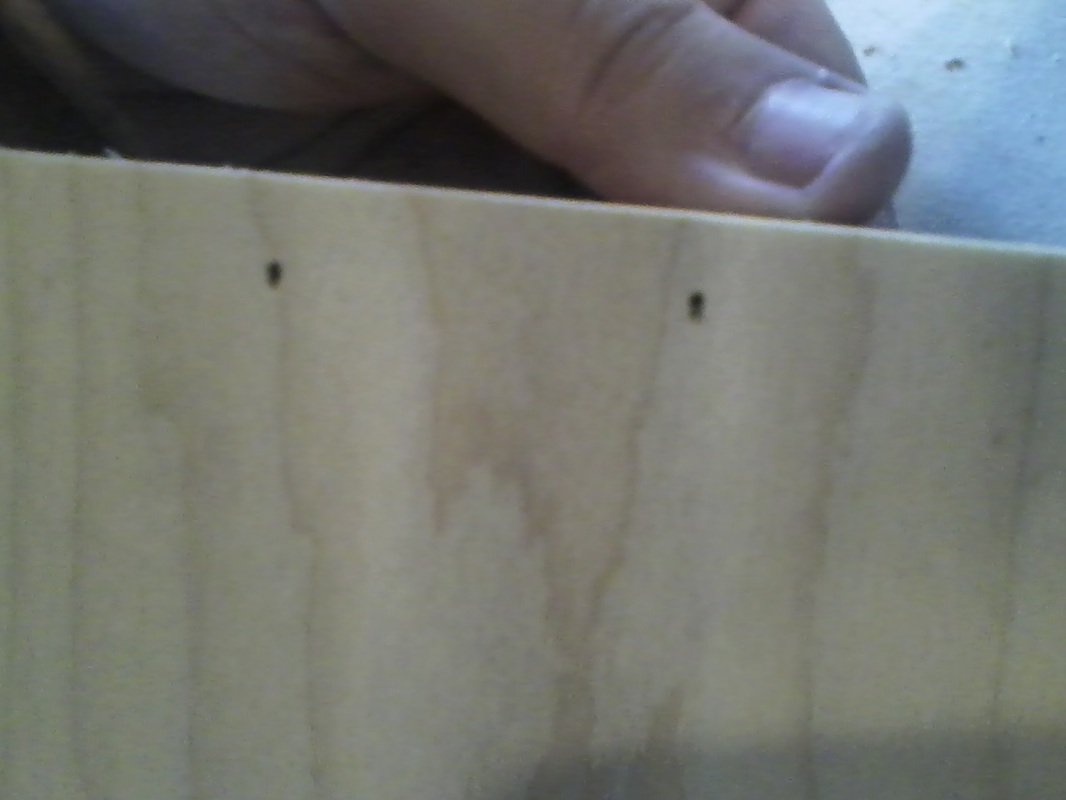
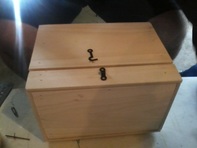
After the box was constructed, we had to put the lid on with the hinges. Once everything was drawn in, the holes were cut with a drill, and the hinges were screwed into place.
To draw the drilling holes in the right place, the hinges were placed where they were wanted, and we took a pencil and sketched in where the holes for the hinges were, then drilled. |

|
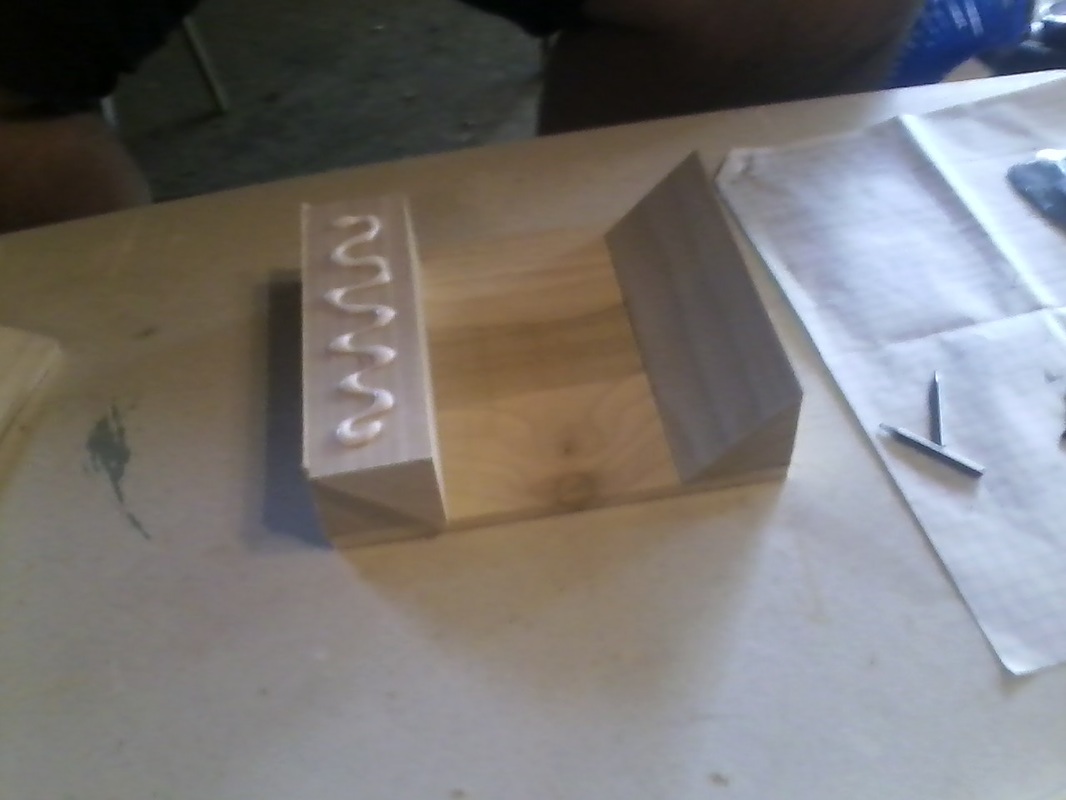
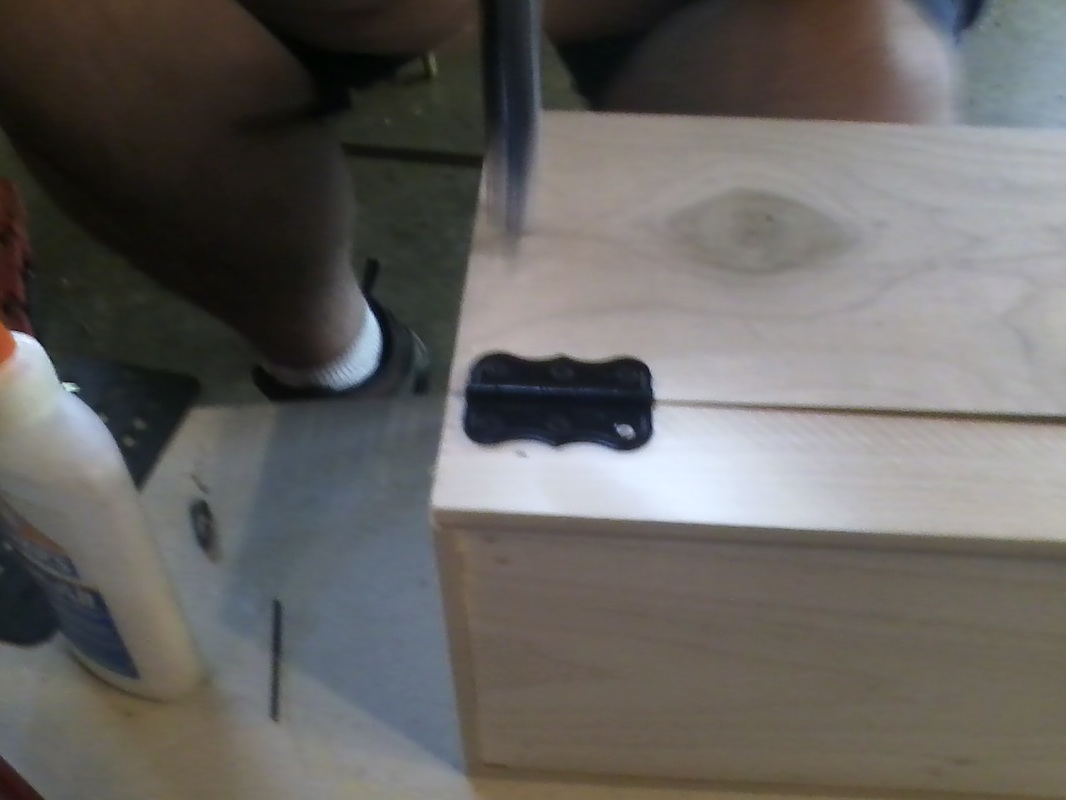
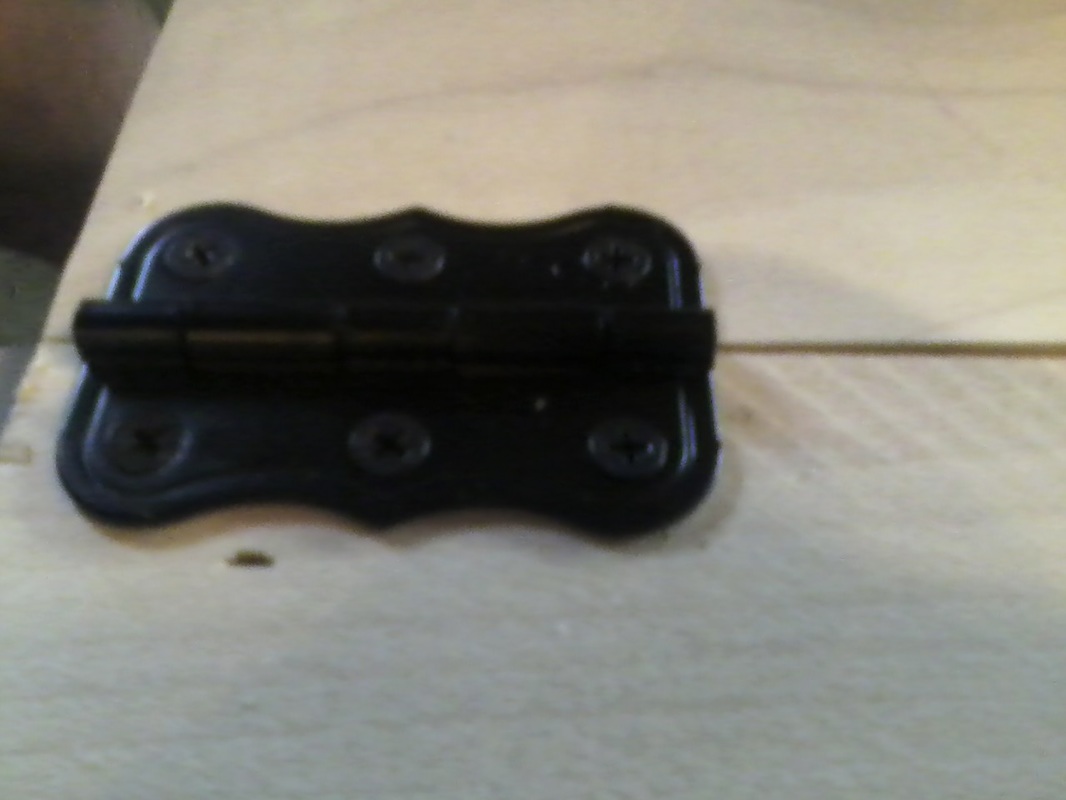
And here is the finished hinge on the box. |
|
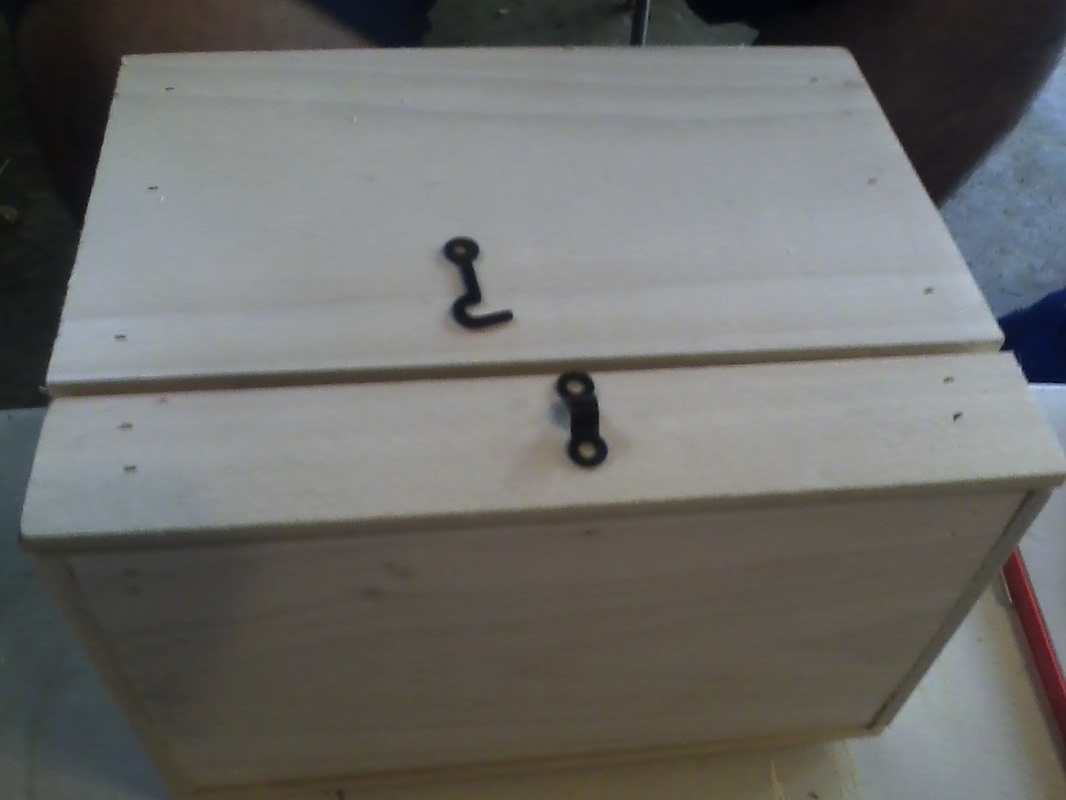
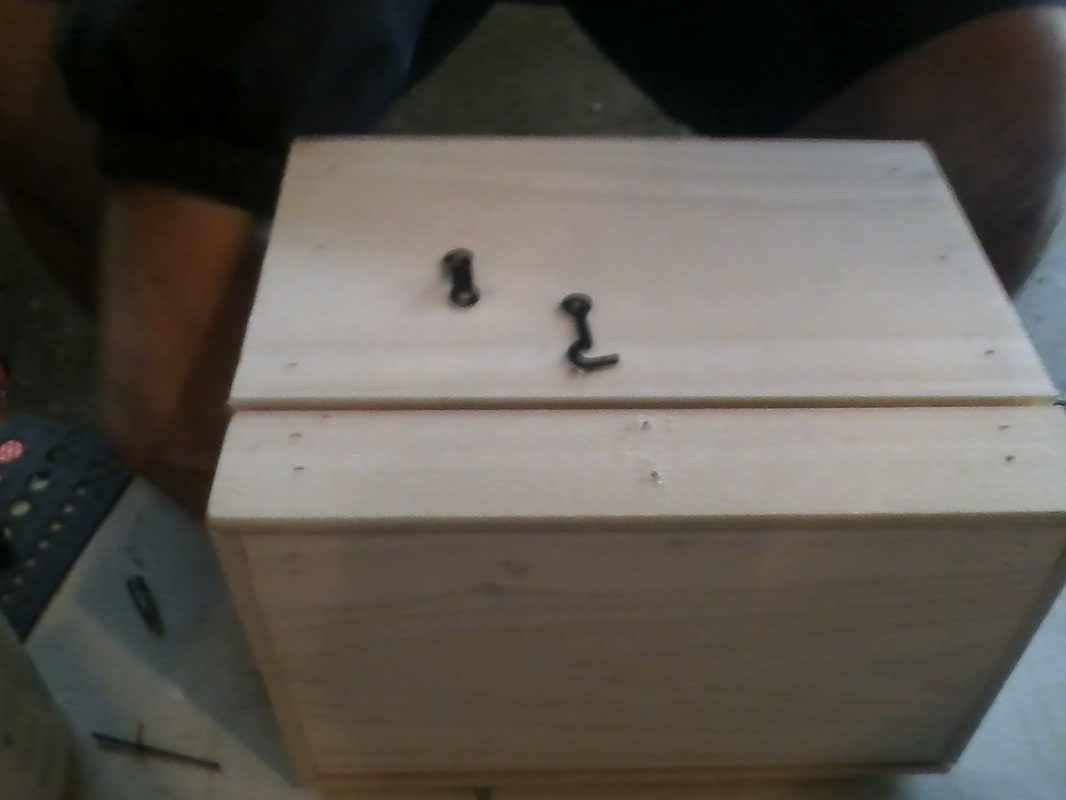
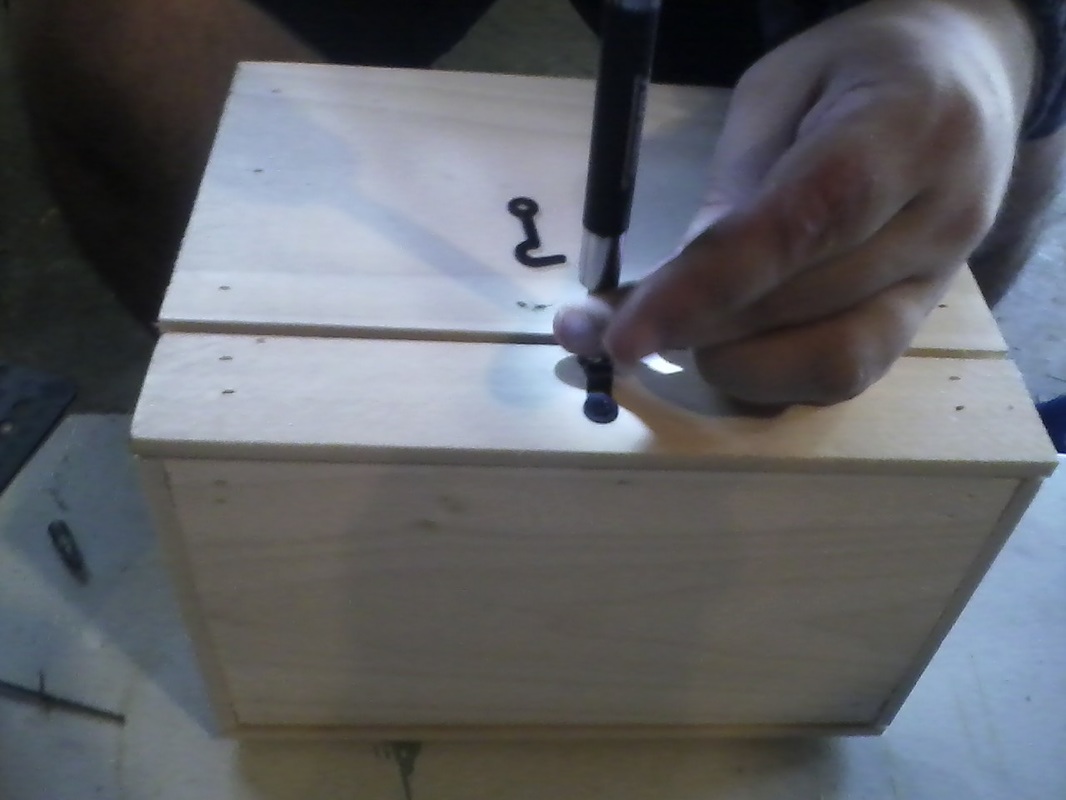
Then it was time to put the "lock" on. It was just a small hook meant to keep the box from opening so easily. I decided on the placement and what would look better, and we screwed it into place. |
After this, my phone died and my memory was full (I collect photos as a fan-girl, and that took up a lot of memory).
I do not have any photos for the part where I used a dremel to etch in my design. Which is too bad because there was a lot of mistakes and experimentation there. I also, unfortunately, couldn't document when I used a palm sander to even out the sides and smooth all the edges.
I do not have any photos for the part where I used a dremel to etch in my design. Which is too bad because there was a lot of mistakes and experimentation there. I also, unfortunately, couldn't document when I used a palm sander to even out the sides and smooth all the edges.
EXPERIMENTATION AND PROCESS IN PAINTING
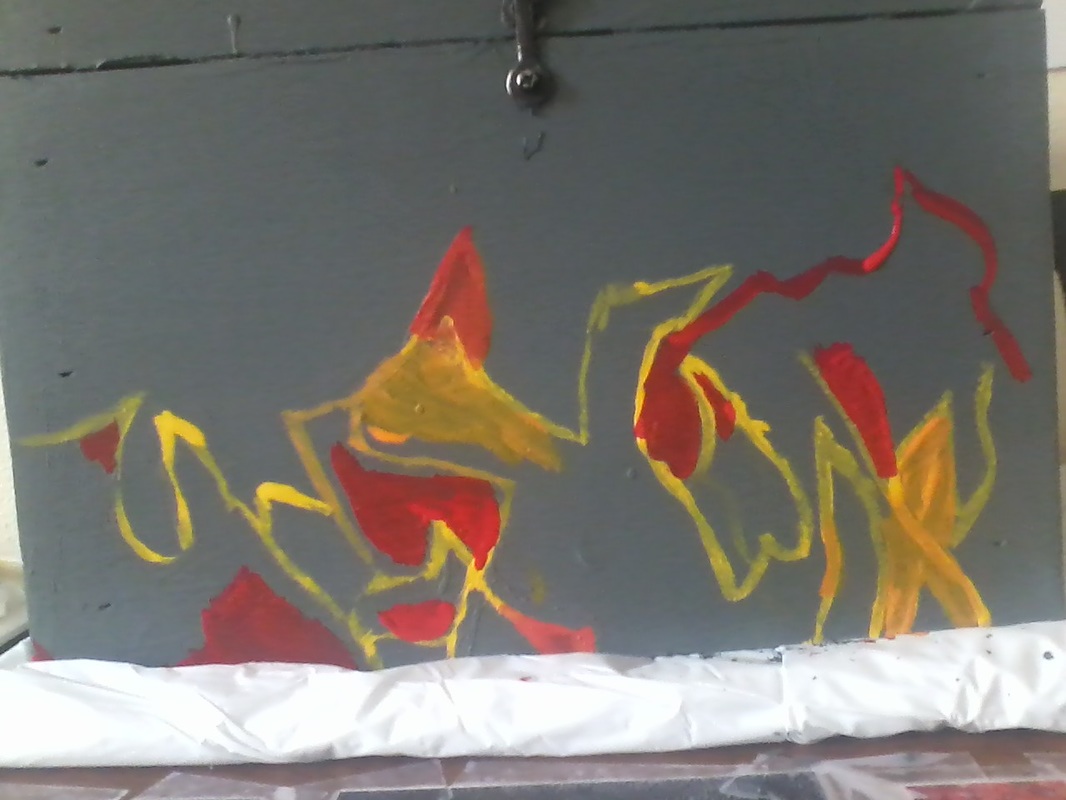
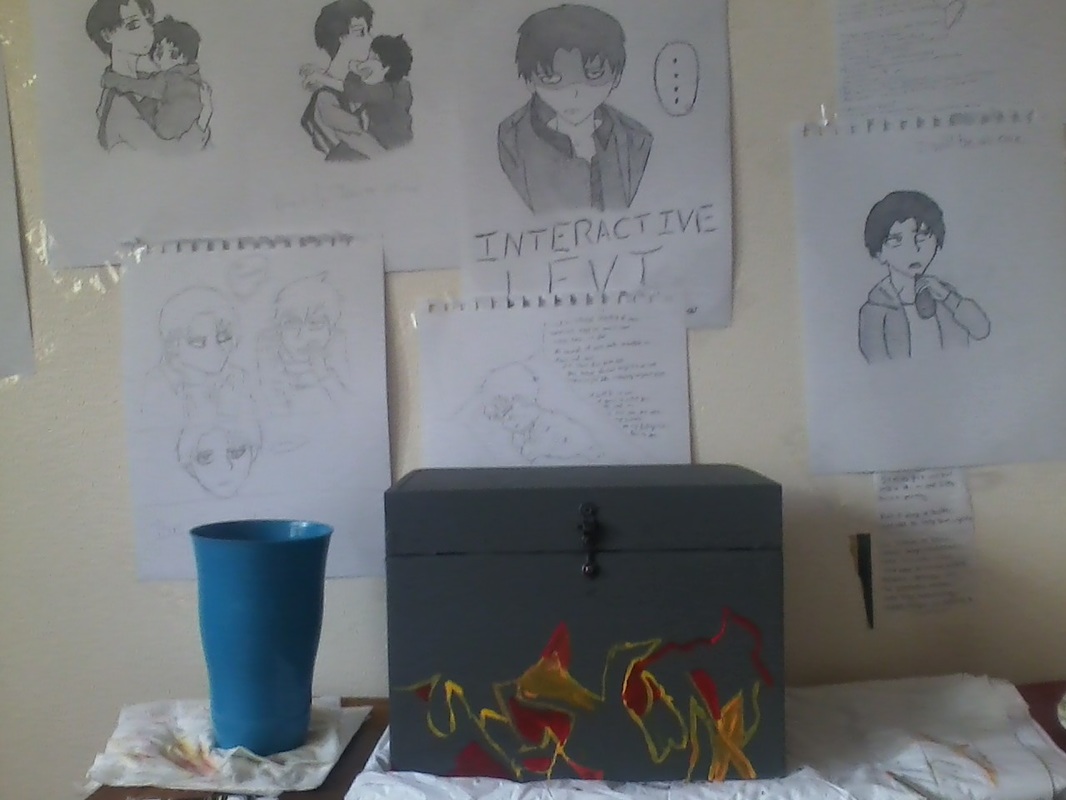
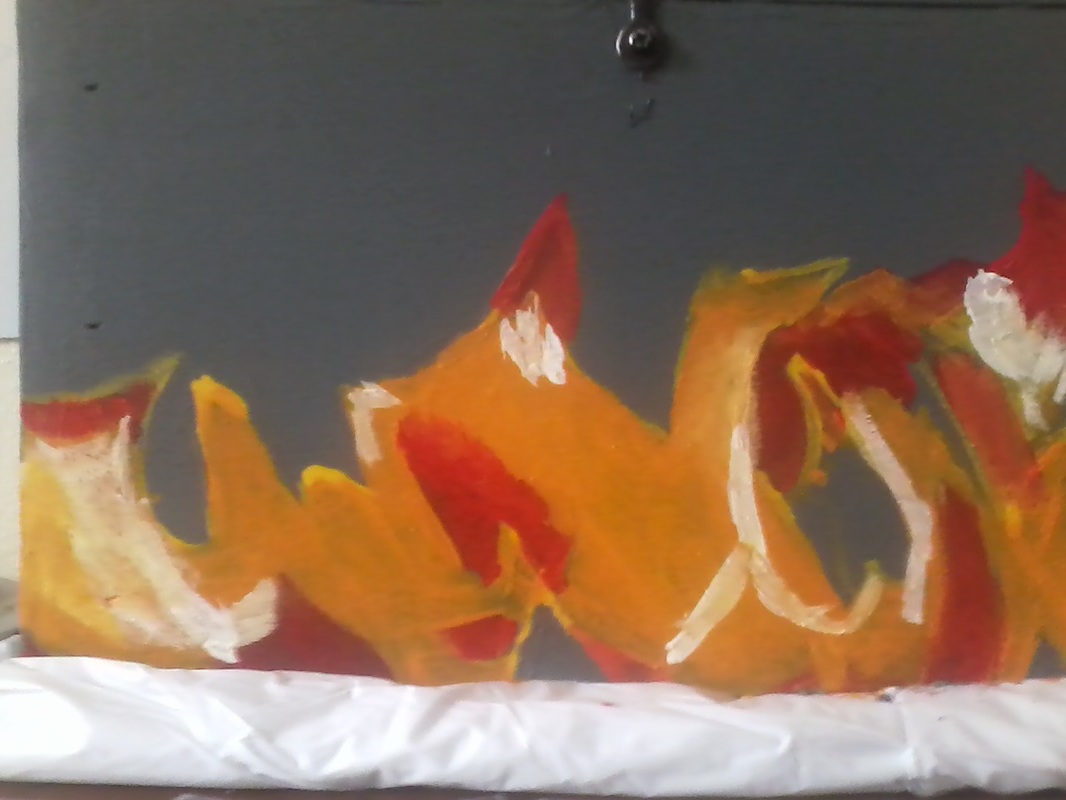
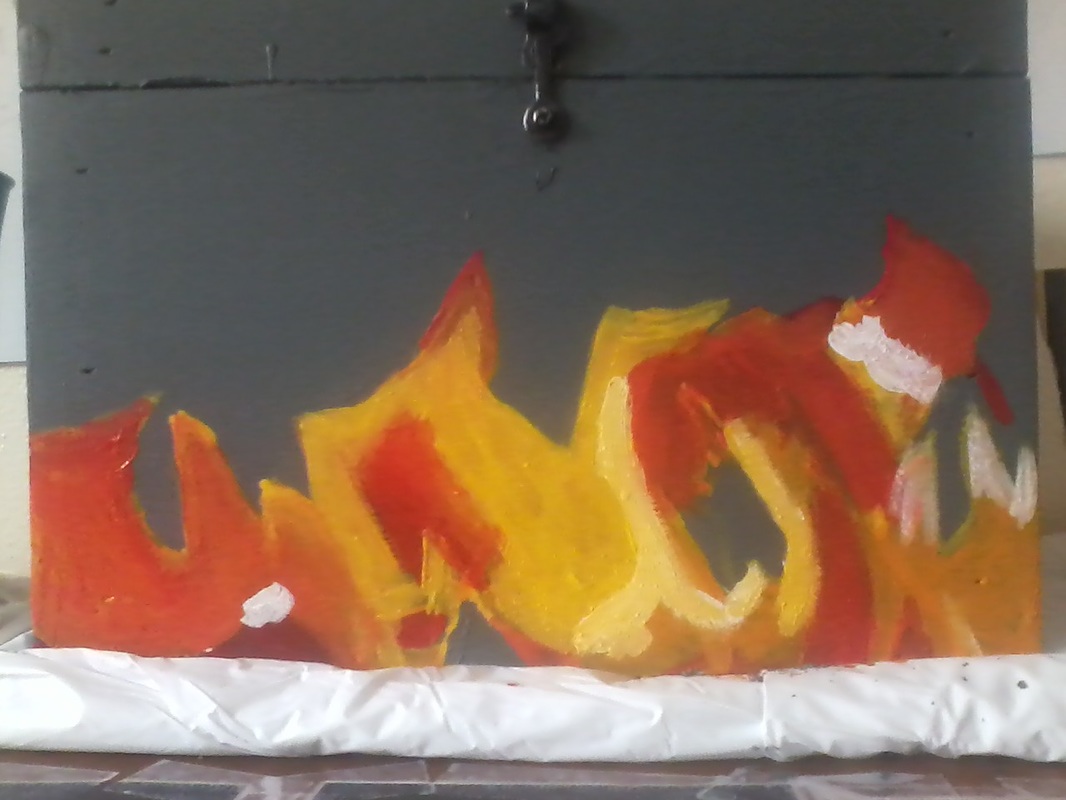
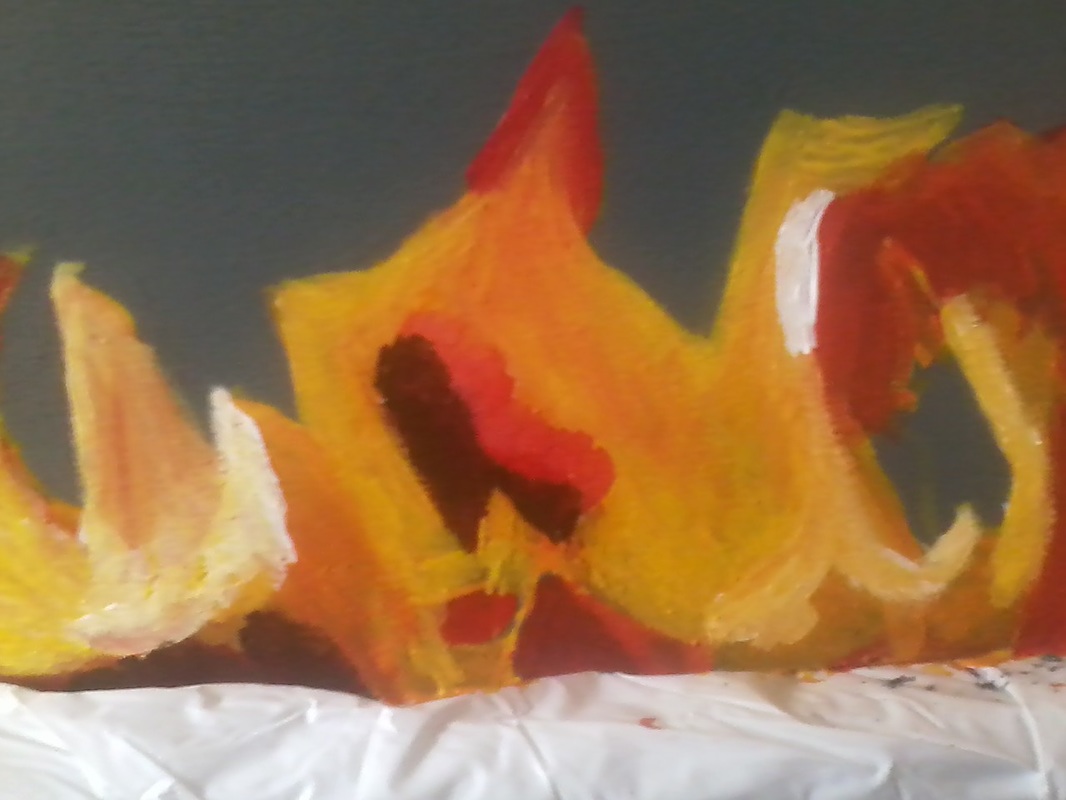
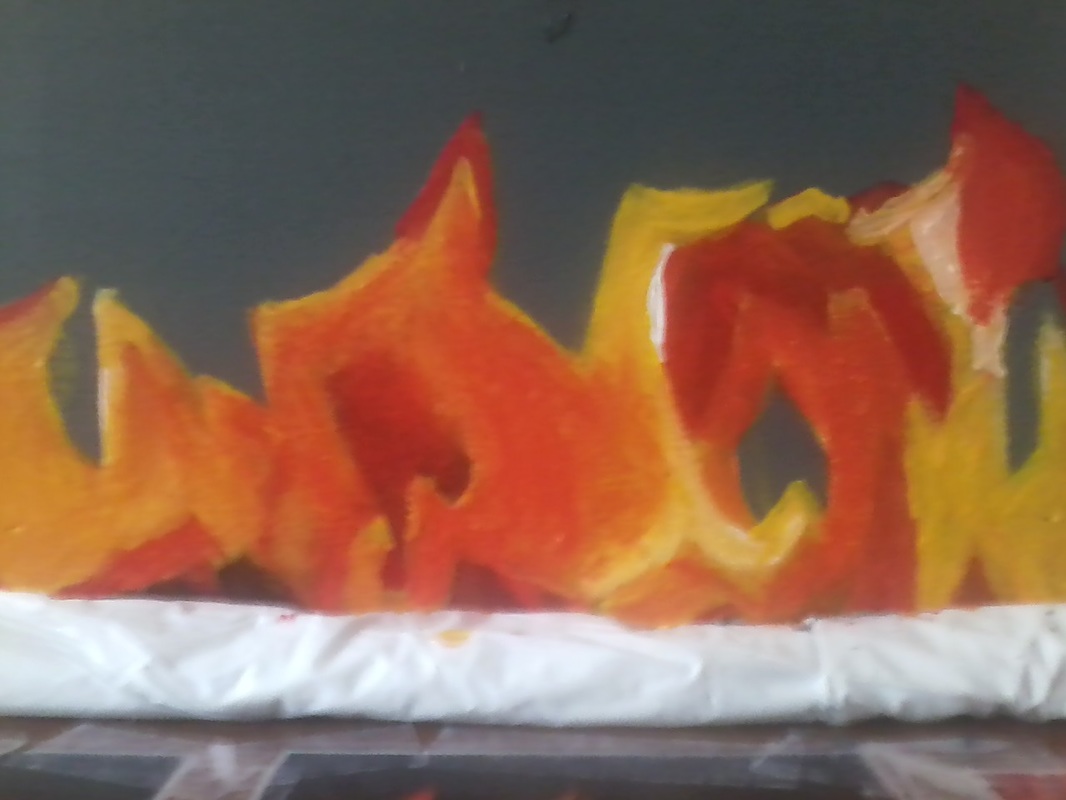
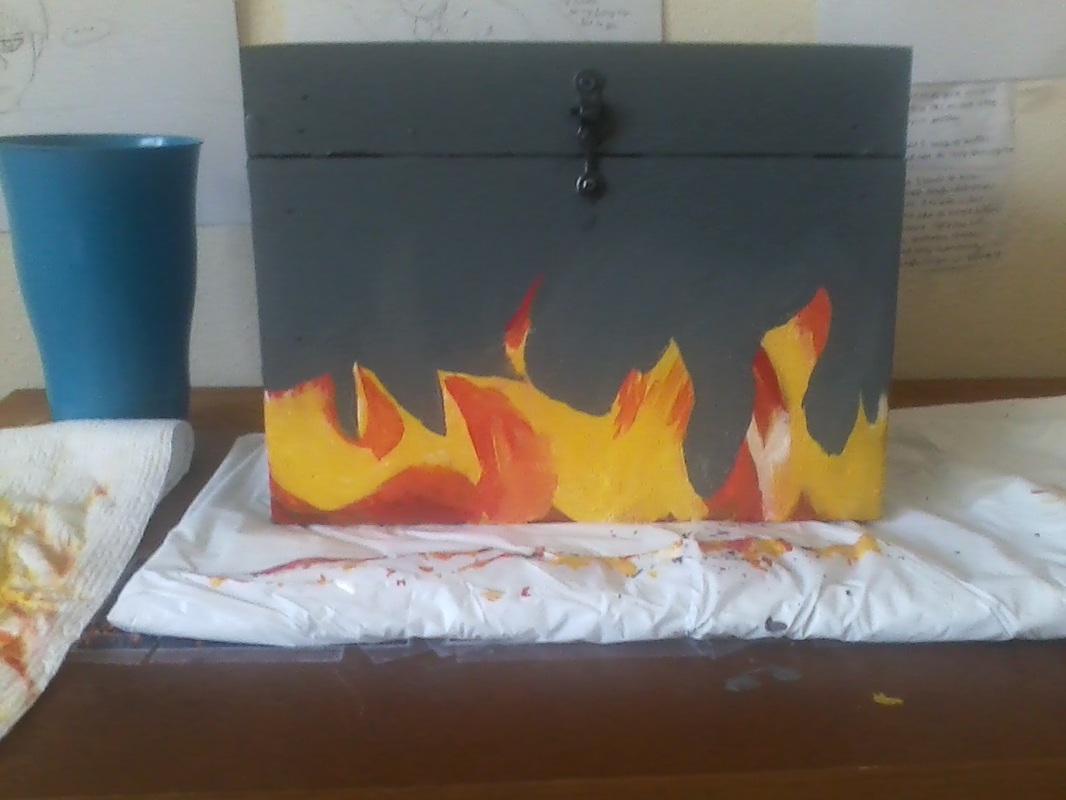
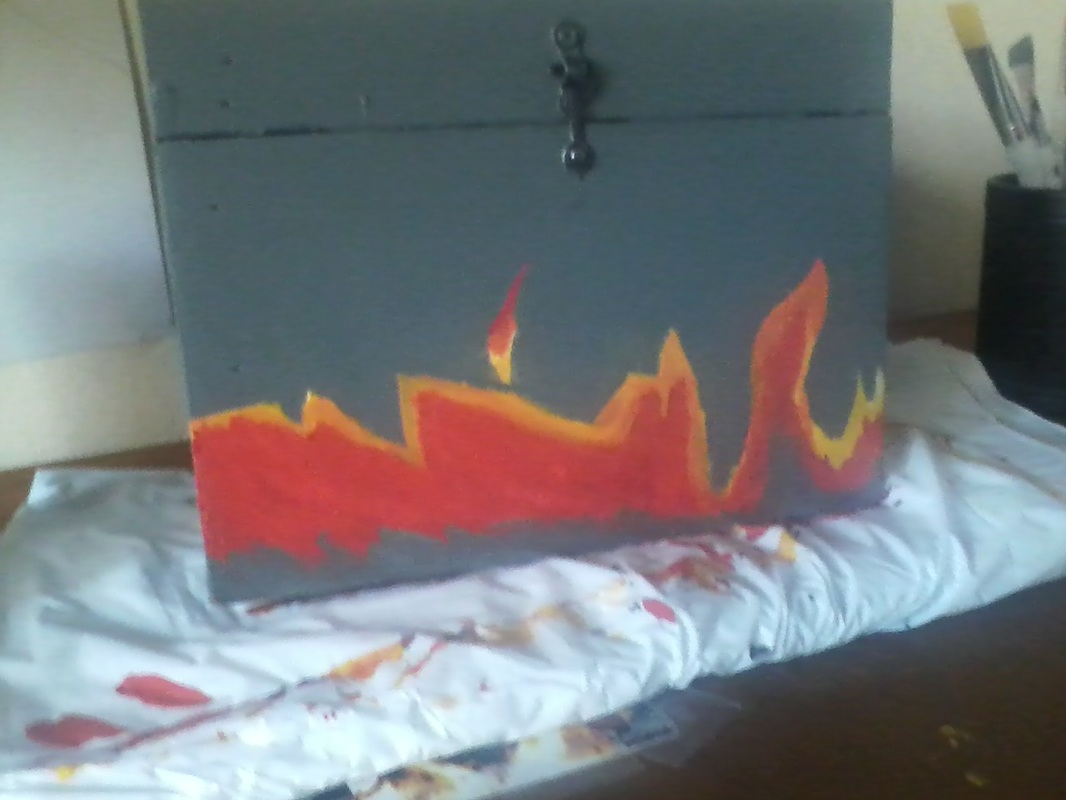
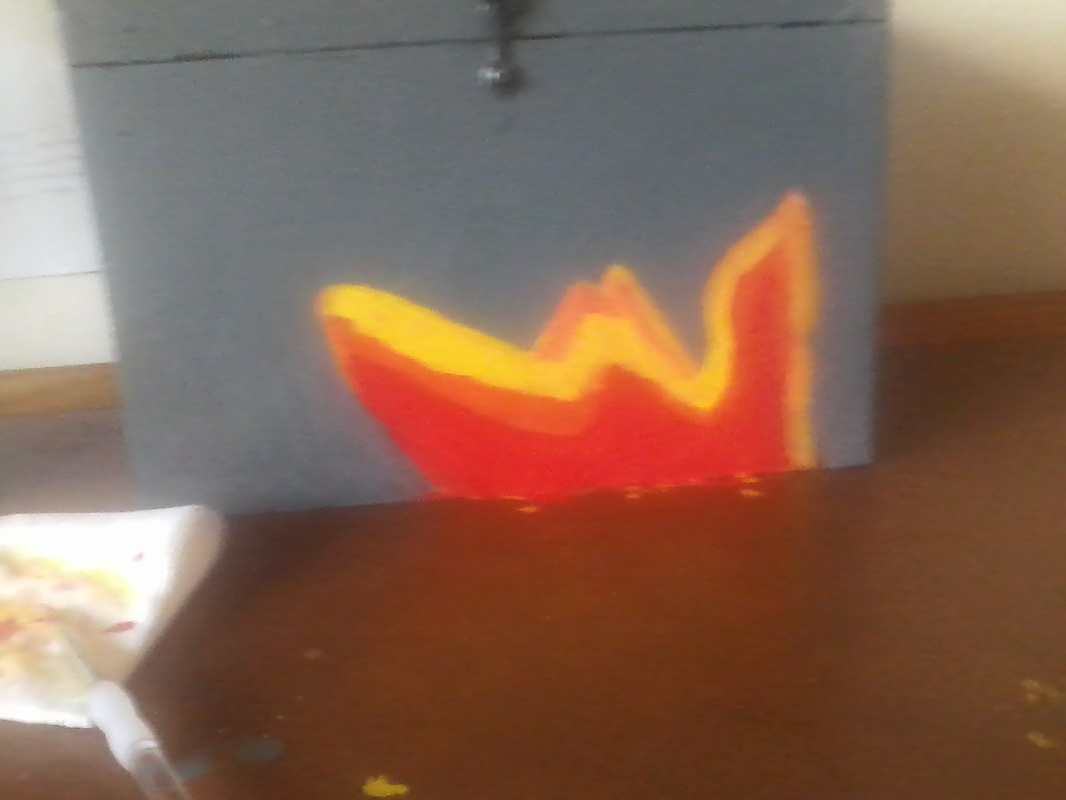
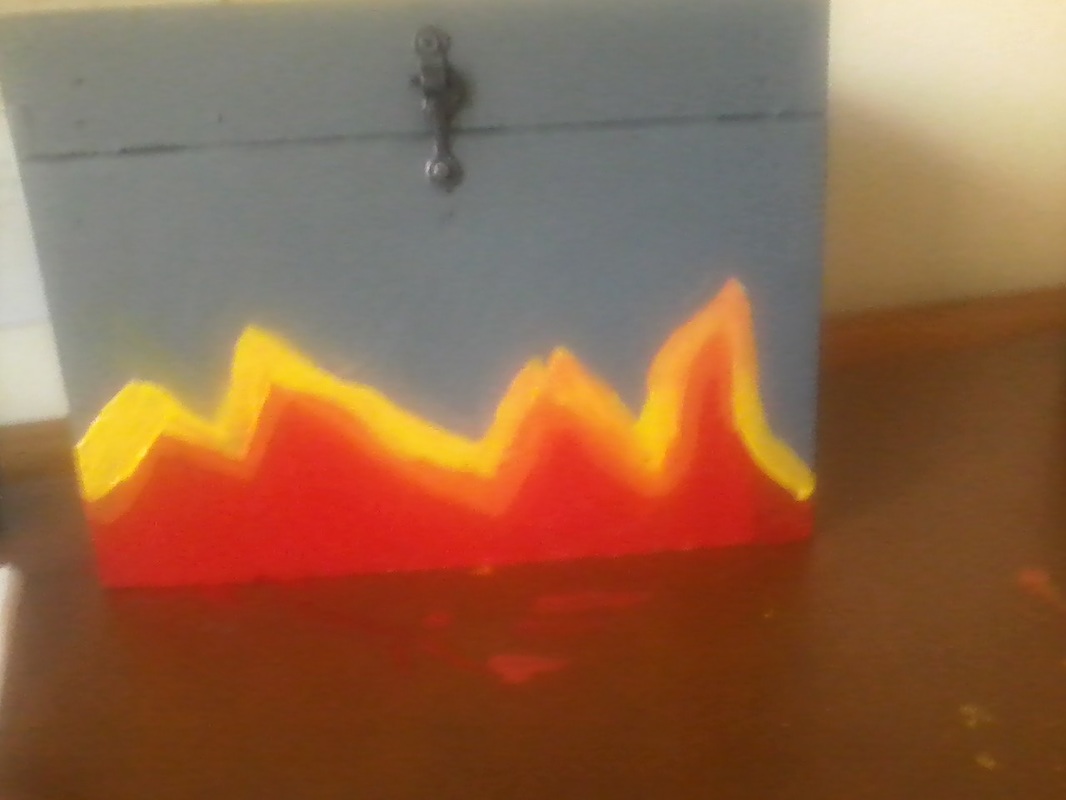
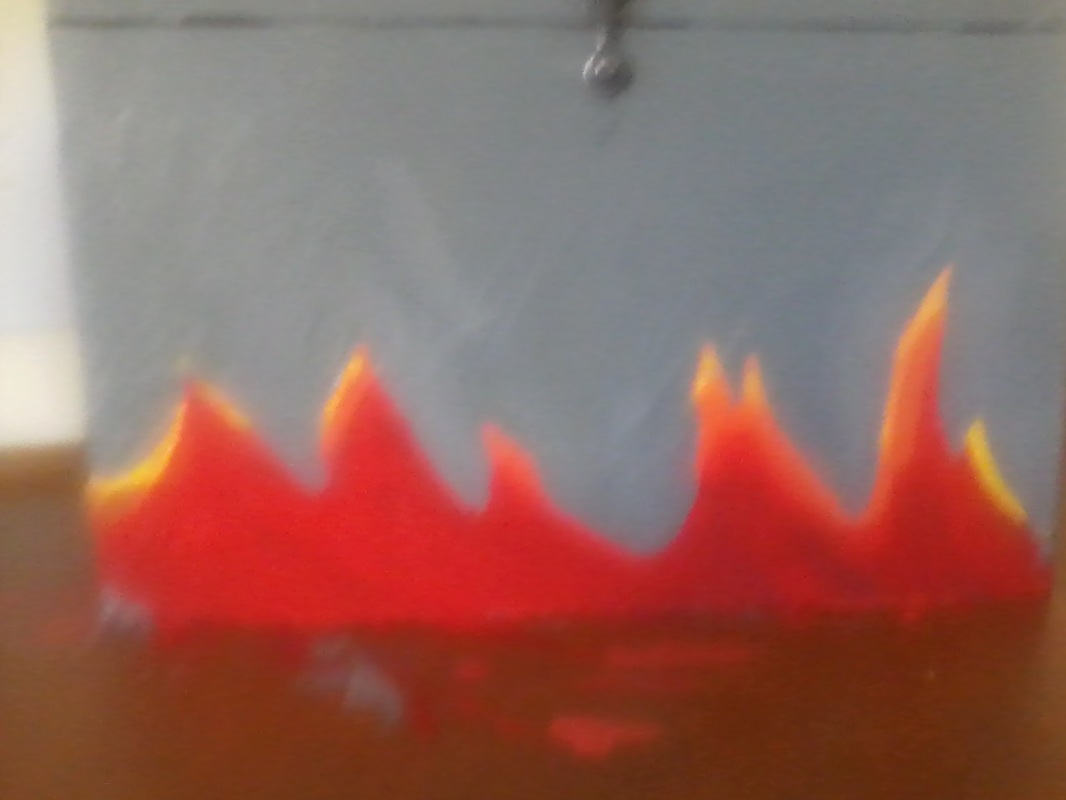
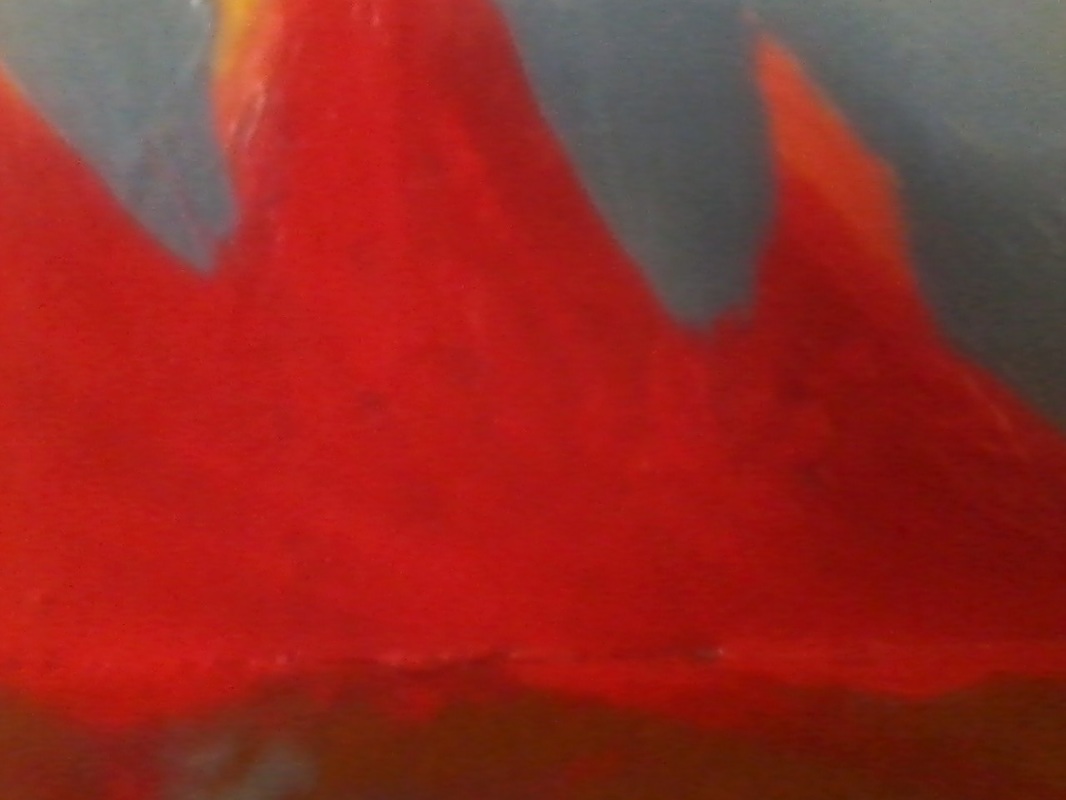
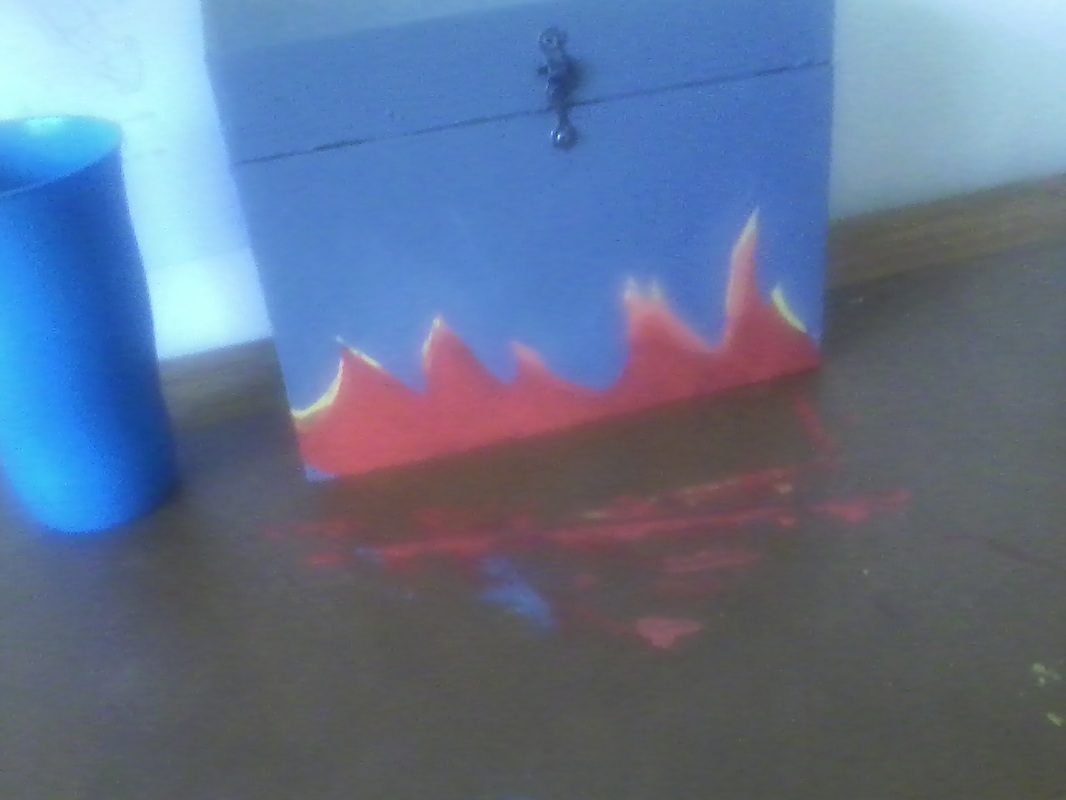

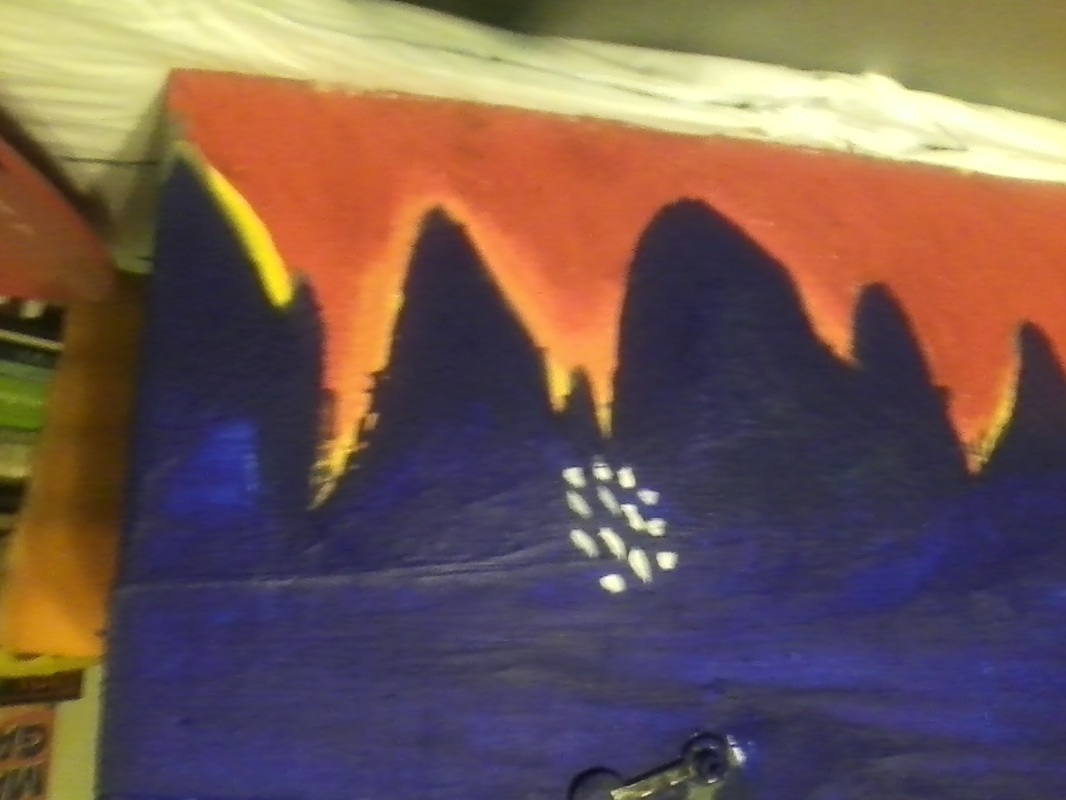
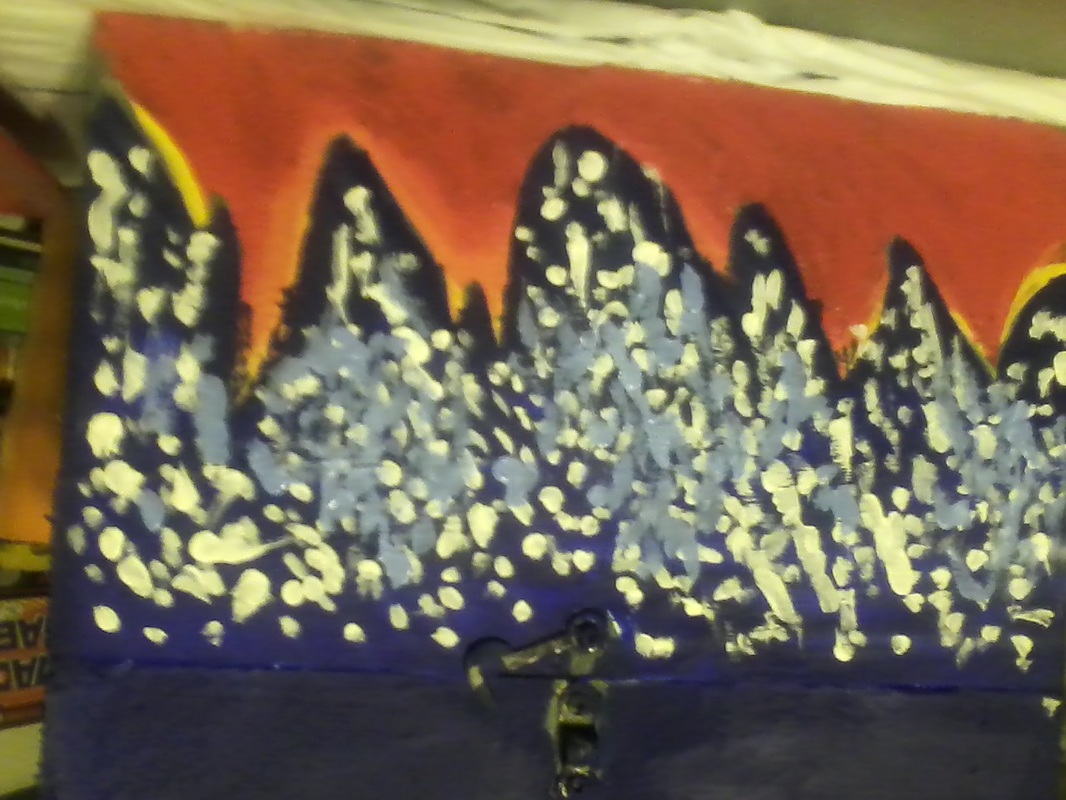

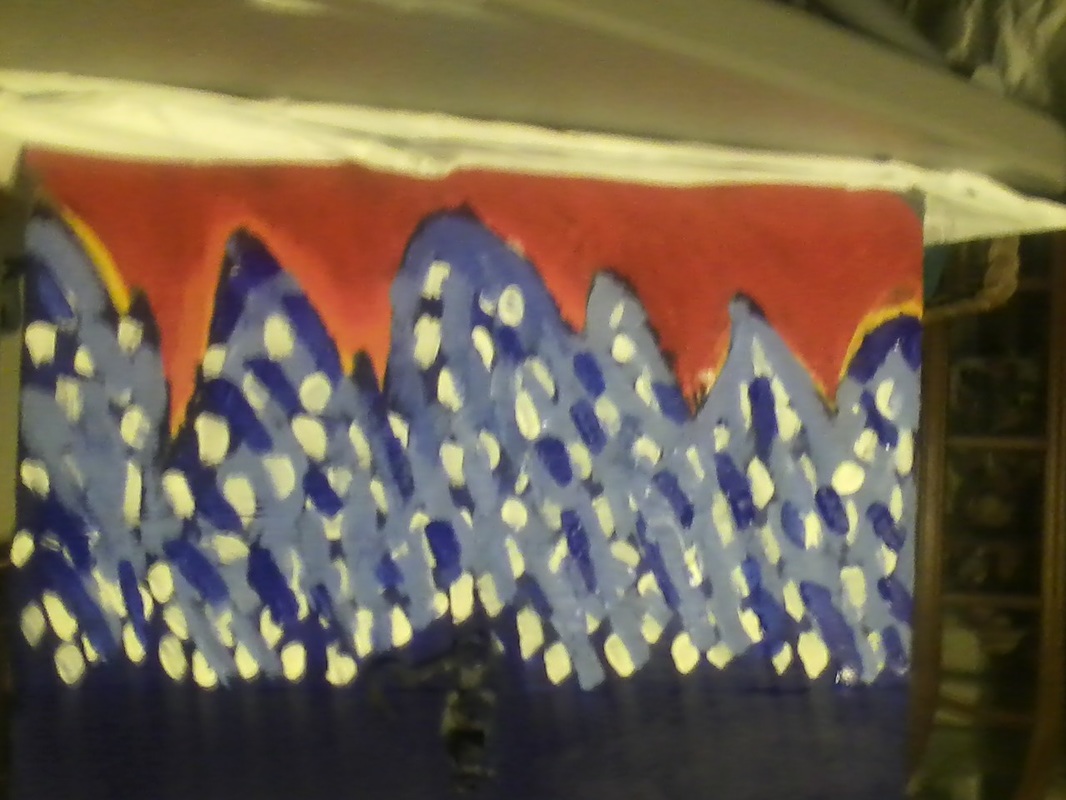


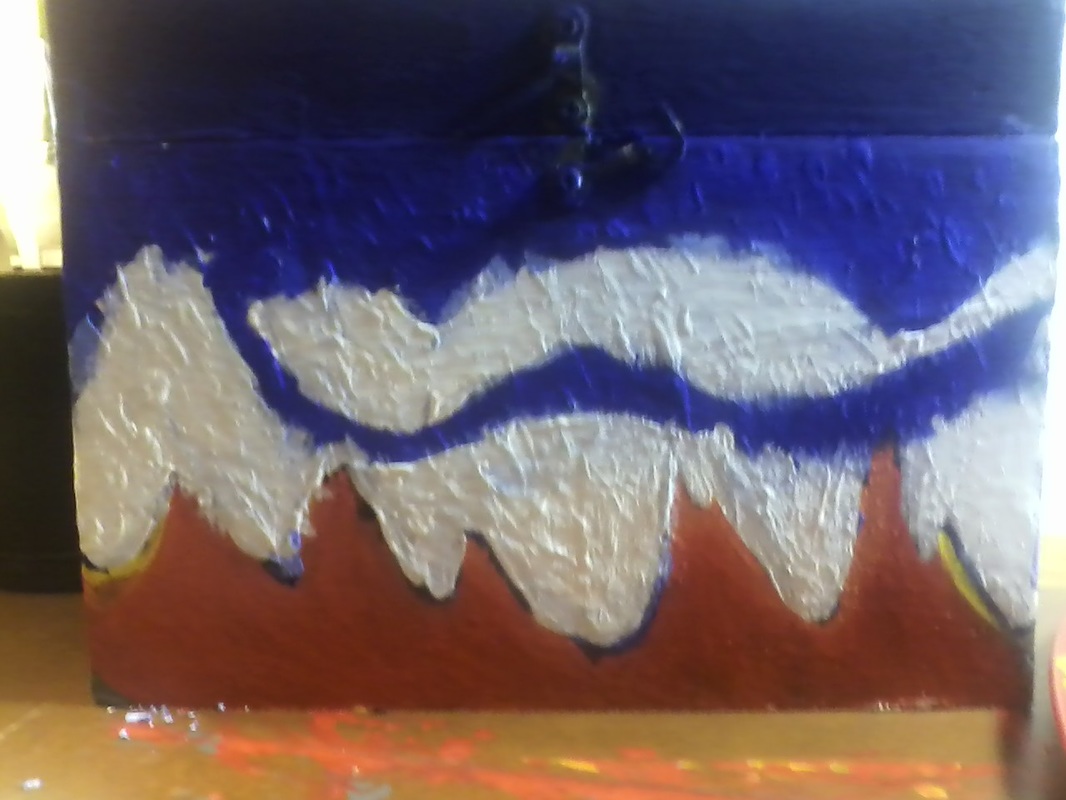

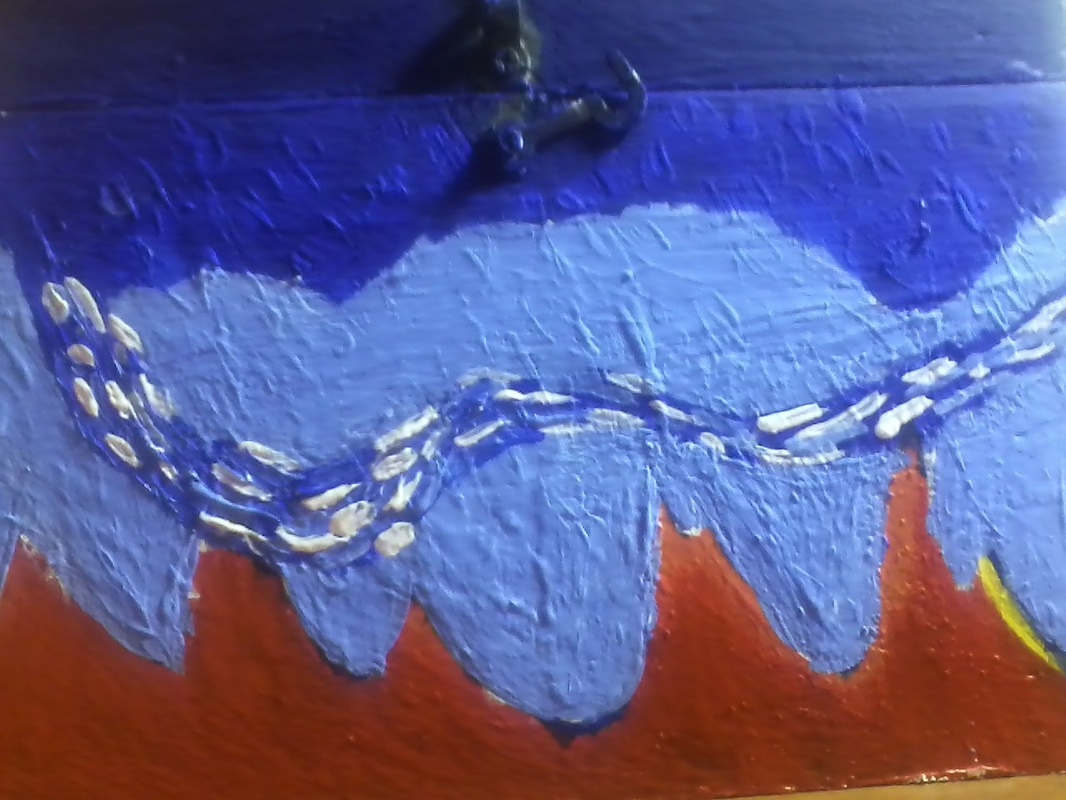


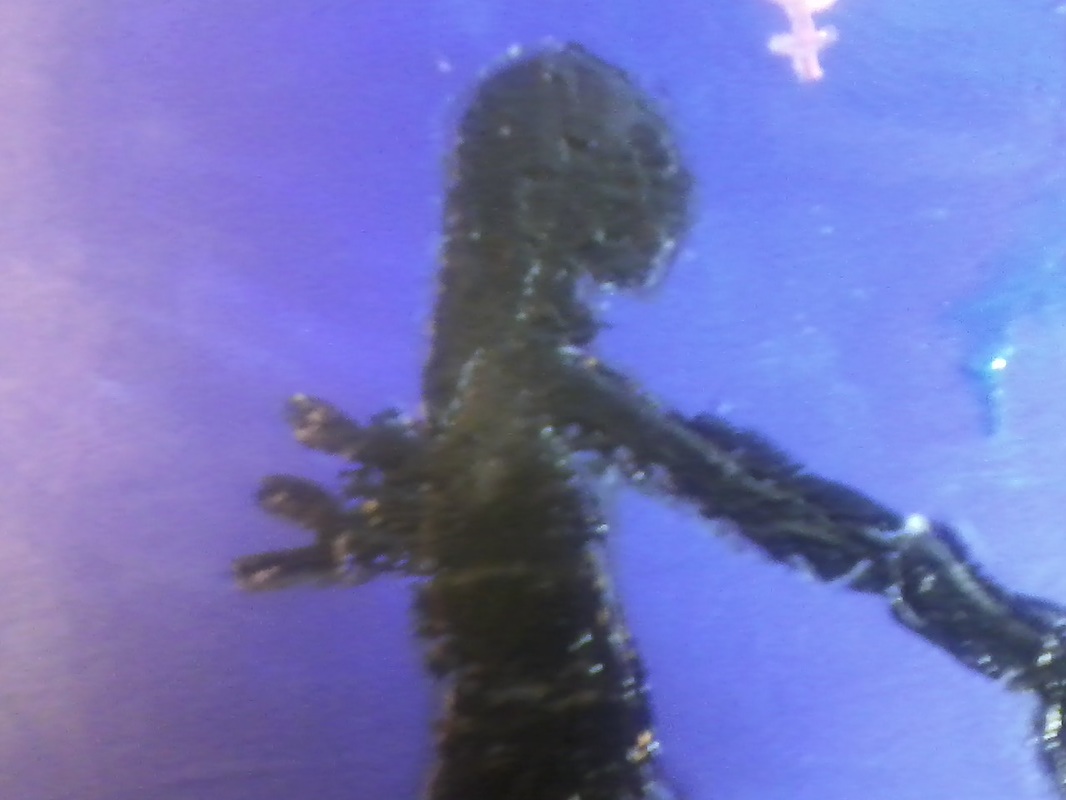
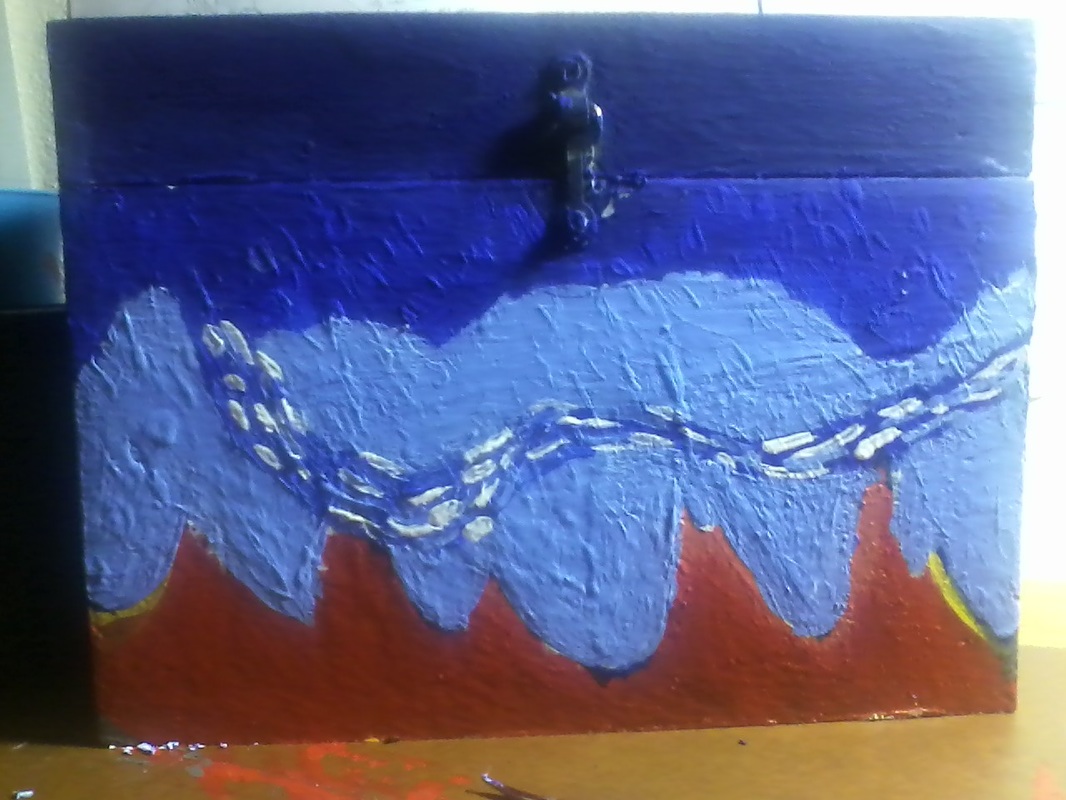
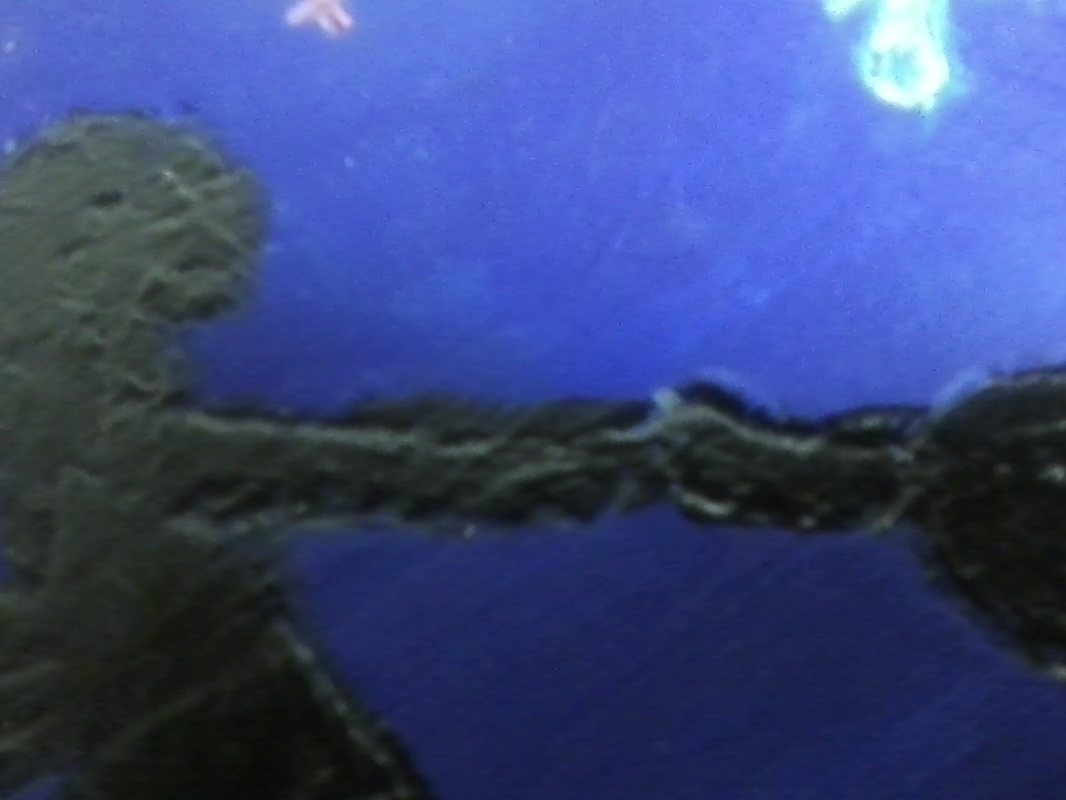
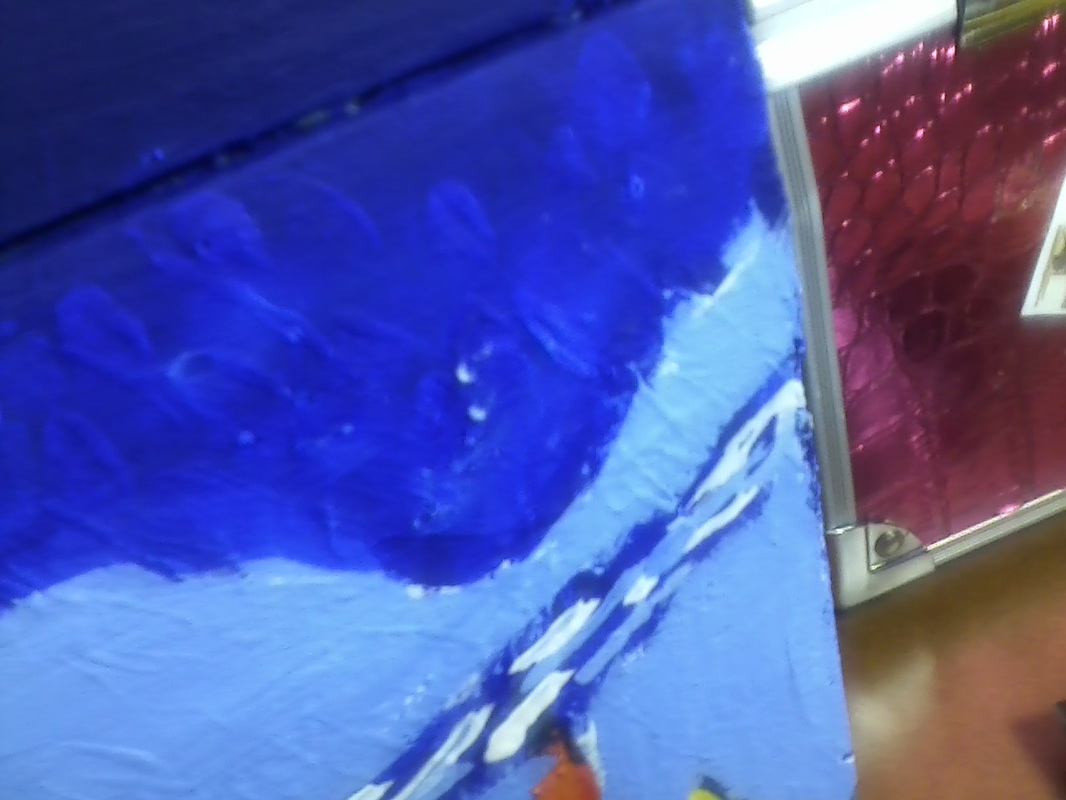
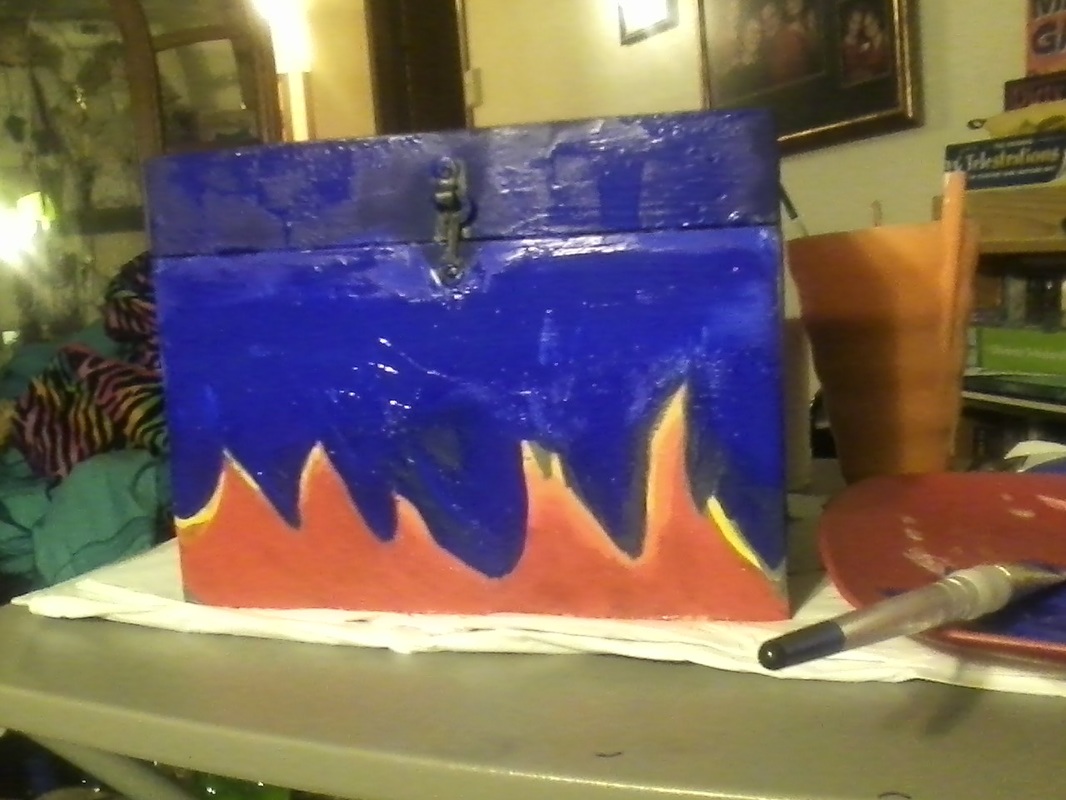
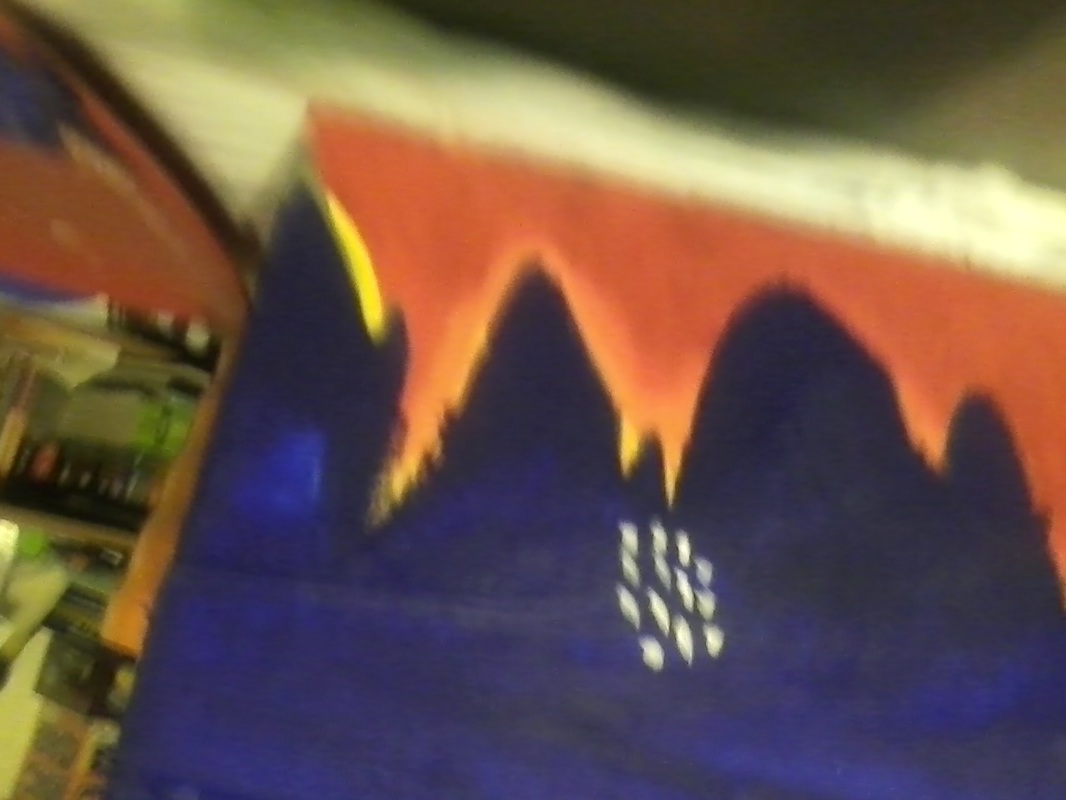
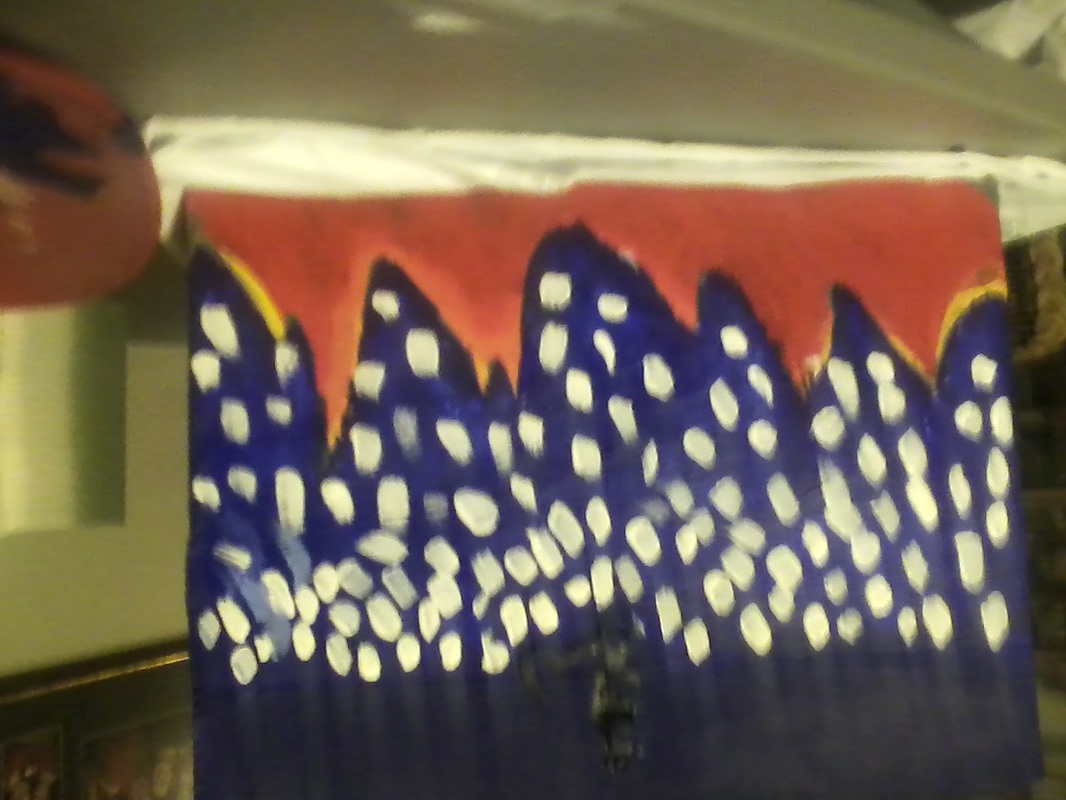
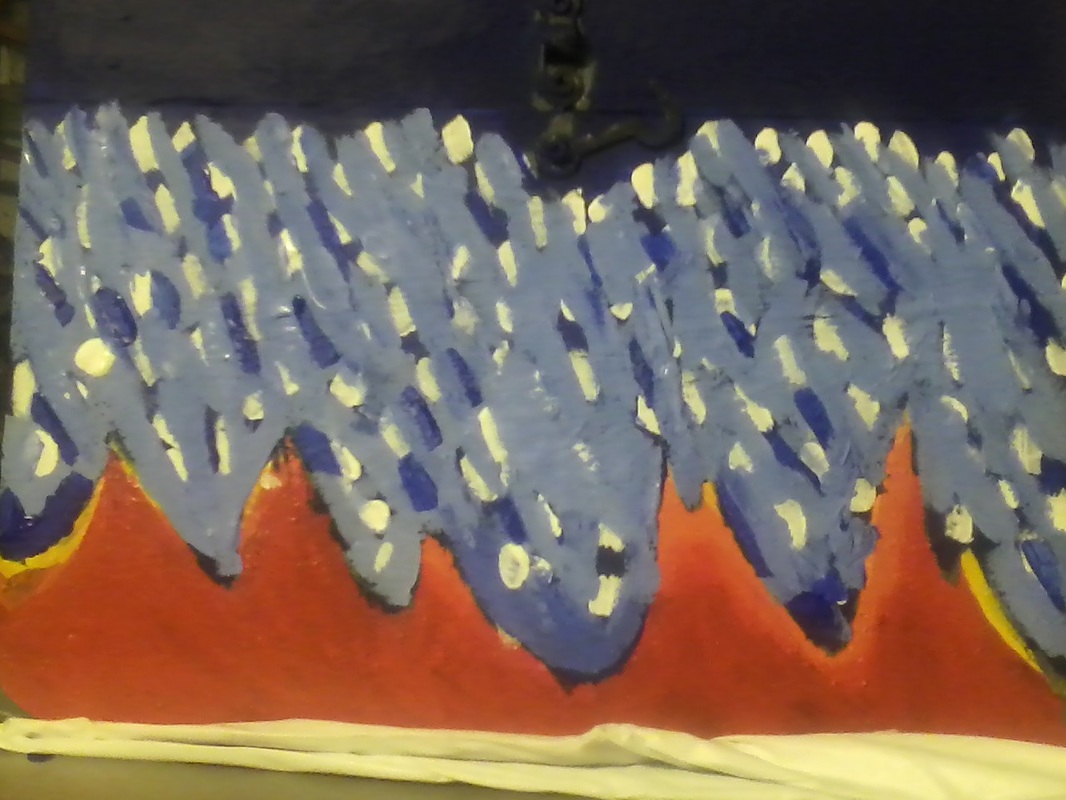
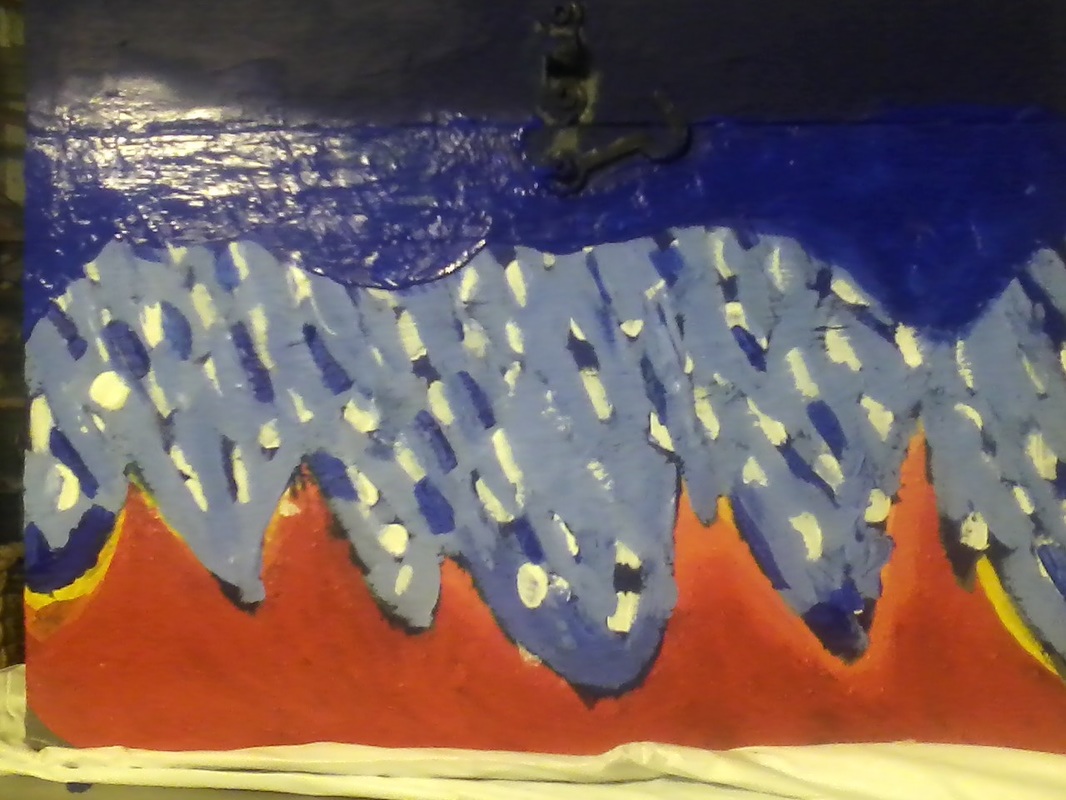
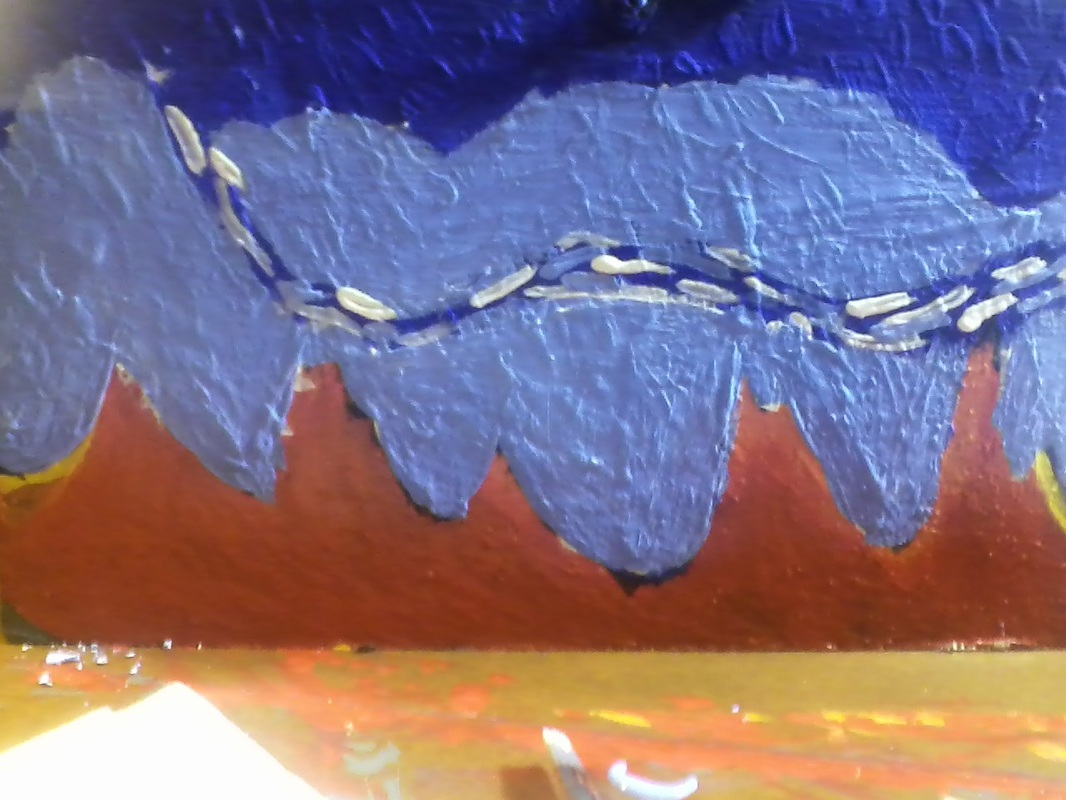
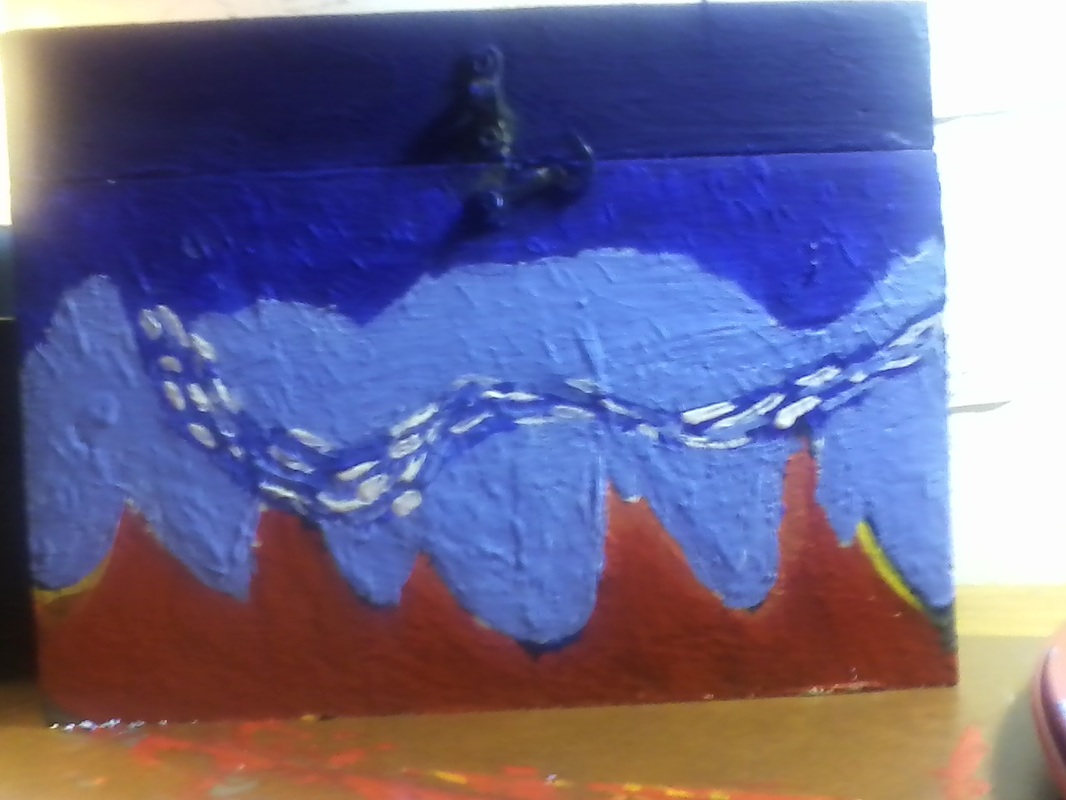
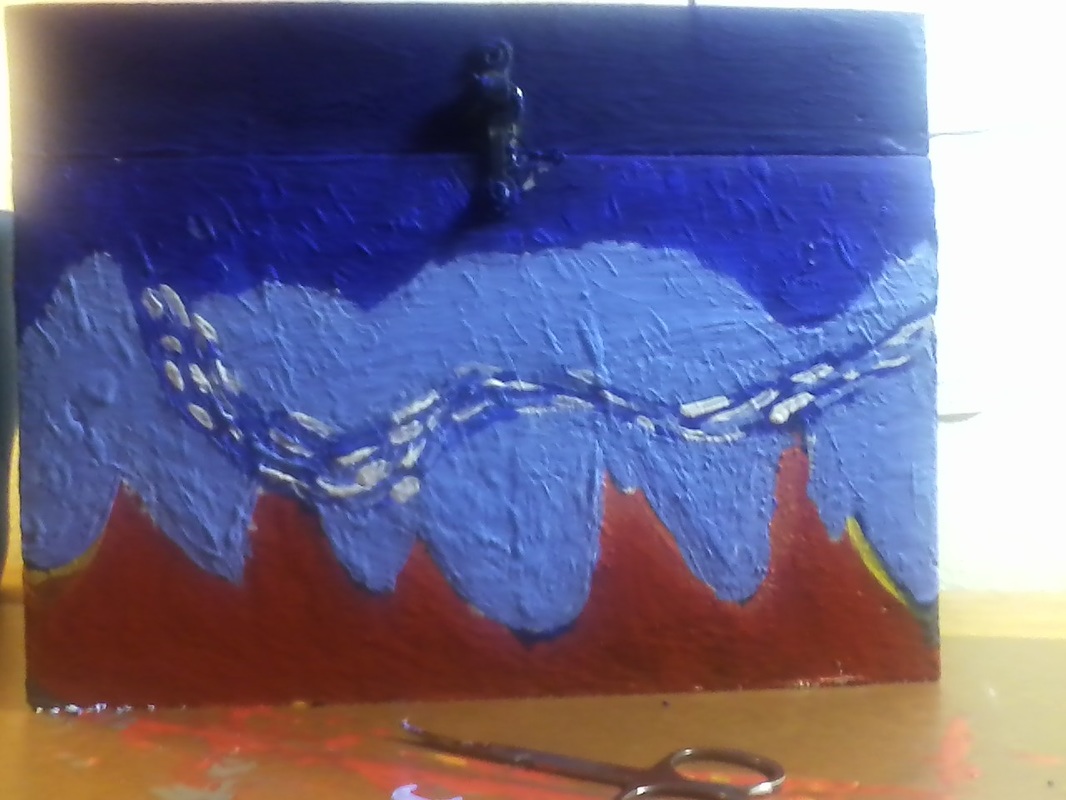
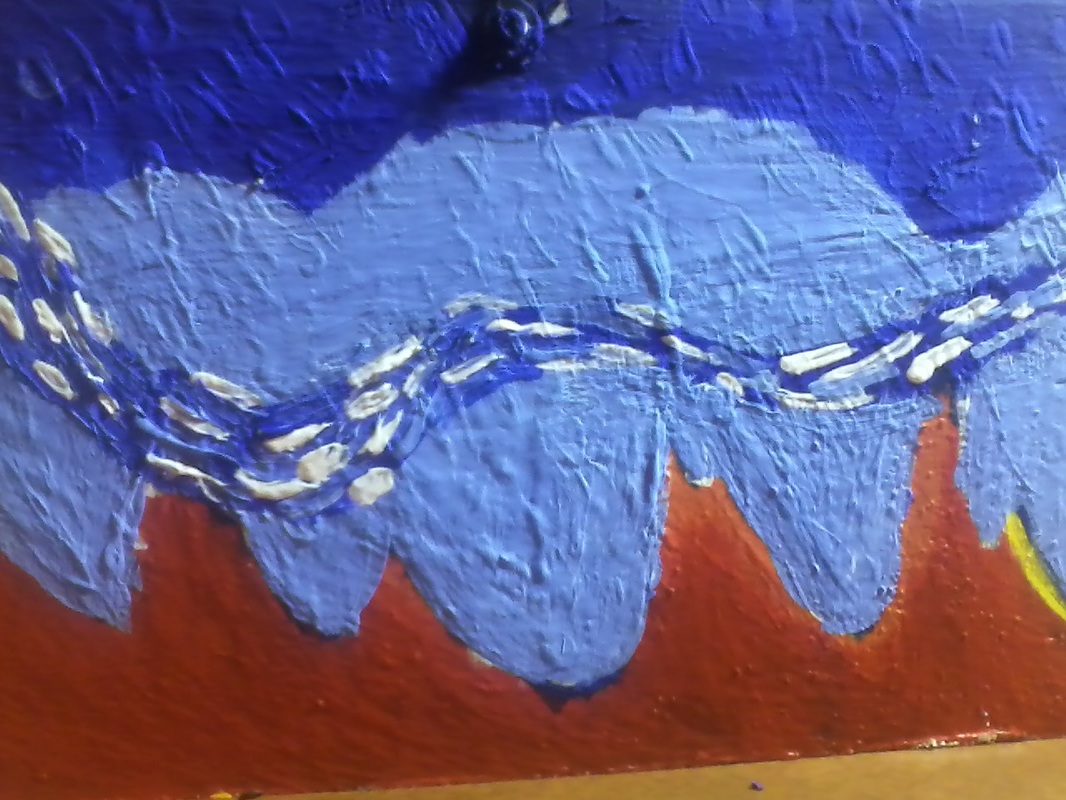
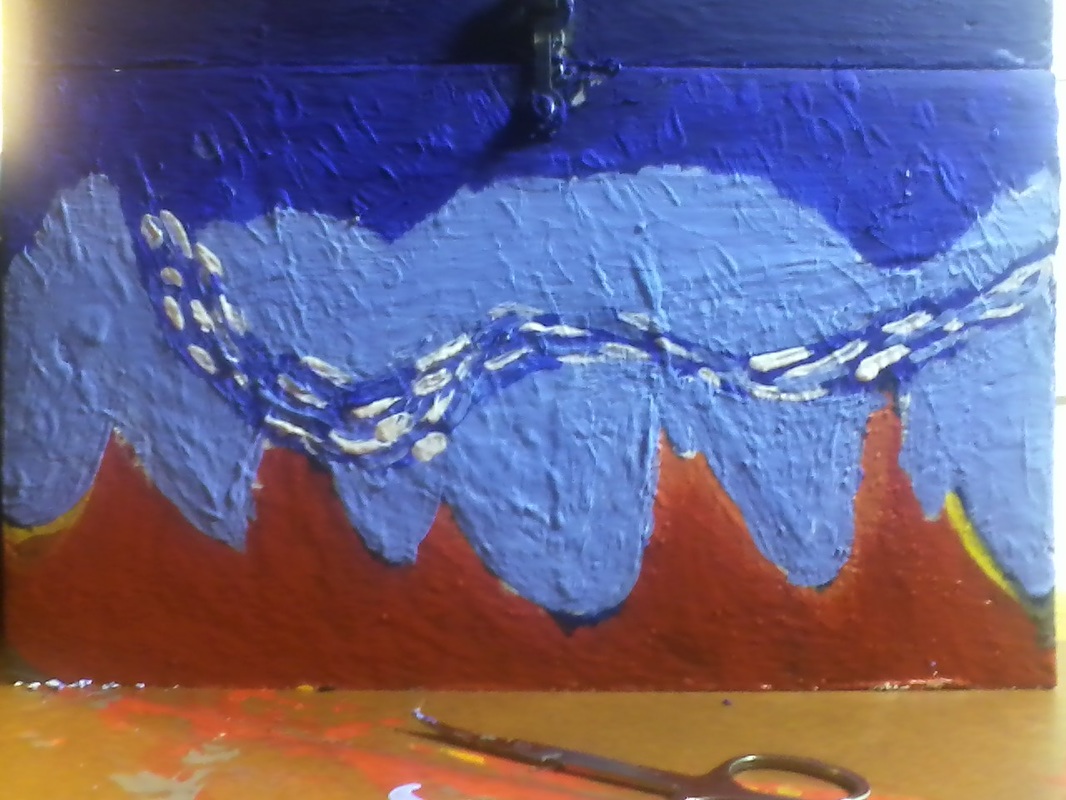
Even with guides, fire is a very difficult thing to paint, all of the glowing colors and specific positions. I spent almost 12 total hours trying to paint fire, and ended up so exhausted that I almost drank my paint water multiple times. It was a very frustrating task. I was trying to paint realistically, and failed so many times. For once, I actually caved in and changed the style. I decided to go for a Van Gogh background. I planned on a pouring rain coming from a spray of water around the two figures at the top, which I have also painted many times, and eventually made them Silhouettes in front of a bold splash of fire. A Van Gogh style makes it easy to make basic lines and get away with it, so I changed the style to match Van Gogh, and also remade the fire to match it with the Van Gogh background. Project is currently still in the process of creating the Van Gogh style background, mainly because I spent too much time trying to get the fire right. Fire is something difficult to create, and that has really affected how much time this project has taken.
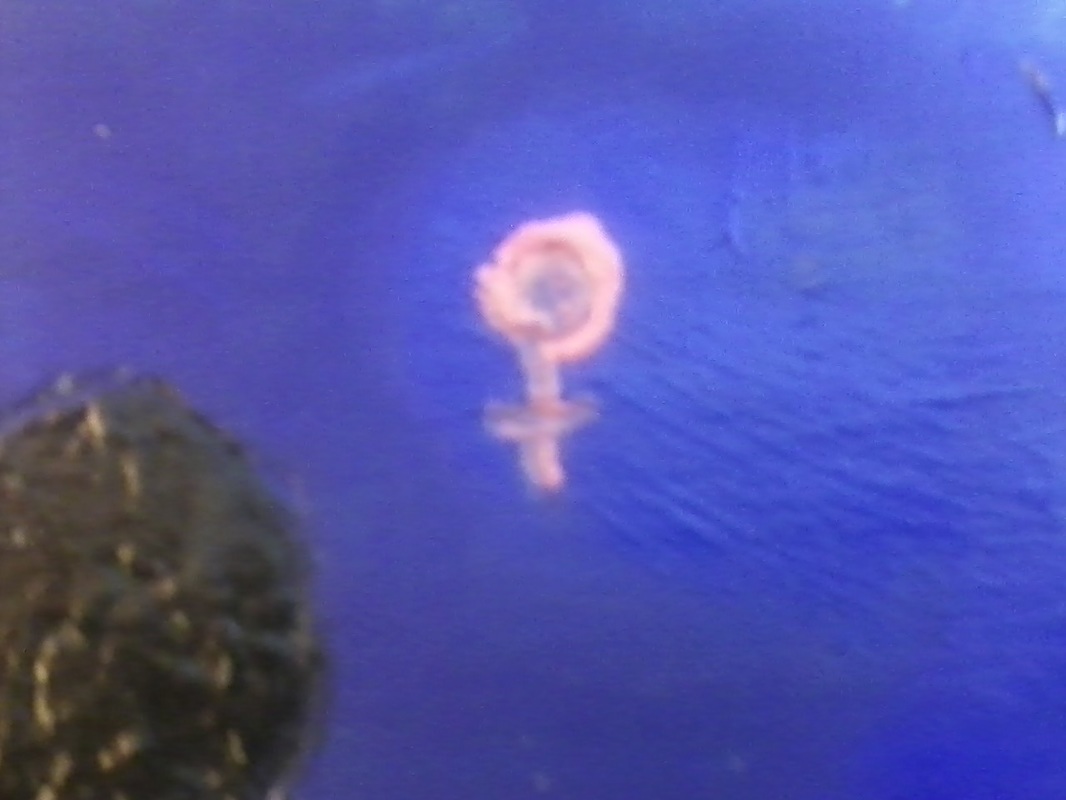
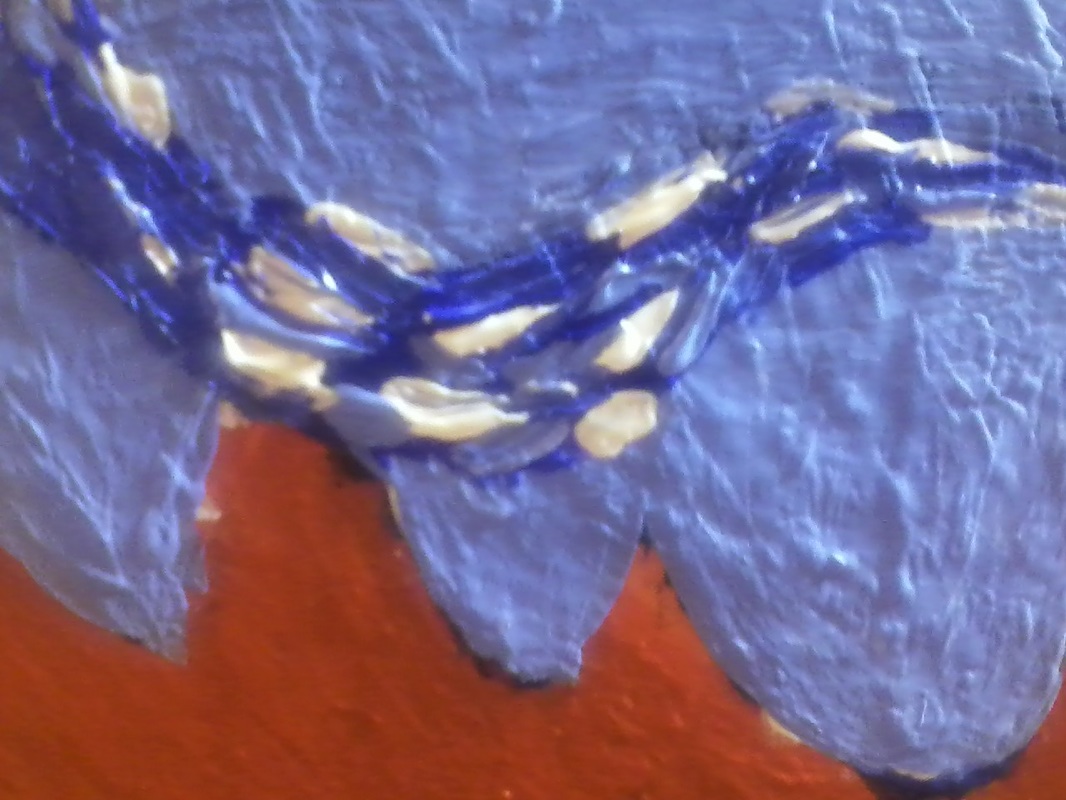
Trying to get the Van Gogh design right was a challenge on its own. I wanted to make water dripping from the top of the box, and the water pouring in the background having the Van Gogh design. In the end, I had just made a line of wind and water instead. I had to keep painting over my mistakes to "erase" them. And the figures were soon turned into silhouettes because of my lack of talent for painting. The symbols for male and female were unchanged, but the REST of the painting process was scrapped, erased, and their inspiration design changed multiple times.
Trying to get the Van Gogh design right was a challenge on its own. I wanted to make water dripping from the top of the box, and the water pouring in the background having the Van Gogh design. In the end, I had just made a line of wind and water instead. I had to keep painting over my mistakes to "erase" them. And the figures were soon turned into silhouettes because of my lack of talent for painting. The symbols for male and female were unchanged, but the REST of the painting process was scrapped, erased, and their inspiration design changed multiple times.
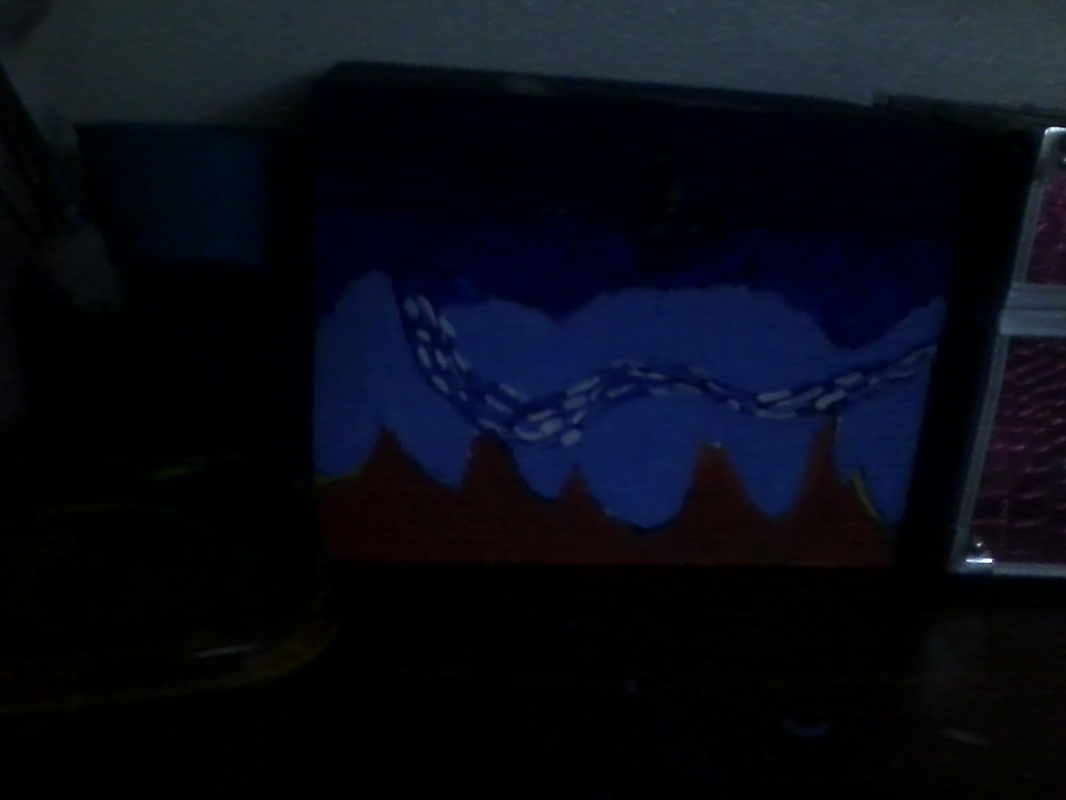
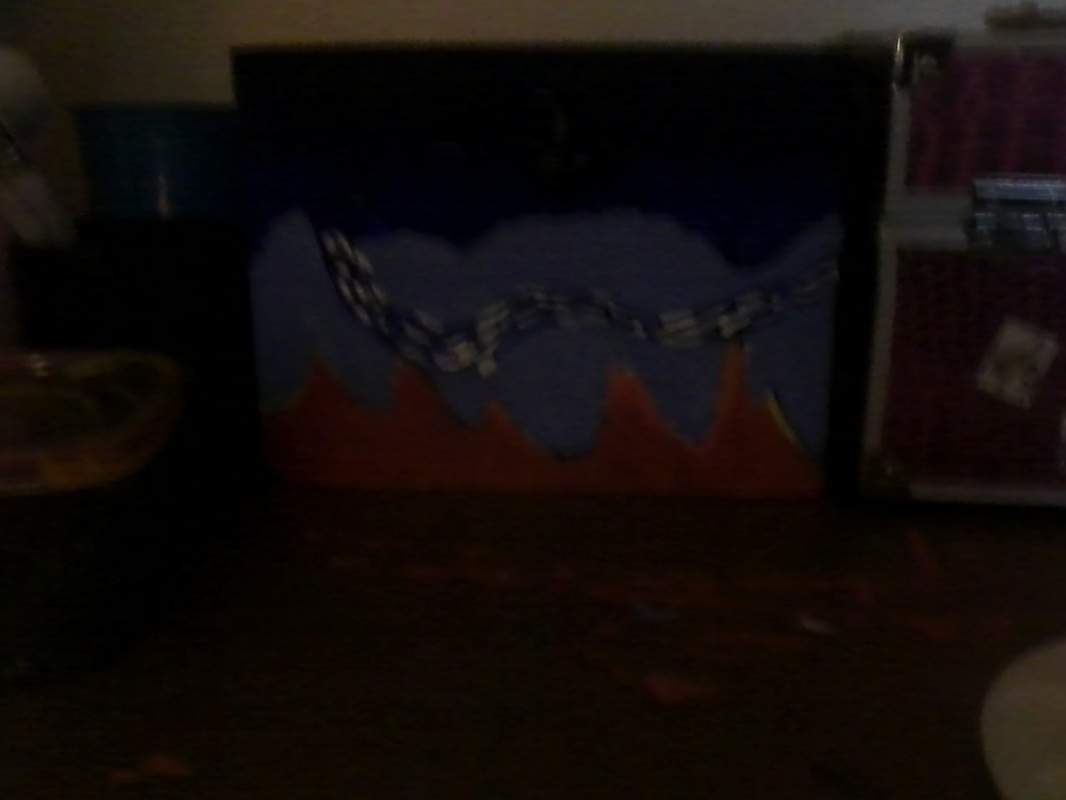
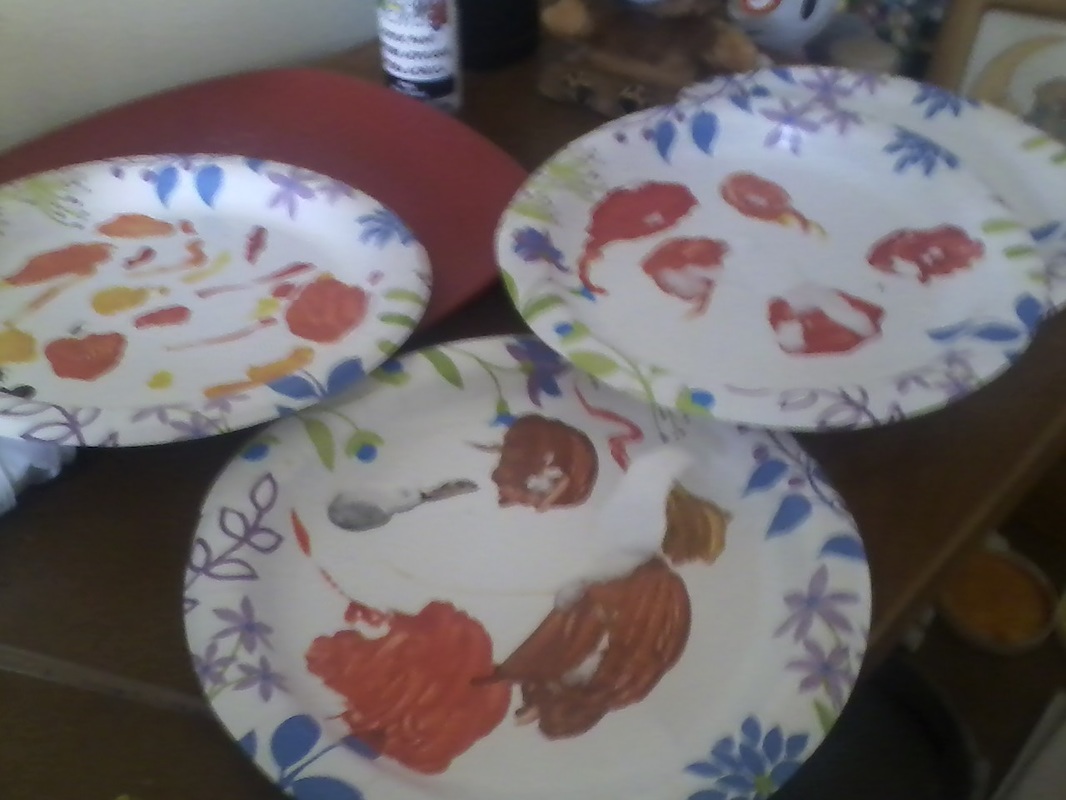
RECORDS OF USAGE-BREAKING DOWN OVER TIME
I recorded the box every day, and how using it has been breaking it down, these are the key points in the records. It would do best to show records from every few days' worth of photos, rather than every day. Over use, it has broken down.